Little Farm Mango Chutney

Share

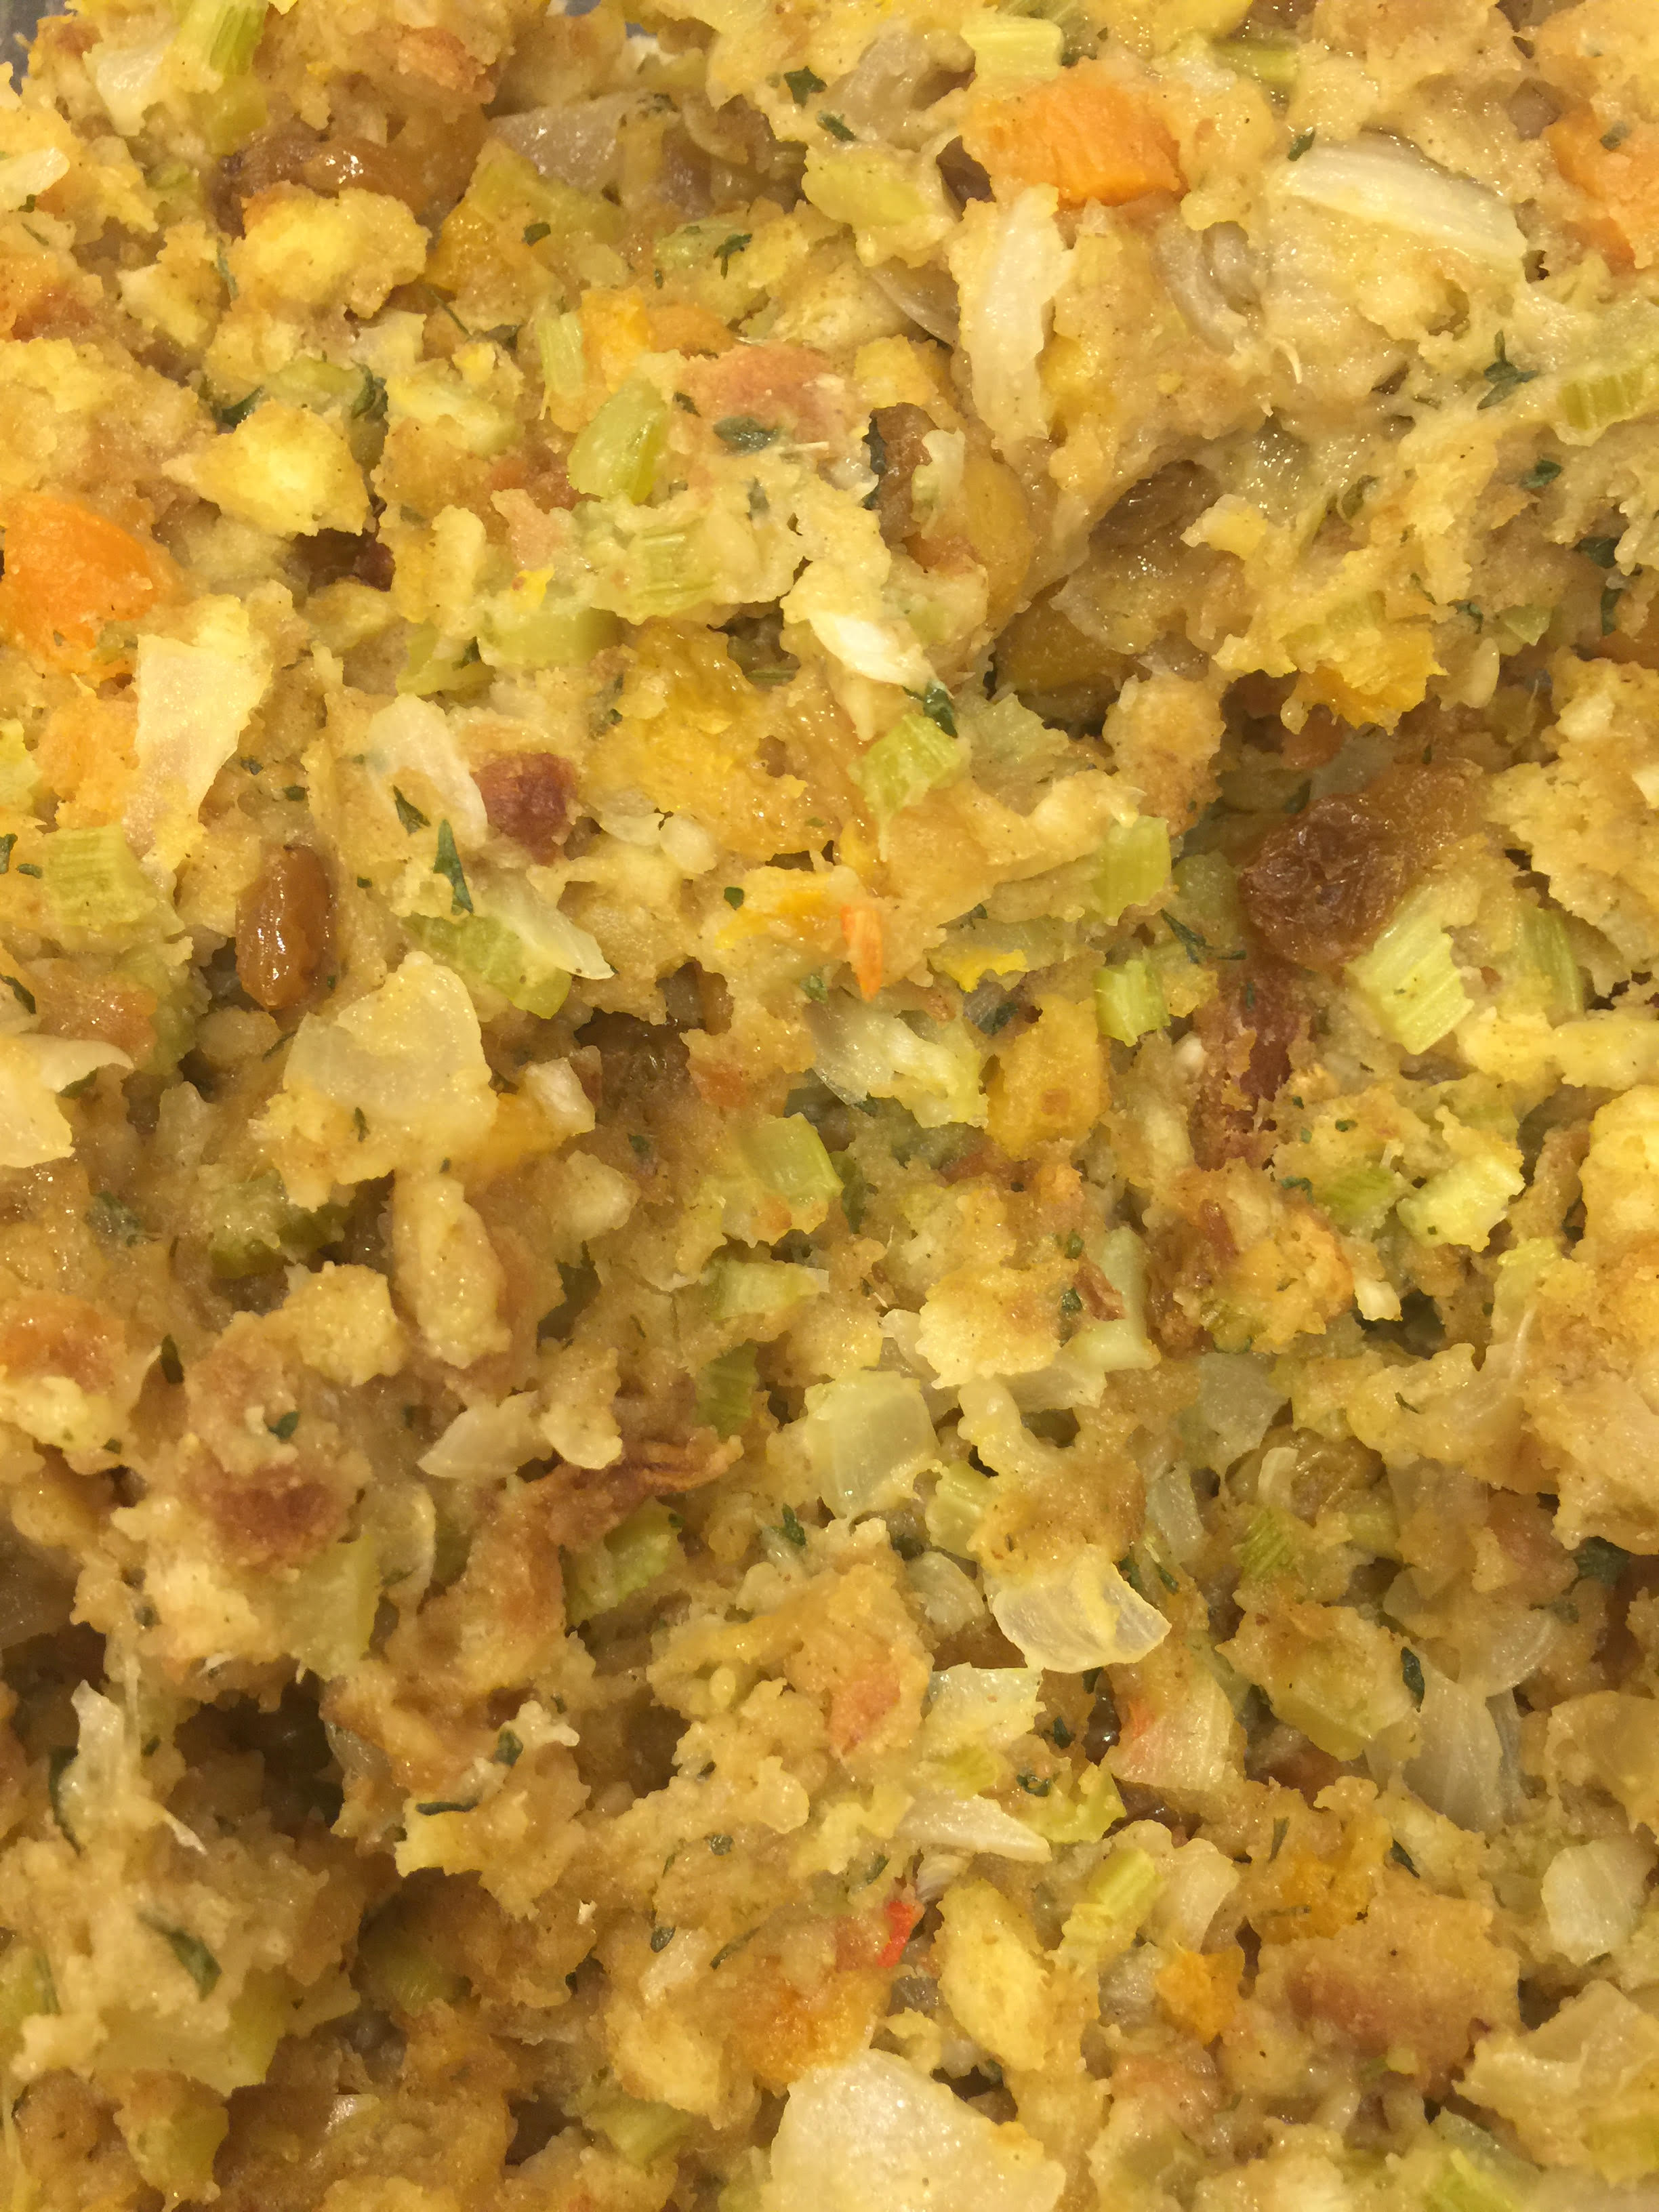
 We have lots of mangoes growing in our farm – and with the recent storms we found 6 of them on the ground in the mud. We washed them off, peeled and cut them and VOILA! MANGO CHUTNEY!  Here is a wonderful recipe – using our Little Farm Honey and Tangerine zest too – but of course all the ingredients can also be bought.


Little Farm Mango Chutney

INGREDIENTS

  • §  2 cups sugar
  • §  1 cup distilled white vinegar
  • §  6 cups mangoes (4 to 5), peeled and cut in 3/4-inch pieces 
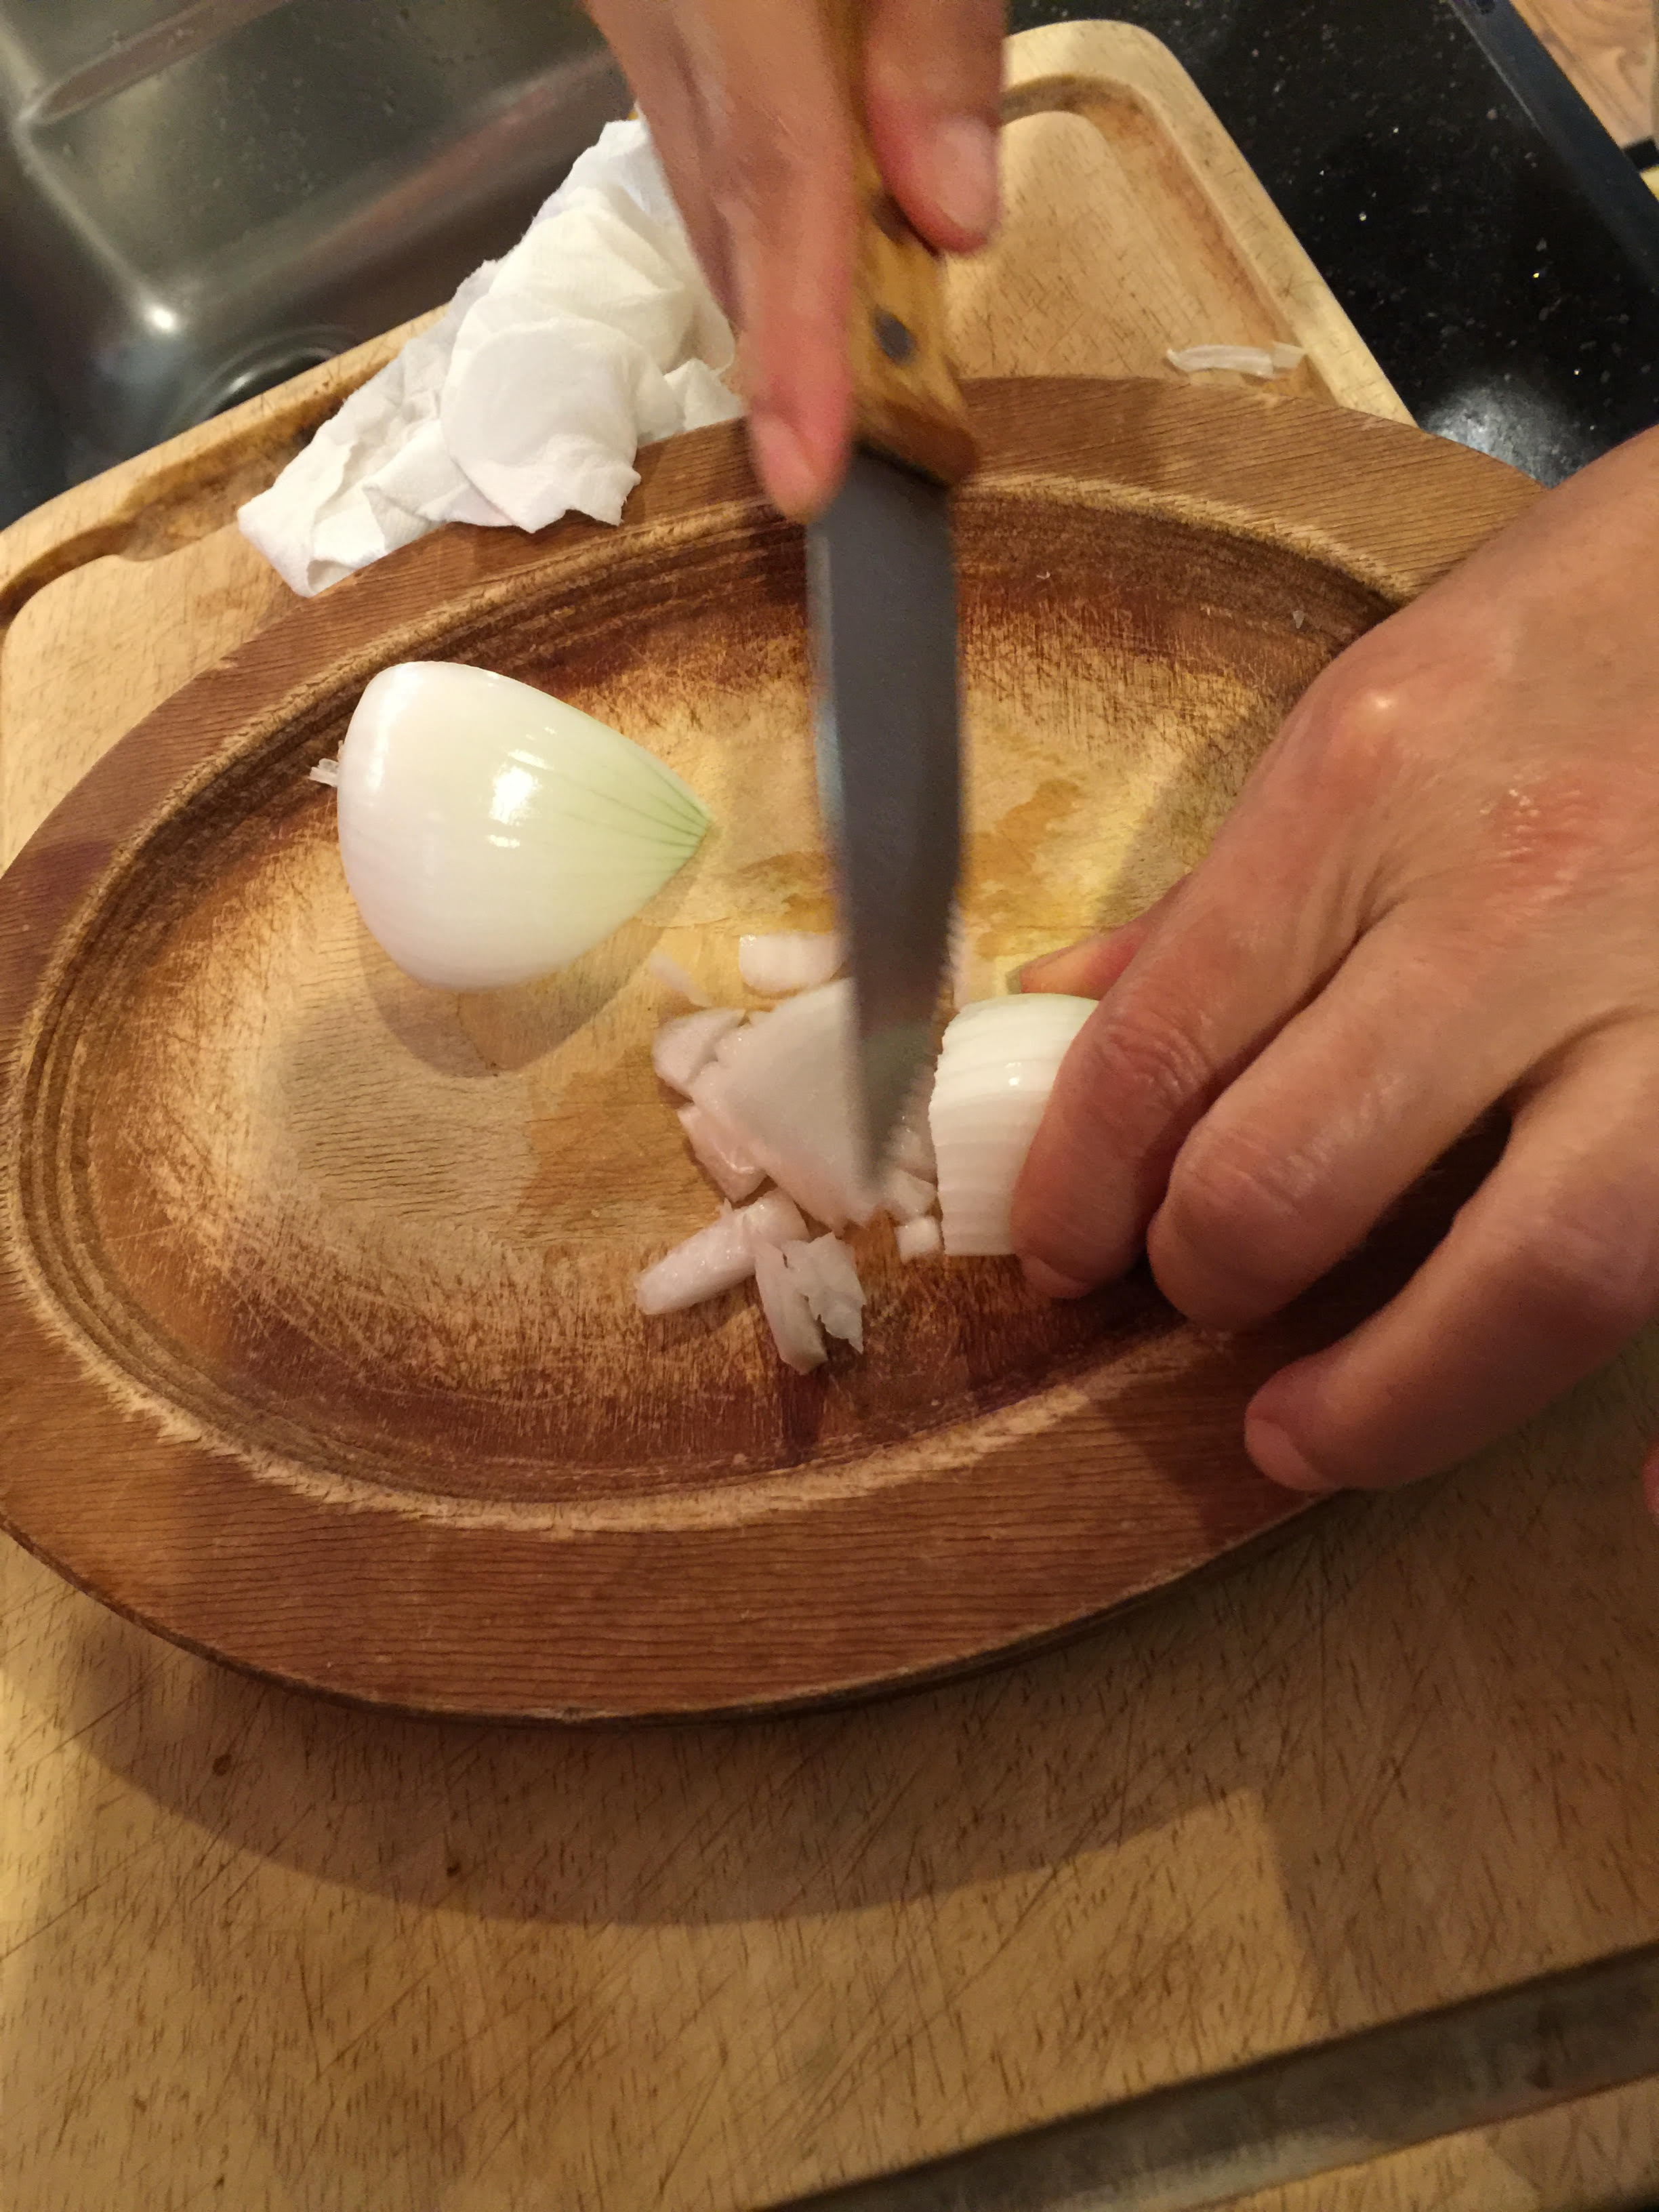
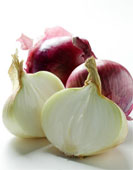
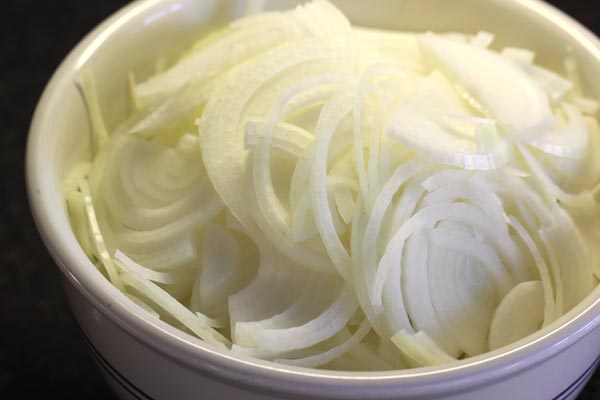
  • §  1 medium onion, chopped (about 1 cup)
  • §  1/2 cup golden raisins
  • §  1/4 cup of crystallized ginger, finely chopped
  • §  1 garlic clove, minced
  • §  1 teaspoon mustard seeds, whole
  • §  1/4 teaspoon Max’s special seasoning
  • §  2 Tbsp of honey
  • §  2 Tbsp of chopped Tangerine zest

DIRECTIONS

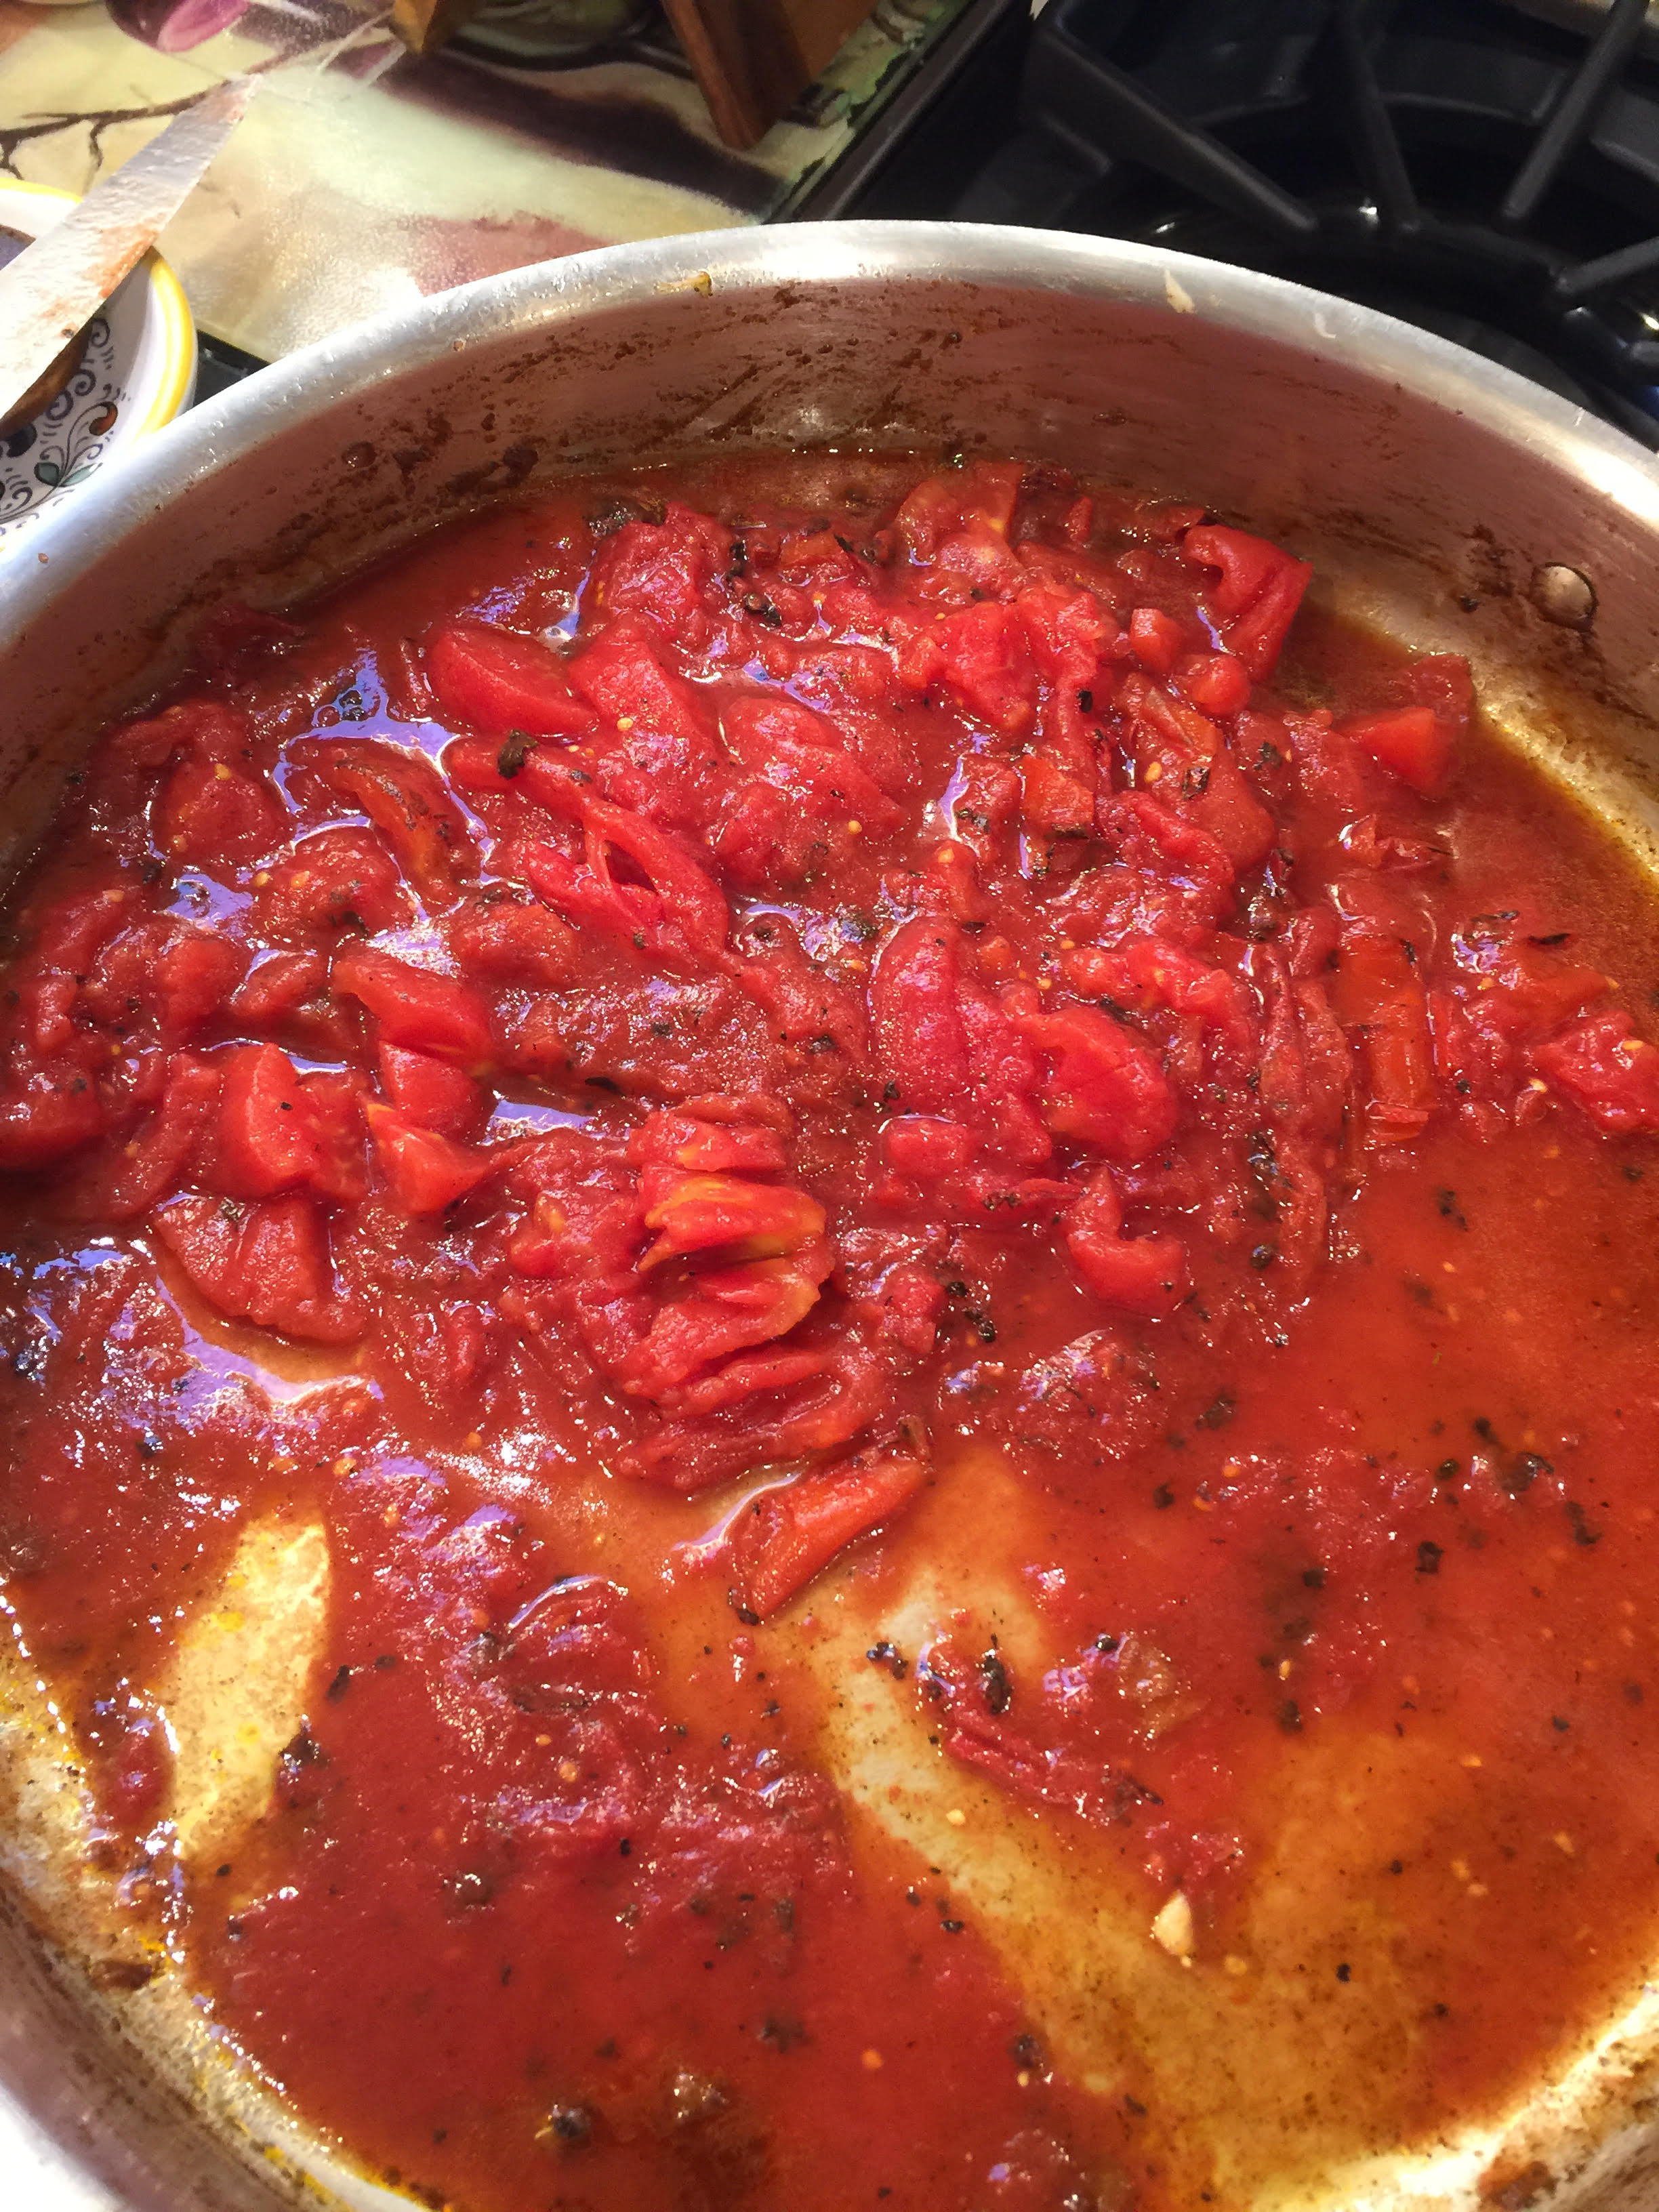
1 Combine sugar and vinegar in a 6 quart pot; bring to a boil, stirring until sugar dissolves.

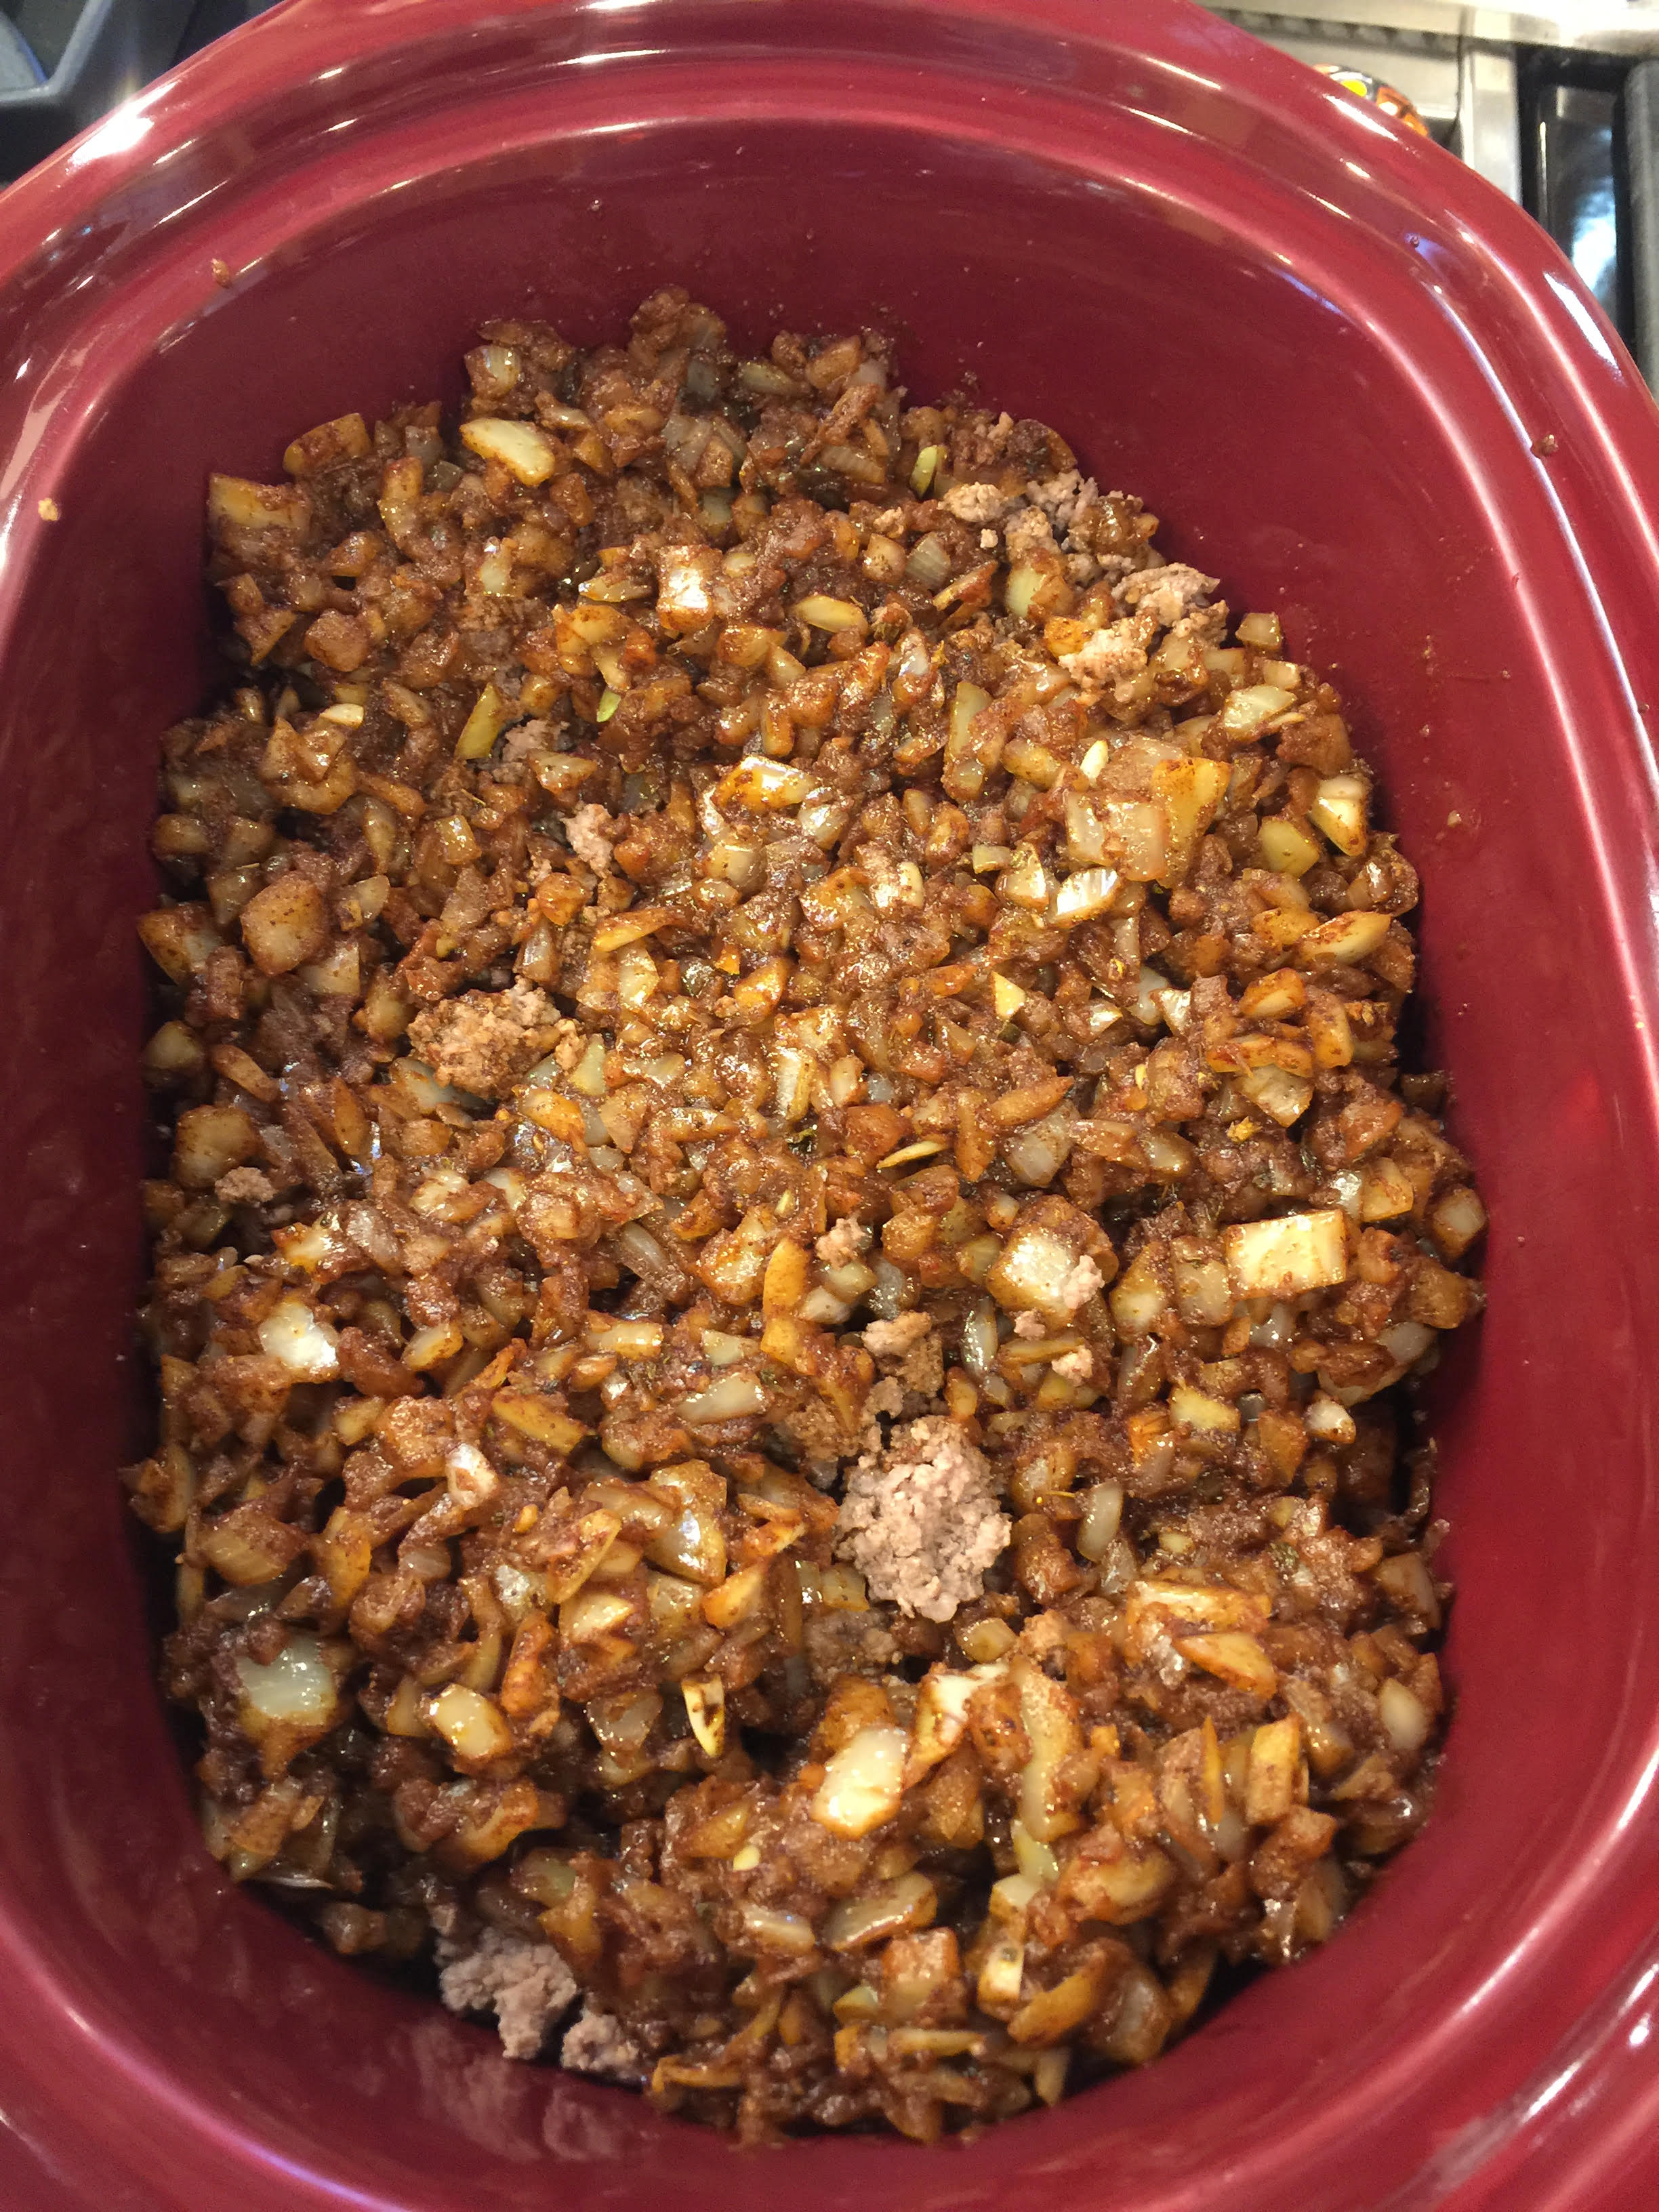
 2 Add remaining ingredients and simmer, uncovered, until syrupy and slightly thickened, 45 minutes to 1 hour. Stir occasionally during cooking. Pour into ball jars that have been sterilized in your dishwasher.

IT’S THAT EASY!

Share
Posted in Blog, Gluten Free, Jams, Little farm products, Other wonderful treats, Recipes, Recipes to Make with Children | Tagged , , , , , , , | Leave a comment

Sweet Potato Quinoa and Couscous Chicken Casserole in the Slow Cooker

Share

 Slow cookers seemed to be made for cooking beans, tomatoes, rice or quinoa or grains of any kind. I made this gluten free for a young friend who was going to be visiting and it came out so well that I wanted to share it with you. Actually I made a mistake and put in 1/2 cup of couscous by mistake and then added a 1/2 cup of quinoa – and frankly it made it divine! Enjoy!

Slow Cooker Quinoa Couscous Chicken in the Slow Cooker

Ingredients

  • 3 pounds boneless skinless chicken thighs ( breasts are ok but tougher and dryer)
  • 2 Tbsp oil oil
  • 1 large onion chopped
  • 1 large leek chopped ( whites and light green only)
  •  1/2 cup quinoa 
  • 1/2 cup of couscous
  • 3 pound large sweet potatoes ~3-1/2 cups
  • 1 can black beans
  • 1 can of pinto beans
  • 1 large can fire roasted tomatoes
  • 2 teaspoons minced garlic
  • 1 Tbsp Chili
  • 1 Tbsp Paprika
  • 7 cups chicken broth*
  • Optional: fresh parsley


Instructions

  1. Saute the onion, garlic, leeks until translucent.
  2. Add the chicken thighs cut into pieces and saute for a few minutes
  3. Add all to the slow cooker along with the rinsed quinoa and couscous.;
  4. Remove the skins and chop the sweet potatoes into cubes adding them into the slow cooker.
  5. Drain and rinse the black and pinto beans and add those in. Add in the undrained tomatoes,  chili and paprika powder, and chicken broth.
  6. Place on high for 3-5 hours (It took 4 hours on high for my crockpot.)
  7. Using two forks, shred the chicken and stir all the ingredients together.
  8. Add salt and pepper and if desired fresh parsley.
  9. Serve immediately


Share
Posted in Blog, Family, Gluten Free, Poultry, Recipes, Recipes to Make with Children, Slow Cooker | Tagged , , , , , , | Leave a comment

Changing your favorite recipes into slow cooker recipes!

Share

 ALLRECIPES is a great website and I got this fabulous tip from them – here is the link:


http://dish.allrecipes.com/recipes-tips-convert-slow-cooker/?prop26=whatscooking&prop25=5387083448&prop27=2017-01-19&did=121929-20170119&eaid=13631981&hid=3dd8bf9f54f4e4b1d93019915ccd0696fe74e136

If you have a favorite stovetop or oven recipe that you wish you could make in the slow cooker? If it has some moisture in it—whether from water, broth, wine, sauce, or canned soup—you’re in luck. Just about anything you can braise, stew, bake, or roast can work well in a slow cooker. Just keep some tips in mind when you’re converting a conventional recipe for your crock pot.

Top Slow Cooker Conversion Tips

  • Cut liquid amounts from a conventional recipe in half.

  • For maximum flavor and a more appetizing color, trim visible fat from meats and remove the skin from chicken, then coat the meat lightly in flour and brown in a hot skillet before adding to the slow cooker.

  • For every hour you’d bake, roast, or braise something, allow about 8 hours on low or 4 hours on high in the slow cooker. (When in doubt, turn it on low and leave it all day or overnight.) The low heat setting is about 200F; high heat is about 300F.

  • To thicken or enrich sauces, stir in cream, sour cream, shredded cheese, or cornstarch slurries at the end.

  • Brighten flavors at the end with salt and pepper, lemon juice, or vinegar. A handful of fresh chopped parsley, basil, or cilantro doesn’t hurt anything either.

I would add a few other ideas:

1. I have drained off excess sauce just before the end of the cooking and thickened it with cornstarch, and then stirred it in and let it simmer with the last 30 minutes of cooking. It does the trick every time! It is also less calories than the cream, sour cream and shredded cheese options.

2. Seasoning definitely needs to be re evaluated before serving – I find that most of the time I need to add salt.

3. There is NO way to cook meat anything but well done in a slow cooker – medium or medium rare or rare just doesnt work. So its a good approach for braising, but not, in my opinion, for roasting.

4. Shrimp and most fish cooks so fast that if you convert a fish recipe cut the time for cooking down to no more than half an hour without testing for doneness – so that the fish does not overcook and dry out. Having said all of that – this is still my ABSOLUTELY favorite cooking tool  – just look at the delicious dish Chicken and Quinoa and Peppers in my very old Crockpot below. YUM!


Share
Posted in Blog, Slow Cooker, Tips | Tagged , , , , , , , | Leave a comment

Love making birthday cakes for our grandkids

Share

 Jonah turned 8 this year! And he loves candy. So by his request I made a candy cake – ie a vanilla cake with white frosting and tons of sprinkles, lollipops, jelly beans, marshmallows hidden in the center and Scooby Doo chews – sigh – what a happy boy! Such a joy for me to do!

Yes I do use Betty Crocker Cake Mix – and frosting – why not? Its SO easy – and its really the decorations that matter most to Jonah.. So that is where I spend my time. Of course when we cook together – we do it from scratch a lot of the time – as that is the fun of being together. He loved it! And here is a gorgeous picture of Jonah taken just a few weeks before his birthday. A very handsome young man don’t you agree?


Share
Posted in Blog, Desserts, Family | Tagged , , , , , , , | Leave a comment

Had no electricity for a few hours – ohh my -we are SO dependent on the grid!

Share

 For a few hours yesterday ( with all the bad storms in California) we were without electricity. OH MY we are so dependent on the grid – scary how vulnerable we are to sabotage and what damage it could do to our economy and indeed our lives. All is restored now  but it was a good reminder of all the things we take for granted.

Here is a great recipe that uses my favorite kitchen toy – the crock pot or slow cooker. But first – the lid to my slow cooker ( crockpot brand) cracked. I have had it for decades. I called the manufacturer – they apologized and replaced it – FOR FREE ( including paying the shipping!) HOW ABOUT THAT??? I was so surprised – and thrilled and said I was a huge fan but that I would let others know. Amazing service!

This recipe is really two recipes in one – the reason? I decided to make the sauce that went with it – instead of buying it – you can do either – you now have BOTH recipes! The combination of sauce and stew is about 300 calories a serving so a reasonable dish for a low calorie day. I adapted this recipe from ALL RECIPES website.

Beef Stew Spanish style 

Ingredients

·        1 pound beef stewing meat

·       1/2 cup chopped Spanish onion

·        2 cloves garlic, minced

  • 2 cups chopped red potatoes

·        1 (14.5 ounce) can diced tomatoes

·        1 (12 ounce) jar sofrito ( this is the short cut – I actually made this sauce as it was not hard to do and that way I had lots over for another time)

·        1/2 cup pitted and halved green olives

 Salt and Pepper to taste

Directions

  1. Heat a large skillet over medium heat. Cook beef in hot skillet until completely browned, about 5 minutes; season with salt and pepper. Transfer beef to a slow cooker, retaining some of the beef drippings in the skillet.
  2. Return skillet to heat and heat the retained drippings. Saute onion and garlic in hot drippings until softened, about 5 minutes; add to beef in slow cooker.
  3. Stir potatoes, diced tomatoes, sofrito, and olives into the beef mixture.
  4. Cook on Low until beef and potatoes are fork-tender, 4 to 5 hours.

Sofrito Sauce

Goya Sofrito Tomato Cooking Base, 12 Oz _ Jet.com

Ingredients

  • ·        2 tablespoons vegetable oil
  • ·        1 medium onion, chopped
  • ·        1 green bell pepper, seeded and chopped
  • ·        5 cloves garlic, chopped
  • ·        1 teaspoon salt
  • ·        1/4 teaspoon pepper
  •  1/4 teaspoon ground cumin
  • ·        1 teaspoon dried oregano, crushed
  • ·        2 bay leaves
  • ·        2 tomatoes, chopped (optional)
  • ·        3/4 cup canned tomato sauce


Directions

  1. Heat oil in a skillet over medium-high heat.
  2. Add onion and garlic, and cook until onion is translucent.
  3. Add the bell pepper, and saute until tender.
  4. Season with salt, pepper, cumin, oregano and bay leaves.
  5. Continue cooking until the mixture looks like a yummy green paste with oil around it.
  6. Stir in the tomatoes, if using, and cook stirring until all of the liquid is released.
  7. Gradually stir in the tomato sauce simmer until the sauce looks really red.
  8. Taste, and adjust seasonings if desired.
  9. Remove bay leaves.
  10. Now the sauce is done.
  11. You can add it to meat, rice, beans fish or potatoes.
  12. Thin the sauce down if necessary with water, wine, beer, or whatever is handy.


Share
Posted in Blog, Meat, Recipes, Recipes to Make with Children, Rice, Slow Cooker | Tagged , , , , , , , , , , , , | Leave a comment

Vegetable Slow Cooker Cholent

Share

This is the perfect low calorie filling comfort food for cold wintry evenings.

I have modified a recipe that is often prepared on Friday afternoons and left to cook in the slow cooker through Saturday lunch until ready to serve. This is vegetarian but you could just as easily add ground or chopped up chicken breast and thigh, or turkey or even ground beef ( low fat). Grains can be added too. All of these additions will add to the calories so I have not done so in this version. This will make enough for at least 10 meals – and I make it and freeze half or more than half depending on what our plans are for the week. But it is a wonderful way for calorie reductions while still feeling full.

SLOW COOKER VEGETARIAN CHOLENT

Ingredients

  • 4 tbsp of Olive oil
  • 2 minced garlic cloves
  • 2 Tbsp chopped oregano
  • 2 Tbsp ground chili powder
  • 2 Tbsp garlic powder
  • 2 Tbsp Paprika
  • 2 Tbsp Turmeric
  • 4 Tbsp Curry powder
  • (if you like it spicy add Cayenne as much as you want- we don’t add this as we don’t like spicy)

Then add any vegetables that you have on hand but certainly include one cup of  each of the following ( If your slow cooker is smaller – then reduce all ingredients  above and below this line by half)

  • Chopped Onion
  • Chopped cabbage
  • Chopped carrots
  • Diced peeled yam
  • Diced baby potatoes
  • Chopped Fennel bulb
  • Chopped celery
  • Chopped Cilantro
  • Diced Eggplant with skin
  • Sliced  Zucchini with skin
  • Sliced  Portobello Mushrooms
  • 1 large can of roasted tomatoes with sauce

 I have also sometimes added 1 cup of either BULGUR or QUINOA or BARLEY ( which you just throw in with all the vegetables in the beginning) but NOT Rice as it gets clumpy!

Directions:

  1. Heat the olive oil in a large frying pan, add the garlic and all the spices including Cayenne if you wish.
  2. Saute for a few minutes.
  3. Add the onions and saute for another few minutes
  4. Then add each vegetable sauteing each one for about a minute.until all are in the pan.
  5. Add the canned tomatoes ( be sure they are chopped up) and mix well so that all vegetables have a coating of the spices.
  6. Spray the slow cooker with PAM
  7. Pour the whole mixture into the slow cooker.
  8. If you wish to put it on all night – turn it on low.
  9. If all day – turn on low for about 5 hours and then high for about 3 hours
  10. Check the slow cooker to be sure the all harder vegetables ( e.g. Yams and Potatoes and Carrots) are submerged.
  11. Season with salt and pepper ( it will need a lot of this unless you put in Cayenne)
  12. Serve with steamed rice (  I prepare that in a rice maker so that the whole meal is ready when we are ie it can wait until we are ready!)
  13. YUM!


Share
Posted in Blog, Family, Recipes, Recipes to Make with Children, Rice, Slow Cooker, Vegetables, Vegetarian Mains | Tagged , , , , , , , , , , , , , , , , , , , , , , , | Leave a comment

Best Chili Ever! Using a tip that makes it taste amazing! In the slow cooker of course!

Share

 Chili in the slow cooker is one of my favorite things to make – soooo easy! I tried out this recipe and after a few experiments found a way to make it truly exceptional! ENJOY!

Little Farm Slow Cooker Chili ( serves about 14)

Ingredients:

Seasoning Mix

  • 8 tbsp of chili powder
  • 5 tsp ground coriander
  • 5 tsp ground cumin powder
  • 5 tsp paprika
  • 3 tsp garlic powder
  • 2 tsp dried oregano
  • 1 tsp cayenne pepper ( I left this out as we don’t like stuff spicy)

Chili

  • 1 tbsp of olive oil
  • 3 lbs of ground beef ( or ground turkey or chicken)
  • 2 large cloves of garlic chopped fine
  • 2 large onions chopped small
  • 1 28 can of roasted tomatoes in sauce – chop the tomatoes small
  • 1 can of kidney beans
  • 1 can of black beans
  • 1 can of lima beans
  • 1 can of pinto beans
  • 1-2 cups of chicken stock
  • Salt and Pepper to taste

Directions:

  1. Mix together the seasoning mix and place aside
  2. In a large skillet heat the oil then saute the ground beef until no longer pink – remove,drain reserving the liquid if any, and put the browned meat into the slow cooker.
  3. Add garlic to the skillet and saute for a minute then add the onion and saute until translucent and soft.
  4. Add half of the seasoning and mix well so that the onions and garlic are completely coated
  5. In the meantime take the black beans and the red beans along with their liquid and puree in a blender – reserve on the side until ready to use.
  6. Add the tomatoes from the can which have been chopped into the skillet and heat gently.
  7. Mix the drained liquid if any from the ground beef with the 1 cup of chicken stock and add to the mixture and mix gently ( reserve the other cup of chicken stock in case the chili mixture is too thick)
  8. Pour the whole mixture over the ground beef in the crockpot and mix well.
  9. Add another 2 tbsp of the seasoning mix and mix
  10. Add the pureed beans and mix well
  11. Taste the mixture – if it is not spicy enough you can add more seasoning mix ( you have a few tbsp left)
  12. Make sure to taste for added salt and pepper
  13. Stir well and then finally drain the other beans, and add them – mixing very gently so as not to break the beans.
  14. Turn the slow cooker on low and cook for 4 hours then on high for the last hour.
  15. Serve with grated cheese, chopped onions and low fat sour cream


Share
Posted in Blog, Cheese, Recipes, Recipes to Make with Children, Salad, Slow Cooker | Tagged , , , , , , , , , , , , , , , , , | Leave a comment

Tres Leches Cake

Share

 I tried this recipe a few times until I gave up – the amounts just didn’t work – the cake pan was too big, and the liquids appeared too runny.

So I turned to Betty Crocker – and voila! Her recipe was fool proof! Here it is!


Premium Tres Leches Cake
  • Prep Time15MIN
  • Total Time1HR55MIN
  • Servings15

Ingredients


1
box Betty Crocker™ SuperMoist™ yellow cake mix
1 1/4
cups water
1
tablespoon vegetable oil
2
teaspoons vanilla
4
eggs
1
can (14 oz) sweetened condensed milk (not evaporated)
1
cup whole milk or evaporated milk
1
cup whipping cream
1
container Betty Crocker™ Whipped fluffy white frosting

Directions

Directions

  • Heat oven to 350°F (325°F for dark or nonstick pan). Grease and flour or spray bottom and sides of 13×9-inch pan.
  • In large bowl, beat cake mix, water, oil, vanilla and eggs with electric mixer on low speed 30 seconds, then on medium speed 2 minutes, scraping bowl occasionally. Pour into pan.
  • Bake as directed on box for 13×9-inch pan. Let stand 5 minutes. Poke top of hot cake every 1/2 inch with long-tined fork, wiping fork occasionally to reduce sticking.
  • In large bowl, stir together sweetened condensed milk, whole milk and whipping cream. Carefully pour evenly over top of cake. Cover; refrigerate about 1 hour or until mixture is absorbed into cake. Frost with frosting. Store covered in refrigerator.
Share
Posted in Blog, Desserts, Raising Children, Recipes, Recipes to Make with Children | Tagged , , , , , , , , , , , , , , | Leave a comment

Prime Rib from freezer to oven to table -no defrosting involved!

Share

This sounds crazy but it works! If you decide at the last minute to make prime rib – you need 2.5 hours! However if you were going to defrost the meat you would need at least a day! So I decided to try this out and it worked! It was delicious and as you can see – not too rare or too over cooked. A miracle!


Prime Rib Roast from Freezer to Oven to Table

Ingredients 

  • A 4 lb standing rib roast
  • Seasoning that you like -I use Max’ s seasoning which was in an earlier post or you could mix herbs plus kosher salt, paprika and brown sugar

Directions

  1. Preheat oven to 450 to 500 degrees
  2. Remove roast from freezer.
  3. Discard plastic cover, run under cool water and lightly wipe with clean cloth.
  4. Rub roast with any rub —
  5. Get a medium sheet pan and add a rack to it.
  6. Place the roast on the rack and put in the oven for 25-30 minutes. Keep an eye on it every 10 minutes because it’s going to get hot. You want a dark-brown crust to surround the meat. Don’t open the door; use the oven light to check it. Wait for the wonderful smell, about 20 minutes.
  7. After about 30 minutes, turn down the heat to 250-300 degrees, and keep cooking it for about 20-25 minutes per pound for rare and 30-35 minutes per pound for medium.
  8. A 4-pounder would cook for about 2 hours.
  9. Once it’s done, turn the oven off, remove the roast and let it rest for 15-20 minutes before cutting into it. ENJOY!

Share
Posted in Blog, Meat | Tagged , , , , , , , , , , | Leave a comment

Chicken Curry South African Style

Share

South Africans love curry. So do folks from the UK. South Africa has a large and prosperous Indian community ( you may recall that Gandhi lived there for a while). So curry is part of the normal menu in a South African home. This chicken curry is my favorite and easiest as it uses my favorite Slow Cooker.


Slow Cooker Chicken Curry

Ingredients

·      2 lbs of boneless skinless chicken thighs

·      1 large onion thinly sliced

·      2 large sweet potatoes peeled and diced

·      1 cup coconut milk 

·      1 cup chicken stock (Better than Bouillon)

·      15 oz can chopped tomatoes in sauce ( Pomi is a good brand)

·      2 tablespoons  curry powder and 2 tablespoons of turmeric (we get ours from local Indian markets but it is commercially available)

·      1 teaspoon salt

·      1/2 teaspoon cayenne powder  (we do not like spicy but for those who do – this is optional)

·      1 packet ( 12 ounces) green peas frozen and 1 packet (12 ounces) frozen of cauliflower florets ( we prefer fresh vegetables if you can get them  which will involve hulling peas and cutting the florets from the cauliflower)

·      2 tablespoons lemon juice

·      Cilantro optional garnish

Directions:

1.   In the bottom of the slow cooker whisk together coconut milk, chicken stock, tomatoes in sauce, curry powder, turmeric, salt and cayenne.

2.   Add chicken thighs, onion, cauliflower florets and sweet potatoes. Using tongs, gently toss ingredients together to ensure evenly coated.

3.   Cook on Low for 8 hours or High for 4 hours.

4.   Stir in peas and lemon juice 5 minutes before serving.

5.   Serve over rice and with plenty of fresh cilantro.


The South African Garnishes:

  • We like to serve with sliced bananas which have been sprinkled with lemon juice to stay fresh and not brown, with raisins, with coconut flakes, and with mango chutney ( Mrs Balls is good but we make our own).
  • In addition some add chopped peanuts.
  • Note:  Please add as much curry as your palette will tolerate!


Share
Posted in Blog, Poultry, Recipes, Recipes to Make with Children, Slow Cooker, Tips | Tagged , , , , , , , , , , , , , , , | Leave a comment

Another great slow cooker recipe – so easy!

Share

 Yes it is clear – the slow cooker is my favorite kitchen toy – I LOVE IT! Throw everything in and off you go on your day’s adventures and when you come home the house smells divine and dinner is ready! Go on, give it a try this year if you haven’t already!

Slow-Roasted Salmon with Dill Cream

Ingredients

  • Cooking spray
  • 1/2 bunch fresh dill, divided
  • 1 orange, cut into slices
  • 1 lemon, cut into slices
  • 3 tablespoons water
  • 1 (2 1/2-pound) salmon fillet, skin on
  • 1 teaspoon kosher salt
  • 1/2 teaspoon freshly ground black pepper
  • 1/2 cup light sour cream
  • 1/4 cup canola mayonnaise
  • 1 teaspoon grated lemon rind
  • 1 tablespoon fresh lemon juice
  • 1/2 teaspoon Dijon mustard
  • Orange wedges (optional)
  • Lemon wedges (optional)

Preparation

1. In a large,slow cooker, place a piece of foil long enough to overhang sides. Coat foil and slow cooker sides with cooking spray.

2. Chop enough dill fronds to equal 2 tablespoons; set aside. Line slow cooker bottom with remaining dill, orange slices, and lemon slices. Sprinkle with 3 tablespoons water.

3. Season flesh side of salmon with salt and pepper; place fillet, skin side down, on top of citrus. Cover and cook on LOW 2 1/2 hours or until fish flakes easily when tested with a fork or until desired degree of doneness. Using foil as handles, lift salmon fillet out of slow cooker; let stand 10 minutes. Lift fillet off herbs, and transfer to a serving platter.


4. While salmon cooks, combine reserved dill fronds, sour cream, mayonnaise, lemon rind, lemon juice, and mustard in a bowl; refrigerate. Serve salmon warm or at room temperature with dill cream sauce and orange and lemon wedges, if desired

.

Share
Posted in Blog, Fish, Slow Cooker | Tagged , , , , , , , , | Leave a comment

Slow Cooker Cioppino – add or subtract any fish you like or dislike! Very versatile recipe!

Share

 I love scallops – my husband doesn’t. Some are allergic to shell fish or don’t eat it – you can still make this cioppino by using other kinds of fish like monkfish, or cod, or halibut or salmon or even sea bass as an expensive alternative! The soup makes all the difference. A  great dish for a cold day for lunch or dinner.

Slow Cooker Cioppino

Ingredients:

  • 2 tablespoons extra-virgin olive oil
  • 1 1/2 cups chopped onion
  • 1 1/2 cups chopped fennel bulb
  • 10 garlic cloves, sliced
  • 1 cup dry white wine
  • 2 teaspoons tomato paste
  • 1/2 cup water
  • 2 tablespoons chopped fresh oregano
  • 2 tablespoons chopped fresh thyme
  • 3/4 teaspoon crushed red pepper
  • 3/8 teaspoon kosher salt
  • 1/2 pound chopped fresh tomatoes
  • 2 (2-inch) lemon rind strips
  • 2 bay leaves
  • 1 (26-ounce) box chopped tomatoes (such as Pomì)
  • 3/4 pound cod, cut into 2-inch pieces
  • 1/2 pound sea scallops ( or any other kind of fish you like if you do not eat scallops – for example salmon)
  • 1/2 pound peeled and deveined medium shrimp ( or any other kind of fish you like if you do not eat shellfish)
  • 1 tablespoon fresh lemon juice
  • 1/4 cup fresh basil leaves

Directions:

1. Heat a large skillet over medium-high heat. Add oil; swirl to coat. Add onion, fennel, and garlic to pan; cook 3 minutes or until soft. Add wine and tomato paste to pan, stirring well; bring to a boil. Cook 2 minutes, stirring occasionally.

2. Carefully pour onion mixture into a 6-quart electric slow cooker. Add 1/2 cup water and next 8 ingredients (through boxed tomatoes) to slow cooker. Cover and cook on LOW for 7 hours.

3. Uncover; discard lemon rind and bay leaves. Stir in cod, scallops, shrimp, or other kinds of fish and lemon juice. Cover and cook on LOW 13 to 15 minutes or until fish flakes easily when tested with a fork. Garnish with fresh basil.

ENJOY with crusty french bread  and unsalted butter – YUM!

Share
Posted in Blog, Fish, Gluten Free, Little farm products, Slow Cooker, Soups, Starters | Tagged , , , , , , , , , , , | Leave a comment

Passionfruit Dessert – by Lynda – divine!

Share

 We grow passionfruit on The Little Farm. We used to grow them in South Africa and love the taste. My daughter in law’s mom Lynda makes the BEST dessert from Passionfruit – and here it is! Thank you Lynda!

Passionfruit Dulce de Leche Dessert

Ingredients:

  • 2 small packets of lemon Jello
  • 2 cans of Sweetened Condensed Milk
  • 3 cups of Hot Water
  • 1 cup of Passionfruit Pulp ( fresh or available in cans at  https://www.markys.com )

Directions:

  1. Dissolve the 2 packets of Jello in the 3 cups of hot water, and allow to almost set.
  2. Add the 2 cans of Dulce de Leche ( that is condensed milk in cans sweetened) and then the pulp.
  3. Mix well and allow to set.

YUMMY!

passionfruit

Share
Posted in Blog, Desserts, Family, Fruit, Little farm products, Recipes, Recipes to Make with Children | Tagged , , , , , , , , , , | Leave a comment

Stuffing – anytime not just for holidays!

Share

 I love stuffing. I must admit that I do not wait for holidays to make it – and I do take the short cuts that are offered – instant stuffing on the stove – but I add a bunch of stuff that makes it more delicious. Here is my favorite stuffing recipe – using Kraft’s Stove top Turkey or Chicken Stuffing Mix

Little Farm Stuffing Recipe ( feeds about 16-20 depending how hungry folks are! I always seem to over cater anyway)

Ingredients:

  • 8 Tbsp of Olive Oil
  • 1 bunch of celery hearts chopped
  • 2 large onions chopped
  • 2 boxes of Kraft Stuffing Mix for Turkey and 2 Boxes of Sage and Herbs Stuffing mix for Turkeys
  • 6 cups of hot water
  • 6 Tsp of Better Than Bouillon reconstituted into stock with the hot water
  • 12 Tbsp of Unsalted Butter
  • 1 cup of golden raisins
  • 2 cups of chopped dried apricots
  • 1 cup of dried cranberries

 Directions:

  1. Heat the olive oil in a large pan until hot then add the chopped onions, turn down the heat and cook until translucent
  2. Add the chopped celery and cook until softened
  3. Add all the raisins, apricots and cranberries
  4. Mix the stock with the butter until softened and partially liquified
  5. Add the stock ( water mixed with Better than Bouillon plus the added butter)
  6. Add the 4 packets of Kraft Stuffing Mix
  7. Mix all together until combined
  8. When the turkey is clean, has been brined, received an injection of marinade and is seasoned, fill both cavities with the stuffing – sew up the larger cavity and place in the roasting pan. Some of the stuffing may come out and that is fine as it will caramelize with the juices in the pan and become even more delicious!
  9. The rest of the stuffing should be placed into a large flat casserole and tabs of butter ( unsalted) on top then put into the oven at 400 degrees – with a last blast at broil for 5 minutes at the end to get the tops to brown. 
  10. Serve! And prepare for seconds or thirds!
  11. You could cut this recipe into a 1/4 using only 1 box of the stuffing mix and use it for a chicken – yummy and easy for a family of 2 -4.
  12. Enjoy!

stuffing


Share
Posted in Blog, Family, Little farm products, Poultry, Recipes, Recipes to Make with Children, Vegetables | Tagged , , , , , , , , , , , , , , , , , , | Leave a comment

Quick and Easy! Try this recipe for Quiche when you are in a hurry!

Share

Easy Fast and Yummy Quiche when you are in a hurry!


Ingredients

  • 8 slices bacon ( or turkey bacon if you don’t eat pork)
  • 4 ounces shredded Swiss cheese
  • 2 tablespoons butter, melted
  • 4 eggs, beaten
  • 1/4 cup finely chopped onion
  • 1 teaspoon salt
  • 1/2 cup all-purpose flour
  • 1 1/2 cups milk

Directions with or without a crust

  1. Place bacon in a large, deep skillet. Cook over medium high heat until evenly brown. Drain, crumble and set aside.
  2. Preheat oven to 350 degrees F (175 degrees C). Lightly grease a 9 inch pie pan.
  3. Line bottom of pie plate with cheese and crumbled bacon. Combine eggs, butter, onion, salt, flour and milk; whisk together until smooth; pour into pie pan.
  4. Bake in preheated oven for 35 minutes, until set. Serve hot or cold.

With a crust –you could take a premade pie crust and bake it for 20 mins then add the rest and bake again

Below a selection of Little Farm Eggs – quail, turkey, miniature chickens, Italian chickens, and more.

little-farm-bounty-eggs-nuts-avocado-navel-orange-blood-orange-palestinian-lime-valencia-2016

Here is turkey bacon below. 

turkey_bacon_cooking_in_skillet

Share
Posted in Blog, Cheese, Family, Little farm products, Recipes, Recipes to Make with Children, Starters | Tagged , , , , , , , , , | Leave a comment

A Slow Cooker Onion Soup – easy and delicious – great for winter nights

Share

 I tried this recipe and it was truly delicious – it was from Allrecipes.com – hope you like it!

Slow Cooker French Onion Soup

Ingredients

·        6 tablespoons butter

·        4 large yellow onions, sliced and separated into rings

·        1 tablespoon white sugar

·        2 cloves garlic, minced

·        1/2 cup cooking sherry

·        7 cups reduced-sodium beef broth

·        1 teaspoon sea salt, or to taste

·        1/4 teaspoon dried thyme

·        1 bay leaf

·        8 slices of French bread

·        1/2 cup shredded Gruyere cheese

·        1/3 cup shredded Emmental cheese

·        1/4 cup freshly shredded Parmesan cheese

·        2 tablespoons shredded mozzarella cheese

Directions

  1. Heat butter in a large, heavy pot over medium-high heat; cook and stir onions until they become translucent, about 10 minutes. Sprinkle onions with sugar; reduce heat to medium. Cook, stirring constantly, until onions are soft and browned, at least 30 minutes. Stir in garlic and cook until fragrant, about 1 minute.
  2. Stir sherry into onion mixture and scrape bottom of pot to dissolve small bits of browned food from the pot. Transfer onions into a slow cooker and pour in beef (or if vegetarian, vegetable) broth. Season to taste with sea salt; stir in thyme and bay leaf. Cover cooker, set on High, and cook 4 to 6 hours. If desired, set on Low and cook 8 to 10 hours.
  3. About 10 minutes before serving, set oven rack about 8 inches from the heat source and preheat the oven’s broiler. Arrange bread slices on a baking sheet.
  4. Broil bread slices until toasted, 1 to 2 minutes per side.
  5. Combine Gruyere, Emmental, Parmesan, and mozzarella cheeses in a bowl, tossing lightly. Fill oven-safe soup crocks 3/4 full of onion soup and float a bread slice in each bowl. Top with about 2 tablespoons of cheese mixture per serving.
  6. Place filled bowls onto a baking sheet and broil until cheese topping is lightly browned and bubbling, about 2 minutes.

yellow-onion sliced-onions-for-onion-soup


Share
Posted in Recipes, Recipes to Make with Children, Slow Cooker, Soups, Uncategorized, Vegetarian Mains | Tagged , , , , , , , , | Leave a comment

Cinnamon Bread – easy and fast! Delicious!

Share

 I had one hour free and guests coming – so decided to make some Cinnamon Bread – found the recipe in ALLRECIPES.COM – it was fast, easy and divine! Enjoy!!

Cinnamon Bread Easy and Fast ( 1 hour)

Ingredients

·        2 cups all-purpose flour

·        1 cup white sugar

·        2 teaspoons baking powder

·        1/2 teaspoon baking soda

·        1 1/2 teaspoons ground cinnamon

·        1 teaspoon salt

·        1 cup buttermilk

·        1/4 cup vegetable oil

·        2 eggs

·        2 teaspoons vanilla extract

·        2 tablespoons white sugar

·        1 teaspoon ground cinnamon

·        2 teaspoons margarine

Directions

  1. Preheat oven to 350 degrees F (175 degrees C). Grease one 9×5 inch loaf pan.
  2. Measure flour, 1 cup sugar, baking powder, baking soda, 1 1/2 teaspoons cinnamon, salt, buttermilk, oil, eggs and vanilla into large mixing bowl. Beat 3 minutes. Pour into prepared loaf pan. Smooth top.
  3. Combine 2 tablespoons white sugar, 1 teaspoon cinnamon and butter, mixing until crumbly. Sprinkle topping over smoothed batter. Using knife, cut in a light swirling motion to give a marbled effect.
  4. Bake for about 50 minutes. Test with toothpick. When inserted it should come out clean. Remove bread from pan to rack to cool.

cinnamon-bread-mixing-ingredientscinnamon-bread-2-loaves


Share
Posted in Blog, Desserts, Family, Little farm products, Recipes, Recipes to Make with Children | Tagged , , , , , , , , , , , , , , , , , | Leave a comment

Our Farm Manager Max Arteaga has the best seasoning mix! Here it is! Use on all main course holiday foods!

Share

We use this seasoning mix on everything – fish, meat, poultry and vegetables. I even added it to a cheese sandwich the other day! YUM! And so easy. Try it out!

 Little Farm Manager Max Arteaga’s Seasoning Mix – for meat, poultry and fish – vegetables too

Mix equal amounts (1 cup) of the following:

·       Dried Garlic

·       Sea Salt

·       Cayenne Pepper OR Chili Powder or Crushed Red Pepper ( or a combination of all depending on how HOT you want your seasoning to be)

·       Dried Oregano

·       Crushed White and Black Pepper

·       Crushed Fennel Seeds

Here he is with a bunch of our bananas from our annual crop! We put lots of these into banana bread!

max-with-bananas-little-farm-july-2014

Share
Posted in Blog, Cheese, Family, Fish, Gluten Free, Little farm products, Meat, Pasta, Poultry, Recipes, Recipes to Make with Children, Rice, Salad, Slow Cooker, Soups, Starters, Vegetables, Vegetarian Mains | Tagged , , , , , , , , , , , , , , , , | Leave a comment

Having fun with the grandkids – nothing better! Painting, Making Bread and more

Share

 Watching our identical twin grandsons grow up is such a joy. They are  sweet and smart – and love hanging out at the farm. Always chores to do and baking and cooking with grandma. Here they are making bread with me one Friday some weeks ago. It was one of those amazing California weekends when the temperature was 85 degrees! We painted bird houses for the humming birds that populate our farm ( the ones we chose were too small for the cockatiels and parakeets in our aviary – where we have 200 birds) .

And here is the recipe for making Challah Bread – easy but time consuming! 

How To Make Challah Bread

 Ingredients

2 Tbsp active dry or instant yeast

1 cup (8 ounces) lukewarm water

9-9.5 cups  all-purpose flour

1/2 cup white granulated sugar

1 Tbsp salt

4 large eggs plus one for painting on the challah before baking

1/2 cup  Canola vegetable oil

Instructions

  1. Dissolve the yeast: Sprinkle the yeast over the water in a small bowl, and add a teaspoon of sugar. Stir to dissolve the yeast and let stand for 10 minutes until you see a thin frothy layer across the top. This means that the yeast is active and ready to use. (If you do not see this or if your yeast won’t dissolve, it has likely expired and you’ll need to purchase new yeast.)
  2. Mix the dry ingredients: Whisk together 9 cups of the flour, sugar, and salt in the bowl of a standing mixer (or in a large mixing bowl if kneading by hand).
  3. Add the eggs and oil which you have beaten together: Make a well in the center of the flour and add the eggs and oil. Whisk these together to form a slurry, pulling in a little flour from the sides of the bowl.
  4. Mix to form a shaggy dough using a wooden spoon: Pour the yeast mixture over the egg slurry. Mix the yeast, eggs, and flour with a long-handled spoon until you form a shaggy dough that is difficult to mix.
  5. Knead the dough for 15 minutes by turning out the dough onto a floured work surface and knead by hand- this is REALLY GOOD EXERCISE! If the dough seems very sticky, add flour a teaspoon at a time until it feels tacky, but no longer like bubblegum. The dough has finished kneading when it is soft, smooth, and holds a ball-shape.
  6. Place the dough in an oiled bowl ( turn it over a few times so that the oil coats all of it) , cover with plastic wrap and towels, and place somewhere warm. Let the dough rise until doubled in bulk, about 2 – 3 hours.
  7. Separate the dough into six equal pieces, depending on the type of braid you’d like to do. Roll each piece of dough into a long rope roughly 1-inch thick and 16 inches long. If the ropes shrink as you try to roll them, let them rest for 5 minutes to relax the gluten and then try again.
  8. Gather 3 of the ropes and squeeze them together at the very top to make a 3-stranded challah, braid the ropes together like braiding hair or yarn and squeeze the ends together when complete. 
  9. Spray a baking sheet with spray ( or pour a little oil onto it a spread it around smoothly) and lift the loaf on top. Sprinkle the loaf with a little flour and drape it with a clean dishcloth. Place the pan somewhere warm and away from drafts and let it rise until puffed and pillowy, about an hour.
  10. About 20 minutes before baking, heat the oven to 350°F. When ready to bake, whisk the last egg and brush it all over the challah. Be sure to get in the cracks and down the sides of the loaf.
  11. Slide the challah into the oven on its baking sheet and bake for 30 to 35 minutes,  The challah is done when it is browned. This recipe will make TWO large challahs ( you have six ropes so have to braid two challahs of 3 braids each)
  12. Cool the challah: Let the challah cool on a cooling rack until just barely warm. Slice and eat.
  13. Making a 6-Stranded Challah Braid

    The name of the game here is "over two, under one, over two." Carry the right-most rope over the two ropes beside it, slip it under the middle rope, and then carry it over the last two ropes. Lay the rope down parallel to the other ropes; it is now the furthest-left strand. Repeat this pattern until you reach the end of the loaf. Try to make your braid as tight as possible. Your braid will start listing to the left as you go; it’s ok to lift it up and recenter the loaf if you need to. Once you reach the end, squeeze the ends of the ropes together and tuck them under the loaf.

    At this point, your loaf is fairly long and skinny. If you’d like to make a celebration ring, stretch the loaf a little longer and pull the ends toward each other to create a circle. You can either squeeze the ends together, or if you’re feeling adventurous, braid them into a continuous circle.

    If you’re making a regular loaf you need to "plump" it a little to tighten the ropes into more of a loaf shape. Place your left palm at the end of the braid and your right palm at the top, and gently push the two ends toward each other, just like plumping a pillow in slow motion. Then slip your fingers under the dough along either side and gently lift the dough while cupping it downwards. 

    For the grandsons below, I divided the dough into two smaller pieces and one larger one. I made the larger one into one large Challah for the Friday night dinner for the family while the smaller ones were divided into ropes of three each by the children and braided into individual Challahs as you see pictured below. Great excitement and happiness all around!

gabe-and-noah-painting-november-11-2016

noah-and-gabe-closeup-with-sticky-flour-dough-for-hallah-nov-11-2016 noah-and-gabe-painting-hallah-with-egg-nov-11-2016individual-small-hallahs-made-by-twins-november-11-2016

Share
Posted in Blog, Family, Little farm products, Raising Children, Recipes, Recipes to Make with Children | Tagged , , , , , , , , , | Leave a comment

Finding an easy fast comfort food dish that the whole family will LOVE! Here it is!

Share

 What is the kind of food that your family considers to be COMFORT FOOD? We have a number of dishes that come from our heritage in South Africa – and a few that we picked up  along the way. One I particularly love is home made hummus. It is a food that more folks are familiar with since Sabra started distributing worldwide and their products are SOOO good. However making your own Hummus is so easy and satisfying that I do it myself. Here is my favorite starter or snack recipe – with more to come in future blogs.

Homemade Hummus

Ingredients

  • 2 cans of chickpeas – drained
  • 1 cup of olive oil ( or less) to taste
  • 1/2 cup of Tahini – make sure you get the liquid part as well as the denser part of the product
  • One clove of Garlic chopped fine or minced
  • Juice of one lemon
  • Salt to taste
  • Paprika and chopped Italian Parsley for finishing

Directions

  1. Puree the drained chickpeas in your Cuisinart until smooth
  2. Add Tahini and half the olive oil and the juice of one lemon
  3. Add salt to taste
  4. If the mixture is too thick or dense, add more olive oil.
  5. I found that  I needed to add olive oil until it tasted ‘right’ – right may be different for different folks – I like it smooth and with that olive oil texture – so I did add about 3/4 of a cup of olive oil.
  6. Put into a serving dish.
  7. Make a depression in the top of the hummus and then used the 1/4 cup to drizzle into the depression and around the sides of the dish
  8. Sprinkle some paprika  (optional: and chopped Italian parsley) over the hummus to give it color ( optional).
  9. Serve with hot pita or crackers

easy-and-smooth-hummus-recipe-1


Share
Posted in Blog, Family, Recipes, Recipes to Make with Children, Vegetables, Vegetarian Mains | Tagged , , , , , , , , , , , , , | Leave a comment