It is FIG time at The Little Farm – so we serve Figs with our Goat Cheese – cooking with kids who love it!

Share

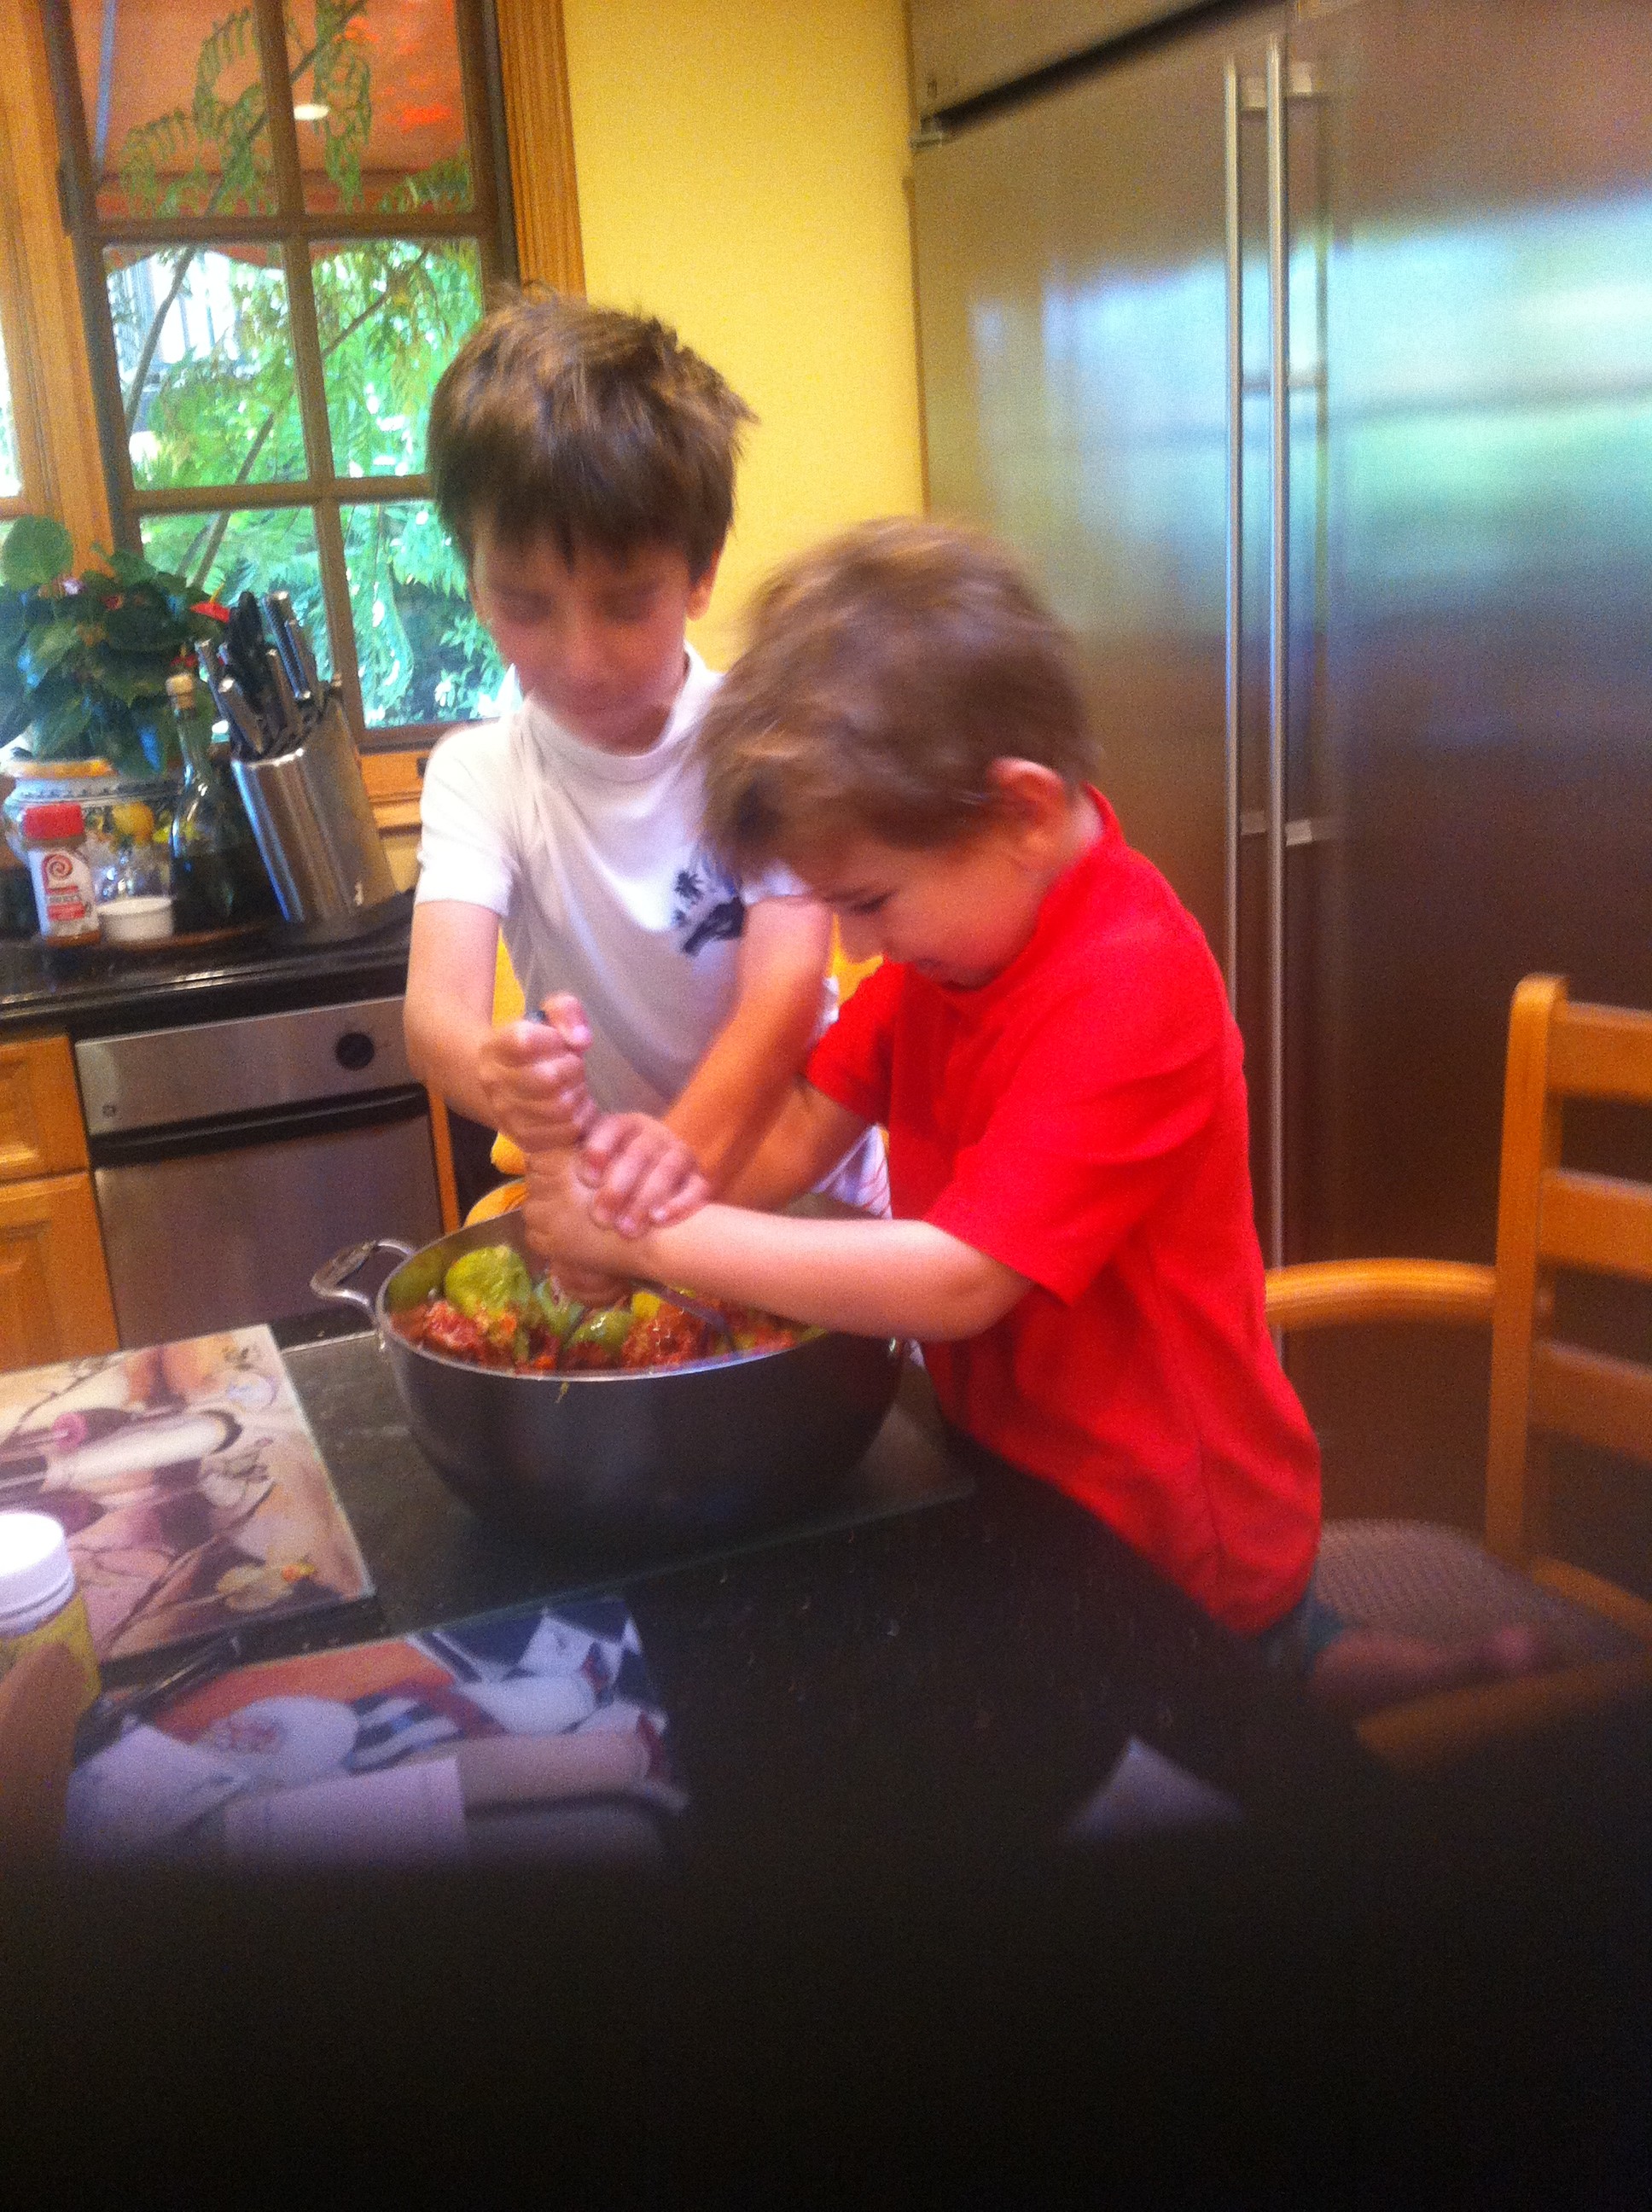
We love the combination of goats cheese and fresh figs. Truly scrumptious. Here is some of our fig bounty this year – and the two older grandsons smashing the figs into the pot for jam. Yum!IMG_5882IMG_5883

Share
Posted in Blog, Cheese, Desserts, Family, Fruit, Jams, Little farm products, Raising Children, Recipes, Recipes to Make with Children, Uncategorized | Tagged , , , , , , | Leave a comment

Grandparents Day is TODAY! Are you celebrating? Cooking with kids is a great way to do it!

Share

Today is Grandparents Day – yes, I know it’s one of those artificial holidays that most people say are for commercial reasons only – but once you become a Grandparent – you celebrate EVERY day – so we consider this to be a special day for us. Also be sure to check out www.grandparents.com – it is a site especially for grandparents!

We have seen our grandsons a lot this week and it is especially joyful when that happens – and how happy they make us feel. They all love to dance, love music, and love the water – so whether it’s singing, dancing, swimming or splashing – they are happy and giggling all the time. Simple things make for happiness – taking a walk with Grandpa, for example. 185   And of course cooking together is a favorite! Here is a recipe for Cinnamon Coffee Cake that we love to make together.


Ingredients:

  • 2/3 cup butter unsalted
  • 1/2 cup packed brown sugar
  • 1 cup sugar
  • 2 eggs    beaten
  • 2 cups flour
  • 1 teaspoon baking powder
  • 1 teaspoon baking soda
  • 1 teaspoon salt
  • 1 teaspoon cinnamon
  • 1 cup buttermilk

Topping

  • 1/2 cup packed brown sugar
  • 1/2 cup chopped nuts
  • 1/2 teaspoon cinnamon

Directions:

  1. Cream together butter, 1/2 Cup brown sugar and 1 cup granulated sugar.
  2. Add the beaten eggs and mix well.
  3.  Sift together all dry ingredients.
  4. Add to creamed mixture alternately with the buttermilk.
  5. Pour into greased and floured 9 x 13-inch pan.
  6. Sprinkle topping over the batter.
  7. Cover with foil and refrigerate overnight ( this is the hard part – the kids want it NOW! We do this when they come for the weekend)
  8. Remove foil and bake at 350° for 35 minutes or until cake tests done.


Share
Posted in Blog, Desserts, Family, Raising Children, Recipes, Recipes to Make with Children | Tagged , , , , | Leave a comment

Recently for National Association of Corporate Directors I spoke at their Master Class for Directors – great fun!

Share

NACD – the national association of corporate directors – gives education and peer to peer exchanges for directors from around the world who serve on company boards public and private alike. I was proud to speak at a recent Master Class at the NACD Laguna Event at the gorgeous Montage Hotel. A great venue with wonderful food – and amazing directors from all kinds of companies – met some great people and was much supported by my fellow board members at the NACD Southern California Group – where I serve both as a director and also as Chair of the Nominating Committee.

Fay Feeney – a global expert in Social Media who also serves on the NACD Board with me – took this super photo. Thanks Fay!


Larraine At Master Class Laguna 2013 NACD

Share
Posted in Blog, Live Events, Social media | Tagged , , , , , | Leave a comment

Ever heard of Wax Jambu? Its a divine and gorgeous exotic fruit and we grow them on our Little Farm

Share

Wax Jambu is a plant species in the Myrtaceae, native to an area that includes the Malay Peninsula, and theAndaman and Nicobar Islands, but introduced in prehistoric times to a wider area[2] and now widely cultivated in the tropics. I must admit that it is an acquired taste since it is not very sweet – but our goats ADORE them and can never get enough!

Wax jambu


Share
Posted in Blog, Fruit | Tagged , , , | Leave a comment

For those who celebrate it – happy new year tomorrow! May all your days be healthy and full of joy

Share

Music adds so much joy to our lives. So does exercise and good health. And until one’s life is devoid of all of those – we do not really appreciate our senses that let us hear, see, understand and move with joy and no pain.

So today I am giving thanks for all the goodness in my life – the family, friends, good health and prosperity – and ask that you take a few moments to express an attitude of gratitude. We always have something to be grateful for, no matter how dark the moment. And in this blog I send you strength and joy for every moment of your day.

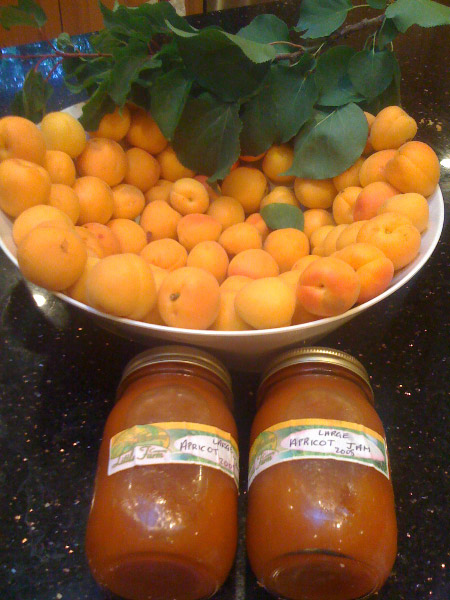
Below is some of the bounty of our little farm – apricots and the jam that I have made from them – just Apricots ( pitted), sugar and vegetarian pectin. Cook slowly and enjoy. My absolute favorite jam.

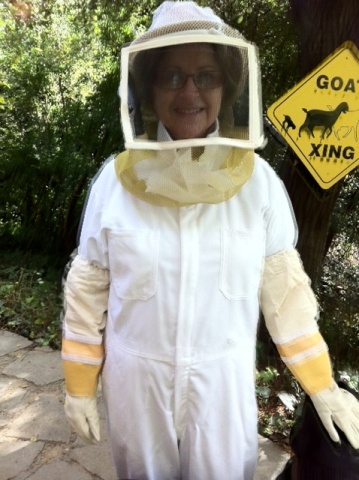
Apricot Jam plus fresh fruitAnd of course – apples and honey from our bees – a traditional dish. Happy New Year to those who celebrate it tomorrow! Here I am in my bee suit  – but honestly, I leave the bee keeping to my husband – he is a real expert – and we are working hard to preserve as many bee colonies as we can – they are suffering from the Colony Collapse Syndrome that bees worldwide are afflicted with. We lost half our hives this year – and are tending to the remaining ones hoping that they will survive. More on that in another blog….Larraine Beekeeper Feb 2011

Share
Posted in Blog, Family, Prayers and Religion | Tagged , , , , , , , , | Leave a comment

Cherry Tomatoes – the most delicious – they taste like candy! And a couple of recipes to use them

Share

We love Cherry tomatoes – and the kids love them too. They taste like candy! There are so many ways to use them – here are a few:

1. On top of baby arugula with a lemon/olive oil/garlic dressing as an accompanying salad to anything!

2. With sliced avocado, kosher salt and a squeeze of yuzu lime ( Japanese lime) as a starter – sprinkle a few pine nuts on top or any chopped nuts of your choice – the nuts could be heated in a bit of salt and olive oil first – careful not to burn and then added at the last moment too – yum!

3.  Poach salmon in the oven ( 350 degrees for 15 minutes, place the raw salmon in a casserole with drizzle of olive oil and lemon juice, and place the cherry tomatoes on top for the last 5 minutes while turning the oven to broil)

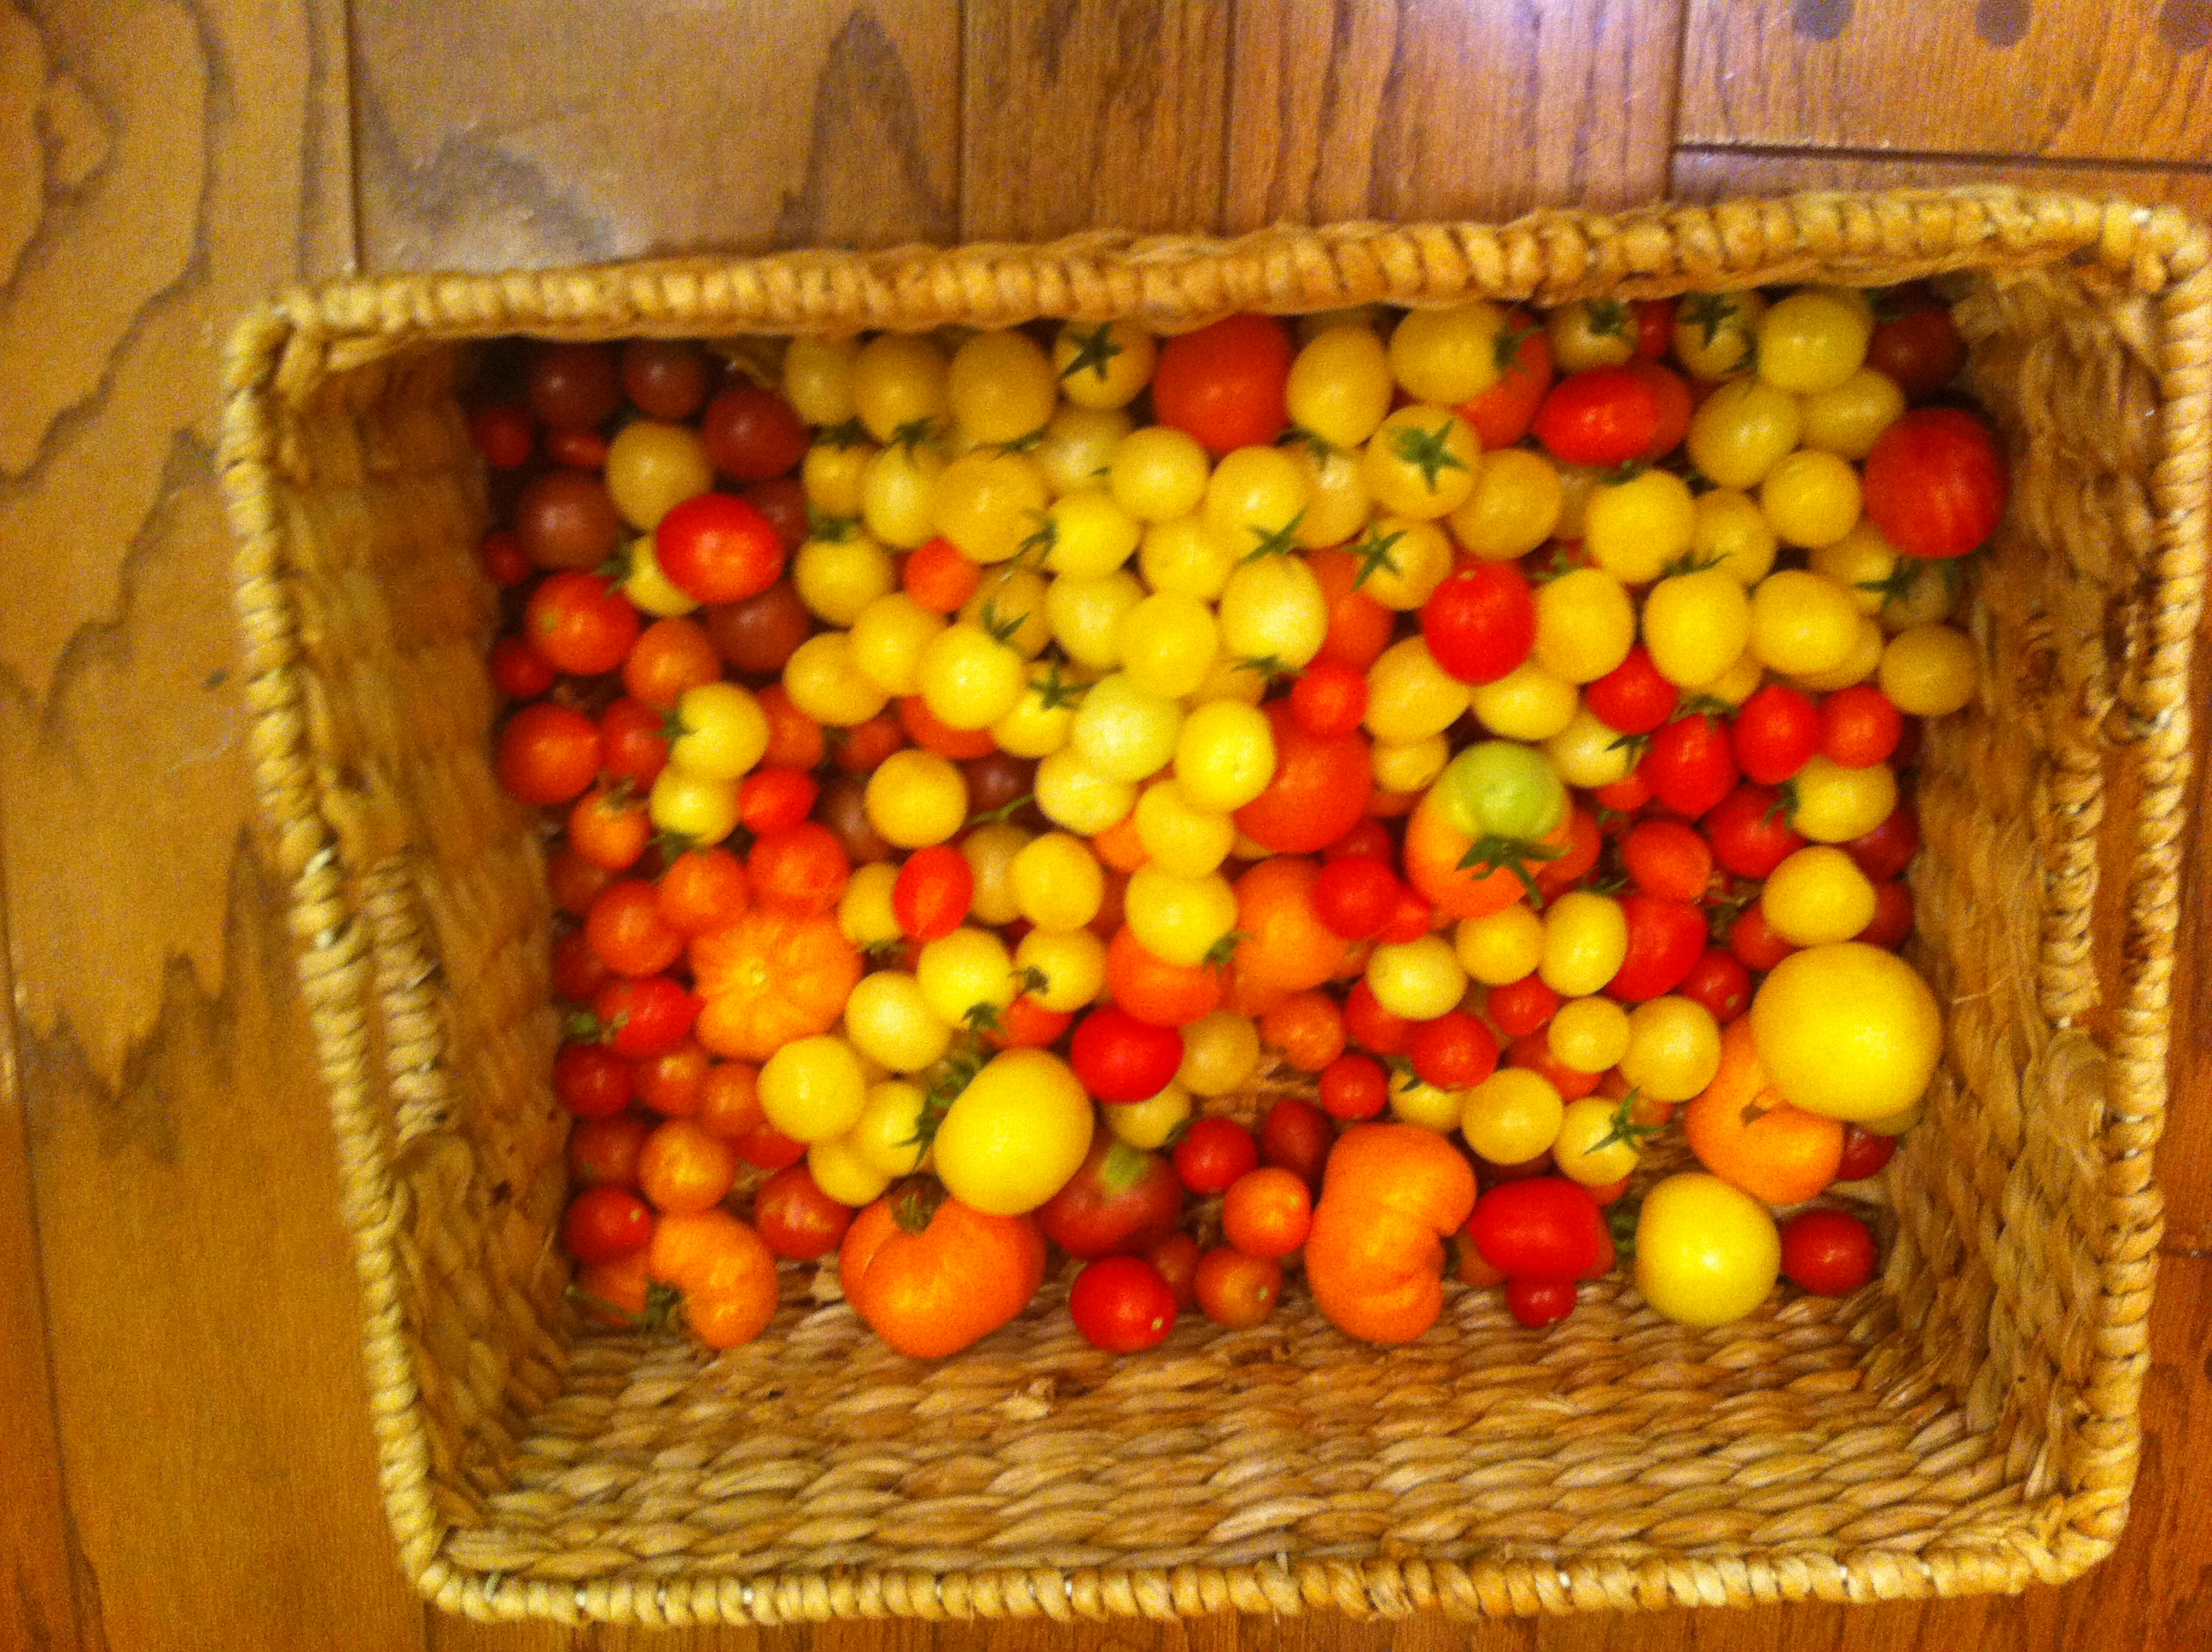
Here is a picture of our latest growth – you can almost taste them!IMG_2925

Share
Posted in Blog, Fish, Recipes, Salad, Starters, Vegetables | Tagged , , , , , , | Leave a comment

Wolfgang Puck of Spago’s signature recipe – Smoked Salmon and Dill Cream Pizza – YUMMY!

Share

Today I had lunch at Spago in Beverly Hills, Los Angeles. It was delicious. And Wolfgang Puck was there mixing with the folks and commenting on his recipes and restaurant empire.  I ordered his signature dish – I always do ( unless I order his lobster salad which is divine – but both are so substantial that only one can be ordered per meal!). Here is the recipe for you from him with my ‘make it easy’ modifications! ENJOY!

Ingredients:

  • 6 ounces Pizza Dough (Wolfgang makes his own – I cheated – and used a frozen pizza dough – easier, and quicker – sorry Wolfie but few of us are even close to your standard of perfection and in this case – just fine – will do!)
  • 1 tablespoon Chili and Garlic Oil (again here I made it easy – and added chopped or minced garlic to regular olive oil, along with one chopped chili medium hot without seeds and let them sit for a few hours overnight – this can be used over and over again and will keep for weeks )
  • 1/4 cup thinly sliced red onion
  • 2 tablespoons Dill Cream made with:
    • 1/2 cups Sour cream ( I used non fat – lower in calories)
    • 3 tablespoons Minced shallots
    • 2 tablespoons Fresh dill leaves, chopped
    • 1/2 tablespoons Fresh lemon juice
    • 1/4 teaspoon Freshly ground white pepper
  • 1/2 ounces thinly sliced smoked salmon
  • 1 teaspoon chopped fresh chives
  • 1 tablespoon Sevruga caviar, optional ( or use another kind of fish roe that is less expensive)

Instructions for Pizza with Smoked Salmon and Caviar Recipe

  1.  Place a pizza stone on the middle rack of the oven and preheat the oven to 500°F.( available from Cutleryandmore.com under kitchen supply/pizza stones -and it runs about $30 – and is really worth it)Pizza Stone from cutleryandmore
  2. On a lightly floured surface, stretch or roll out the dough into an 8- inch circle, with the outer edge a little thicker than the inner circle. Brush the dough with the oil and arrange the onions over the pizza. Slide a pizza paddle or rimless baking sheet under the pizza and then slide the pizza onto the pizza stone. Bake until the crust is golden brown, 6 to 8 minutes.
  3. With the pizza paddle or a large spatula, carefully remove the pizza from the oven and set it on a cutting board. Use a knife, an icing spatula, or the back of a spoon to spread the Dill Cream over the inner circle. Arrange the slices of salmon so that they cover the entire pizza, slightly overlapping the raised rim. Sprinkle the chopped chives over the salmon. Using a pizza cutter or a large sharp knife, cut the pizza into 4 or 6 slices. If you like, spoon a little caviar in the center of each slice. Serve immediately.
Share
Posted in Blog, Fish, Other wonderful treats, Recipes, Starters | Tagged , , , , , , | Leave a comment

Salmon with Goat Cheese and Capers – took me 15 minutes to make – so easy and fun when cooking with kids too

Share

It was one of those weeknights when time was short – I got home at 6.15 and had dinner on the table by 6.45. Now that’s the kind of meal I like to make when I am tired! Here is it – kids will love this – and love making it too. Its the kind of thing when you throw it all into the pan and there is dinner!

BAKED SALMON FILLETS WITH GOAT CHEESE
AND CILANTRO ( Fresh Coriander)

Ingredients:

4 tbsp. olive oil
1/2 c. onion, chopped
1 tbsp. garlic, finely chopped
1/2 c. dry red wine
4 tbsp. capers
1 tbsp. fresh rosemary, chopped (or 1 tsp. dried)
1 tsp. fresh oregano, chopped (or 1/2 tsp. dried)
1/2 c. fresh tomatoes chopped
Salt to taste ( not too much – the capers are salty)
Pepper to taste, freshly ground
4 (6 oz. ea.) boneless salmon fillets or 1.5 lbs of a side of salmon ( that’s what I used for two of us – so that we have enough leftovers for lunch tomorrow)
1/3 lb. goat cheese, crumbled (my own home made goat cheese of course!)
4 tbsp. fresh coriander, chopped

Directions:

  1. Heat 2 tablespoons of the olive oil in a saucepan.
  2. Add onion and garlic. Cook briefly while stirring.
  3. Add wine, capers, rosemary, oregano, tomatoes, salt, pepper and olives.
  4. Bring to a boil and simmer 5 minutes.
  5. Pour 1 tablespoon of the oil in a baking dish large enough to hold the fish in one layer.
  6. Arrange fish skin side down.
  7. Sprinkle with salt and pepper.
  8. Pour the sauce around the fish fillets.
  9. Brush the top of the fillets with the remaining 1 tablespoon oil and dot with the cheese.
  10. Bake in a preheated 475 degree oven for 5 minutes.
  11. Switch to the broiler and broil for 5 minutes. Do not overcook.
  12. Sprinkle with the coriander and serve immediately. Serves 4 or 2 with leftovers.

I served this with steamed white rice ( I had some leftover from the night before so just heated that up in the microwave). And a cucumber salad that came right from the farm – cucumbers, chives and scallions – along with rice vinegar and sugar to taste ( I used Splenda). Serve the salad in a separate bowl so that the vinegar doesn’t soak the main course.

Enjoy!

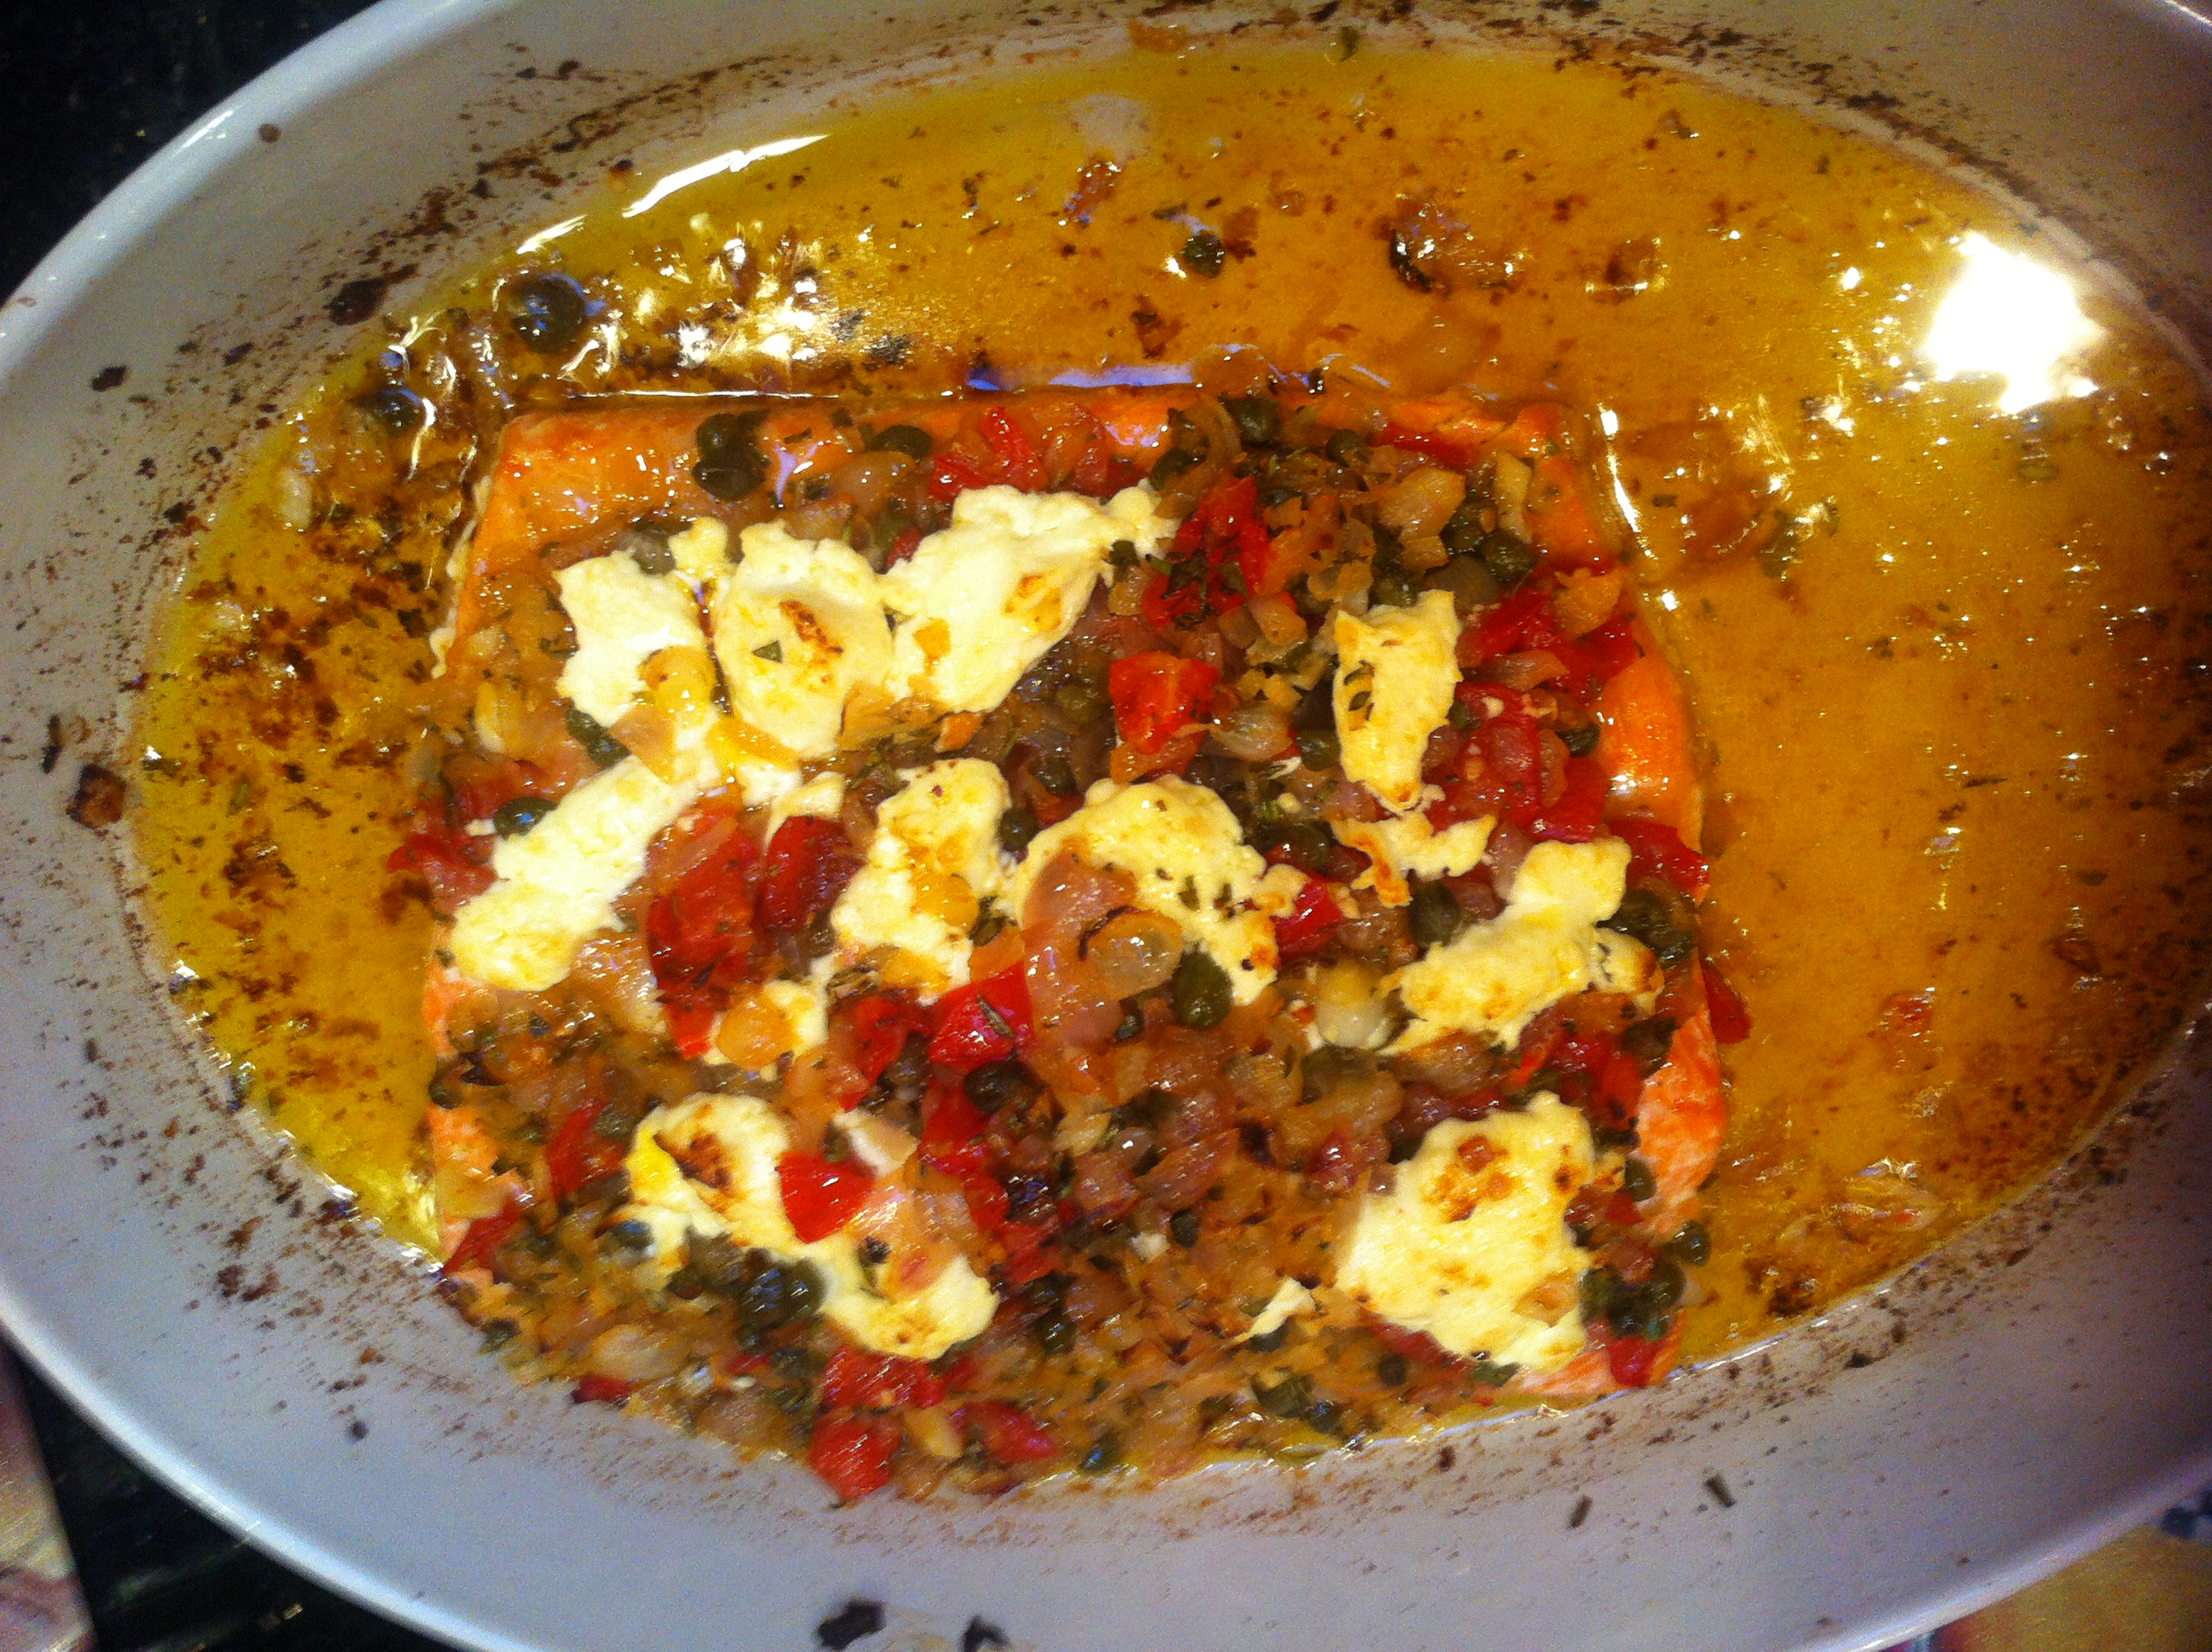
Salmon with Capers and Goat Cheese


Share
Posted in Blog, Cheese, Fish, Recipes to Make with Children, Rice, Salad | Tagged , , , , , | Leave a comment

Peppers, onions, zucchini or squash, tomatoes, bread crumbs and gruyere make a super one dish meal – easy when cooking with kids too

Share

Do you remember the post on August 12th when I described how to add chicken pieces to a delicious vegetable mixture?  https://littlefarmgrandma.com/fast-way-to-make-chicken-cook-up-veggies-when-they-are-in-season-freeze-then-add-chicken-pieces-in-a-skillet-for-a-quick-midweek-meal-cooking-with-kids

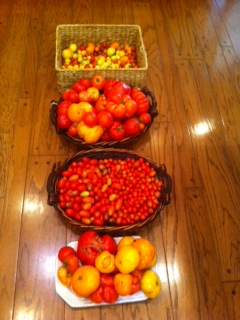
Here is another variation on that recipe. To the veggie mixture instead of the chicken, add 1/2 cup  2% reduced-fat milk mixed with  3 ounces of aged Gruyère cheese, shredded (about 3/4 cup) and 3 large eggs, lightly beaten. Then add  four large beefsteak tomatoes sliced thick on top of the mixture ( in a casserole) and panko bread crumbs ( about 1/2 cup) which you have tossed in a frying pan for a few moments in a couple of tablespoons of heated oil. Bake at 375 degrees for about 40 minutes and serve with a crisp green salad ( arugula and romaine). YUM! And the kids can help you do all of it ( whisking the cheese, milk and eggs, adding the sliced tomatoes, and sprinkling over the fried panko crumbs). Below are some of this year’s crop of tomatoes….amazing!

Tomatoes crop 2011


Share
Posted in Blog, Cheese, Family, Vegetables, Vegetarian Mains | Tagged , , , , , , , , | Leave a comment

Prayers help – our grand-nephew Alex has cancer – Acute Lymphoblastic Leukemia – ALL – curable but painful and scary

Share

Our grand-nephew Alex has cancer. It was diagnosed some months ago just a month before his 4th birthday. He is undergoing daily chemotherapy and is on large doses of prednisone. Its a horrible, scary, painful road to 3 years of treatment but the good news is that it is curable. Those who love him will regard him with concern and worry for the rest of his life which we hope and pray will be a long happy one. So it is with cancer. You know about that I am sure – there is no family that is untouched by one kind of cancer or another.

Recently someone who claims to have a sixth sense – told me that he is surrounded by 40 angels who are caring for him but that prayers help with the side effects of the chemotherapy. Truth or fiction? Who could tell? But prayers can’t hurt. Please join me and tell all your friends to pray for our little Alex Segil – and thank you in advance. His smiles keep us all smiling – an amazing indomitable spirit to be sure.Alex July 2013

Share
Posted in Blog, Prayers and Religion | Tagged , , , | Leave a comment

Flavoring Whipped Cream – makes an ordinary dessert seem sophisticated – and yummy too. Kids love it!

Share

Flavored Whipped Cream.  This is an easy way to make dessert seem sophisticated. Make caramel whipped cream, strawberry cheesecake whipped cream, chocolate whipped cream, peanut butter whipped cream, and more.  Or make chocolate whipped cream both with cocoa and melted chocolate.  Chocolate and cream cheese makes a great whipped cream.  Peanut butter whipped cream is one of my favorites.  Beat in chunky peanut butter and chopped salted peanuts.  Try it on top of a hot fudge sundae.Flavored Whipped Cream - with nuts and peanut butter

Share
Posted in Blog, Desserts, Other wonderful treats, Recipes to Make with Children | Tagged , , , , | Leave a comment

Fast way to make chicken – cook up veggies when they are in season, freeze, then add chicken pieces in a skillet for a quick midweek meal! Cooking with kids!

Share

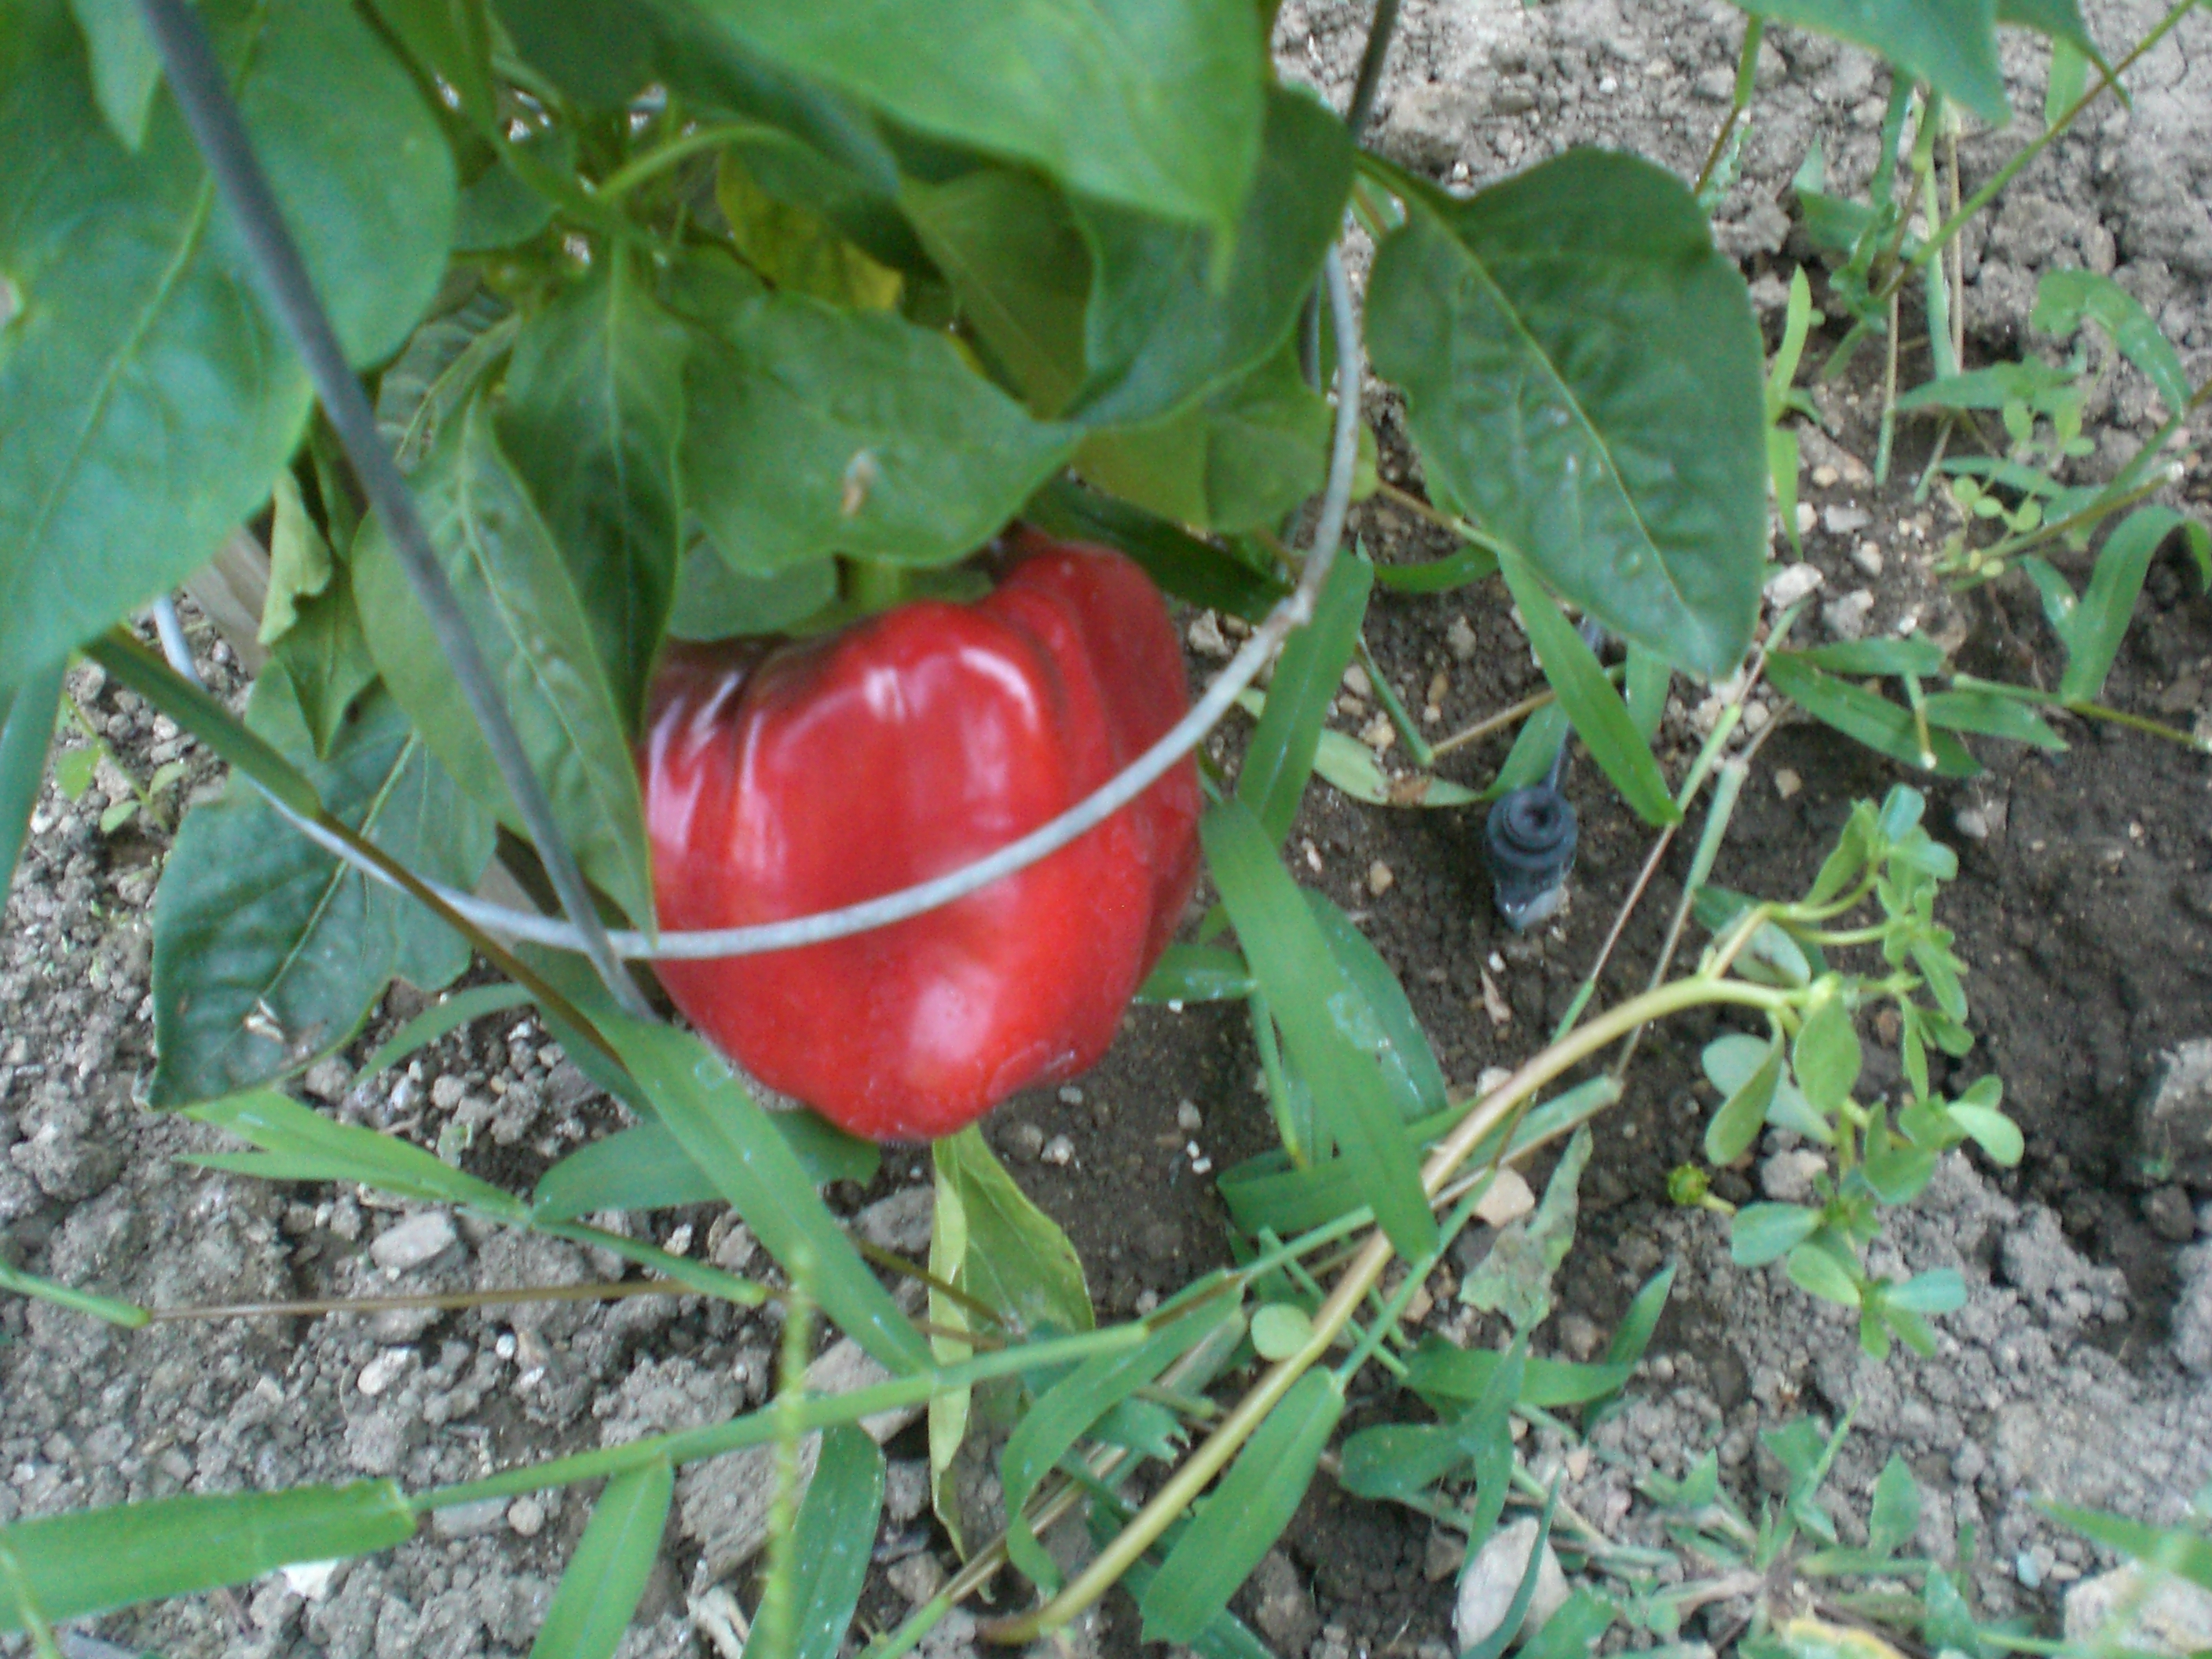
We have SOOOO many peppers, onions, tomatoes, zucchini and garlic in the farm right now that I am overwhelmed. So I fry it all up with salt ( sometimes Lawry’s seasoned salt) and olive oil (garlic in the heated oil for a few moments first, then onions till translucent, then peeled and sliced zucchini for 5 minutes then add tomatoes and vegetable or chicken stock to taste plus chopped basil or oregano or whatever herbs you enjoy) – simmer and reduce until its ready to your taste. Then store meal sized portions in freezer bags, label and save for a mid week day when you just don’t know what to serve.Peppers on little farm

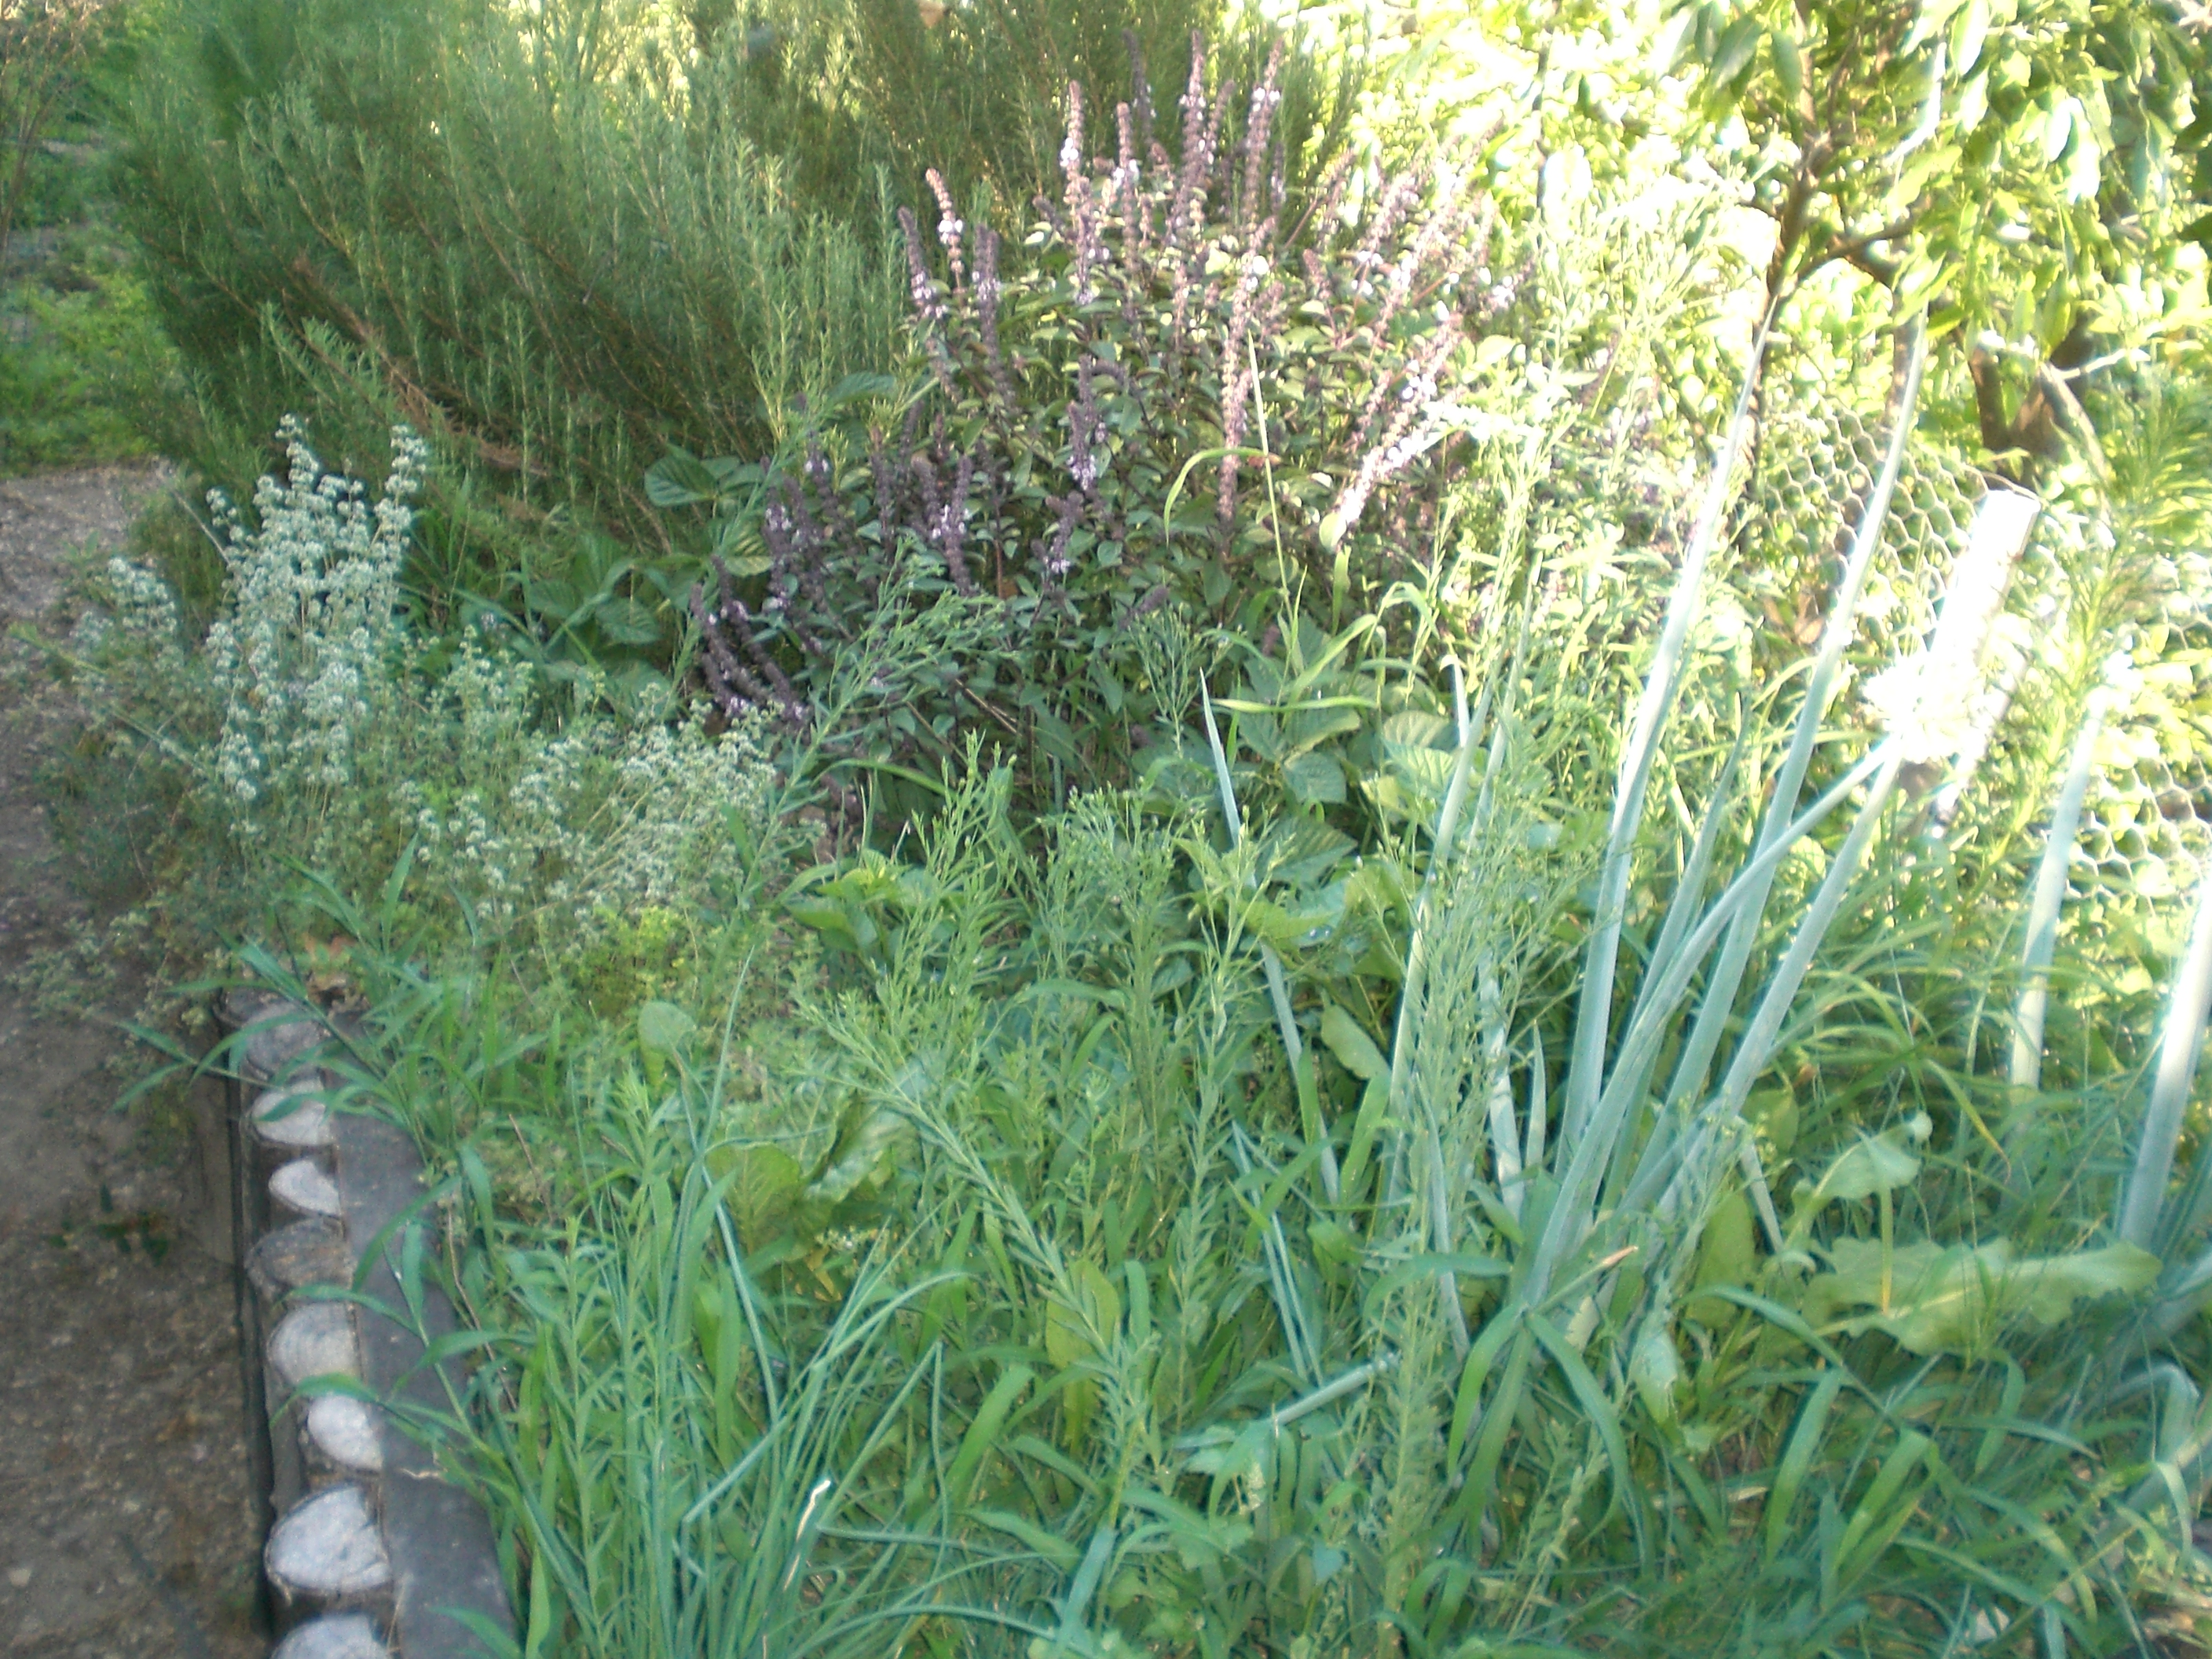
Take out chicken pieces ( we use skinless boneless thighs and some breasts) cut into bite sized pieces – add some olive oil to a pan and fry on all sides till browned, then add the vegetable mixture above which you have either defrosted overnight in the fridge or just put it in frozen and it will defrost in the pan. Cook on low for 15 minutes until all the tastes have blended and serve with steamed rice ( in a rice cooker). Could not be easier and tastes divine! The older kids (with appropriate warnings about hot stoves and liquids) can help by either cutting up the chicken, stirring  the mixture, or putting the chicken pieces into the pan. Enjoy!Organic black basil, onion marjoram and rosemary

Share
Posted in Blog, Family, Poultry, Vegetables | Tagged , , , , , , , , , , , , , | 1 Comment

Salmon leftovers become Salmon Croquettes – yummy!

Share

Salmon leftovers after a large luncheon where I had 15 guys and gals with whom I serve on a board, come to The Little Farm for a Board Retreat – what to do? Well here goes – Salmon Croquettes! What a lovely surprise! It turned out terrific! And made a wonderful Saturday lunch just enough for my husband and myself. So I thought I would share the recipe with those of you who always over cater ( I suffer from that problem – do you?)

Ingredients

  • 1/4 cup low calorie canola mayonnaise ( divide into two)
  • 4 teaspoons fresh lemon juice ( divide into two)
  • 2 1/2 teaspoons Dijon mustard ( divide into two)
  • 1/4 cup finely chopped green onions
  • 2 tablespoons chopped fine, red bell pepper
  • 2 teaspoons minced garlic (divide into two)
  • 1/2 teaspoon salt ( divide into two)
  • 12  cooked salmon ( with skins and bones removed)
  • 1  large egg, lightly beaten
  • 1 cup panko (Japanese breadcrumbs – these are the absolute best)
  • 1 tablespoon olive oil
  • 1 tablespoon chopped fresh parsley
  • 1 teaspoon finely chopped capers

Preparation

  1. Combine 2 tablespoons mayonnaise, 1 tablespoon juice, 1 1/2 teaspoons mustard, and next  ingredients (through egg), stirring well. Add panko; toss. Shape mixture into 8 (3-inch) patties.

2. Heat oil in a large skillet over medium heat. Add patties; cook 5 minutes on each side or until browned.

3. Combine remaining mayonnaise, juice, and mustard with parsley, capers, garlic, and salt, stirring well. This will be the sauce that will go onto the top of each patty in a dollop.

ENJOY!

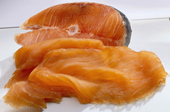
Salmon raw

Share
Posted in Blog, Fish, Recipes | Tagged , , , , , , , | Leave a comment

Slow cooker in Summer? Absolutely! It is quick and easy and fun! Cooking with kids made easy too

Share

Most of us think that slow cookers are only for winter months. But they work for fast easy during-the-week dinners too. And leftovers are yummy. Cooking with kids when using a slow cooker is easy – you can let them throw everything in – go out and play and there it is – ready for dinner!

 Ingredients

  • 1 cup chopped onion (about 1 medium) ( you do the chopping – the children put it into the cooker)
  • 1/3 cup of marmalade ( orange is best but we use our grapefruit marmalade which is tangy as well) – yes, licking the spoon after it’s been used is permitted!
  • 1/2 cup orange juice ( have a small glass for each child to put in 1/4 cup and show them how to measure it!)
  • 3 tablespoons cornstarch
  • 3 tablespoons cider vinegar ( the children should have a teeny taste of these ingredients so that they know what they taste like and then you can ask them if they can taste them in the dish once it is done – it is never too soon to cultivate a culinary preference )
  • 2 tablespoons lower-sodium soy sauce
  • 1 tablespoon grated peeled fresh ginger ( we cut ours from our farm – it is the bulb that counts)
  • 1 pound skinless, boneless chicken thighs, cut into 1-inch pieces
  • 1  large green bell pepper, cut into 3/4-inch pieces ( all from our little farm)
  • 1  large red bell pepper, cut into 3/4-inch pieces
  • 3 cups hot cooked white rice ( I like Basmati best – but brown works too)

Preparation

1. Combine first 12 ingredients in an electric slow cooker. Cover and cook on LOW for 6 hours or HIGH for 4 hours. Serve over rice.

2. Use a rice cooker which can be started in the last hour of cooking the chicken – and will stay hot and ready for you until you are ready to eat.

I bet there will not be a lot left but if there is – its a great next day lunch meal too!

Below is a picture of a recent JAM TASTING that we had at The Little Farm – yes, we do JAM tasting like people do WINE tasting since I make about 36 different jams from our exotic fruit trees. It’s fun!

Jonathan club 2013 tour tasting jams

Share
Posted in Blog, Family, Little farm products, Poultry, Raising Children, Recipes to Make with Children, Slow Cooker | Tagged , , , , | Leave a comment

Panzanella Bread Salad – yummy and an easy way to use your fresh tomatoes! Kids can make it too – lots of tasting….

Share

I just had a board retreat at my home – and made a Panzanella Bread salad – yummy! This is from the Ina Garten recipe from the Food Network – who own the copyright – it was delicious. I changed the ingredients a bit and adapted it to cooking with kids. They will love making this with lots of tasting too!

Ingredients

  • 3 tablespoons good olive oil
  • Bread ( I used stale whole wheat) cut into 1-inch cubes (6 cups)
  • 1 teaspoon kosher salt
  • 4 large, ripe tomatoes, cut into 1-inch cubes
  • 1 Japanese or 6 Persian cucumbers, unpeeled, seeded, and sliced 1/2-inch thick
  • 1 red bell pepper, seeded and cut into 1-inch cubes
  • 1 yellow bell pepper, seeded and cut into 1-inch cubes
  • 1/2 red onion, cut in 1/2 and thinly sliced
  • 20 large basil leaves, coarsely chopped
  • 3 tablespoons capers, drained
  • My Version – with one avocado, peeled and cut into small pieces sprinkled with a little salt, added at the last moment before serving

For the vinaigrette:

  • 1 teaspoon finely minced garlic
  • 1/2 teaspoon Dijon mustard
  • 3 tablespoons Champagne or white wine vinegar
  • 1/2 cup good olive oil
  • 1/2 teaspoon kosher salt
  • 1/4 teaspoon freshly ground black pepper

Directions

Heat the oil in a large saute pan. Add the bread and salt; cook over low to medium heat, tossing frequently, for 10 minutes, or until nicely browned. Add more oil as needed. I keep a bag of croutons made like this in the fridge all the time – they are wonderful in regular salads and other dishes – and this cuts down the time to make the panzanella to 5 minutes!

For the vinaigrette, whisk all the ingredients together.

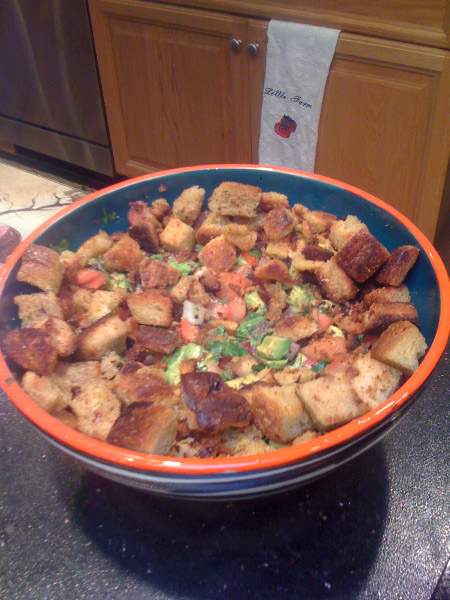
In a large bowl, mix the tomatoes, cucumber, red pepper, yellow pepper, red onion, basil, and capers. Add the bread cubes and toss with the vinaigrette. Season liberally with salt and pepper. Serve, or allow the salad to sit for about half an hour for the flavors to blend optimally – although today I made the salad last night since I was going to run short of time this morning, and after macerating in the fridge all night – it was delicious. In the picture below, I actually added some avocado ( a very Californian touch to this Tuscan salad) just before serving and the creaminess of it added another dimension.


Share
Posted in Blog, Recipes to Make with Children, Salad | Tagged , , , , , , , , , , , , , | Leave a comment

Benefiting the American Cancer Society – CALSPIRIT July 28th in the Summer of 2013 at Los Angeles Pacific Design Center

Share

This is THE Event for chefs and foodies – and does so much good too – supporting the American Cancer Society – I am gathering cards of chefs there to introduce them to my cheeses! It is called CALSPIRIT and can be accessed at www.calspirit.org.

For the 29th consecutive year, CALIFORNIA  SPIRIT, will bring together renowned chefs from Los Angeles’ best restaurants  to prepare their finest culinary creations and wine makers from California’s  premier wineries to serve their finest reserves.

CALIFORNIA SPIRIT 29 happens on Sunday, July 28th, 2013.  Originally  founded in 1984 by Master Chef Wolfgang Puck, Barbara Lazaroff and Sherry  Lansing, CALIFORNIA SPIRIT, has grown into a spectacular gourmet gala featuring  exquisite cuisine, premium California wines, live entertainment, and a  spectacular live and silent auction.CY13-Gala-LA_event1

To date, California Spirit has raised over $15  million for the American Cancer Society.

Great fun – and sooooo much food and wine! WOW – everyone who is important ( or who thinks they are) in LA is there – promoted by my friends Barbara Lazaroff – creator of the  designs of all Wolfgang Puck Restaurants –  (he is her former husband) and so much more – and Sherry Lansing – whose motion picture leadership and career was sterling and who now puts her energy into creating opportunities in math and science for high school kids by encouraging executives in STEM ( Science, Technology, Engineering and Math) to bring their talents on a part time basis to young ones in school – what a valuable deliverable to our youth! How could I not support such an event! You too can contribute to the American Cancer Society – just go to www.cancer.org/donate and donate on line. It’s an epidemic – how many people do you know who have been affected by cancer? My family has – our grand nephew ( 4 years old) has ALL ( cancer of the blood – Acute Lymphoblastic Leukemia), my mother passed away at 61 from cancer and about 90% of my friends have had or still have breast cancer. There is no single family that is untouched and we CAN do something about it. You can donate in many ways – here are a list of links that will help you to make good things happen. And THANK YOU!

I thank you for making a difference.

Share
Posted in Blog, Philanthropy | Tagged , , , , | Leave a comment

More cute animal pictures – teaching children to be kind to animals teaches character, responsibility and love – what could beat that!

Share

Here are more of those adorable animal pictures. I showed these to my grandkids and they loved them. I did too. Growing up with dogs, horses and being around breeding of animals made me an animal lover. Which is a good thing because we presently have 6 mommy goats and 14 babies – in the process of donating them to camps and riding schools, and other community places right now. And of course we have chickens, quail, rabbits, 100 birds in an aviary and two conyers ( parrots)…Animal pictures 5 Animal pictures 6 Animal pictures 7 Animal pictures 8 Animal pictures 9 Animal pictures 10 Animal pictures 11 All of the above have been rescued as was our wonderful fourth Rottweiler Sunny Dog.  Teach your children and grandchildren to love animals and you will teach them to love life and respect it in others.


Share
Posted in Blog, Family, Raising Children | Tagged , , , , | Leave a comment

Cutest Animal Pictures -did you see these?

Share

We all get a lot of junk email but these pictures sent by a friend were so adorable I had to share them with you. Even if you are not religious, these inspire a belief in a force greater than each one of us, the miracles of life and love in the animal kingdom knows no bounds. Would that we could feel the same way about our fellow humans that way! Teaching our children to love animals and respect what they can teach us – is a good lesson worth passing down to future generations.

Animal pictures 1 Animal pictures 2 Animal pictures 3 Animal pictures 4The last one you just have to love eh?
More to come in future blogs….Life is GOOOD!

Share
Posted in Art, Blog, Family, Raising Children | Tagged , , , | Leave a comment

Tortillas and Wraps – YUM! Easy when cooking with kids – great family time recipes

Share

Tortilla Recipes and Wraps

Tortillas are so easy to make that you might as well try your own. You can make wraps as fast as you make sandwiches and you can buy the wraps from the store if you don’t want to make the tortillas yourself. Kids love to do these – they can put in whatever they like ( the weirder the better – as long as they eat it!) And there isn’t too much mess. So many stores now stock tortillas of many kinds ( spinach, spicy, with sun dried tomatoes, gluten free, flour, corn, and so on) that it seems silly to make tortillas. But when you taste freshly made ones, you will know why folks do it! They are just simply fabulous! I buy dough relaxer from Prepared Pantry ( see the link below) – and when I have the time ( not often I do admit) I will make my own tortillas. Otherwise the grandkids and I think up wonderful ways to use leftovers in imaginative wraps. Enjoy!

How to Make WrapsMeat cheese wrap
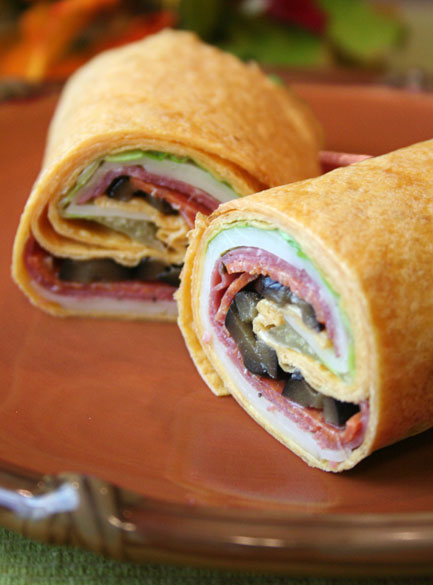
You can make an open-ended wrap or a closed one.  And everyone seems to have their own best way to wrap a wrap.  This is how to wrap a wrap.

  1. Smear sandwich spread within an inch of the perimeter of the tortilla.
  2. Lay sandwich goodies in a wide swath down the center of the tortilla and to within a couple inches of the left and right edges—kind of a rough rectangle.
  3. To make a closed end wrap, fold both the right and the left edges over the goodies and roll from the bottom.  To make an open-ended wrap, fold only one edge.

If you make a closed end wrap, cut the wrap in two and eat half at a time.

If the tortilla is a little stiff and hard to wrap and keep closed, try microwaving the tortilla under a paper towel for 15 to 20 seconds.  It will be more pliable.

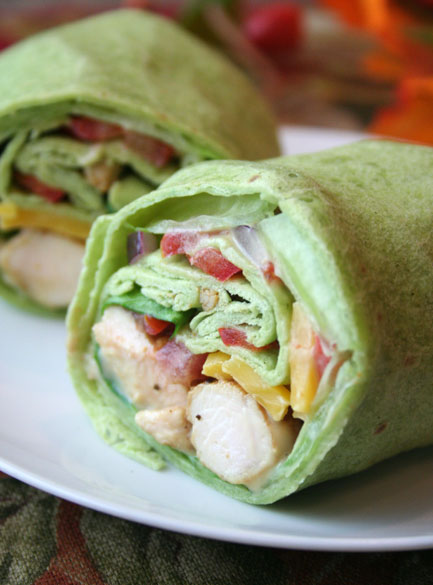
Grilled Chicken and Chipotle Wrap

Grilled chicken makes a wonderful wrap.  This is a great way to use left over Roast Chicken. Load it up as you like.  The chipotle ranch spread gives it some zip and, really improves the sandwich.

Ingredients:

  • grilled chicken breast, seasoned and cut into 2-inch strips
  • provolone cheese
  • thinly sliced red bell pepper, each slice cut in half
  • romaine lettuce
  • slices of tomato
  • thinly sliced sweet yellow onions
  • chipotle ranch spread
  • spinach tortillas
  1. Spread the chipotle spread lightly on the tortilla.
  2. Place romaine lettuce on top of the spread.  Add the cheese and chicken.  Add the remaining ingredients in your order of choice.
  3. To fold the wrap, fold in the sides of the tortilla and then roll from the bottom up. Cut the wraps in half.

Sour Cream Fiesta Tortillas

  • 1 cup pastry flour (or all-purpose)
  • 1/2 teaspoon salt
  • 1/2 tablespoon fiesta seasoning or similar (optional)
  • 2 tablespoons sour cream
  • 1/3 cup warm water
  1. Mix the dry ingredients in a large bowl.
  2. Add the sour cream and mix with your hands or a spatula.
  3. Add warm water a little at a time until your dough is soft and not sticky.
  4. Knead the dough for a few minutes until it’s smooth.
  5. Pull off pieces of dough to form about 6 small dough balls (if you have a scale they should be 1.5 ounces each) a little larger than a golf ball in size.
  6. Preheat a nonstick or cast iron skillet that is at least 7” across to medium to medium-high heat.
  7. Roll out the dough with your rolling pin. Dust each  ball with a little flour just before you roll them out if needed. Lay the  pin in the center of the dough ball and roll up, center and roll down.  Lift the dough and turn it 45 degrees. Again, place the rolling pin in the center and roll. Rotate once more at 45 degrees. Your tortilla should now be close to a circle shape, roll as needed to perfect your circle and until they are as thin as possible.
  8. Place your tortilla on the hot pan. It takes just a few moments to cook. Flip to the other side. When they are done they should have lots of nice brown speckles. Place them in a towel or use a tortilla  keeper to keep them warm longer. This recipe makes six 6” to 7” (1.5 ounce) tortillas

Healthy Wheat and Granola Tortillas

Try something a little healthier with whole wheat flour, nuts, and quick oats.

  • 1/4 cup quick oats
  • 1/4 cup walnuts
  • 1 cup water
  • 1/2 teaspoon salt
  • 1 cup pastry or all-purpose flour
  • 1 cup whole wheat flour
  1. In a blender combine the oats and walnuts. Blend them to a powder. Add the salt and flours.  Add the water.
  2. Knead the dough for a few minutes. Add flour if need be until your dough is soft and not sticky
  3. Pull off pieces of dough to form about 12 small dough  balls (if you have a scale they should be 1.5 ounces each) a little larger than a golf ball in size.
  4. Preheat a nonstick or cast iron skillet that is at least 7” across to medium to medium-high heat.
  5. Roll out the dough with your rolling pin. Dust each ball with a little flour just before you roll them out if needed. Lay the pin in the center of the dough ball and roll up, center and roll down. Lift the dough and turn it 45 degrees. Again, place the rolling pin in the center and roll. Rotate once more at 45 degrees. Your tortilla should now be close to a circle shape, roll as needed to perfect your circle and until they are as thin as possible.
  6. Place your tortilla on the hot pan. It takes just a few  moments to cook. Flip to the other side. When they are done they should have lots of nice brown speckles. Place them in a towel or use a tortilla keeper to keep them warm longer. This recipe makes twelve 6” to 7” (1.5 ounce) tortillas

Fresh Spinach Tortillas

These tortillas are made with fresh spinach.

  • 1 1/2 cup pastry or all-purpose flour
  • 1/2 teaspoon salt
  • 1 tablespoon dough relaxer
  • 4.5 ounces fresh bagged baby spinach
  • Chicken Spinach wrap Meat cheese wrap1 tablespoon sour cream
  1. Mix the dry ingredients in a large bowl.
  2. Mix the sour cream and spinach in a blender.  Add  the  spinach mixture to the dry ingredients
  3. Knead the dough for a few minutes. Add flour if need be until your dough is soft and not sticky.
  4. Pull off pieces of dough to form 8 small dough balls (if you have a scale they should be 1.5 ounces each) a little larger than a golf ball in size.
  5. Preheat a nonstick or cast iron skillet that is at least 7” across to medium to medium-high heat.
  6. Roll out the dough with your rolling pin. Dust each ball with a little flour just before you roll them out if needed. Lay the pin in the center of the dough ball and roll up, center and roll down. Lift the dough and turn it 45 degrees. Again, place the rolling pin in the center and roll. Rotate once more at 45 degrees. Your tortilla should now be close to a circle shape, roll as needed to prefect your circle and until they are as thin as possible.
  7. Place your tortilla on the hot pan. It takes just a few  moments to cook. Flip to the other side. When they are done they should have lots of nice brown speckles. Place them in a towel or use a tortilla keeper to keep them warm longer. This recipe makes eight 6” to 7” (1.5 ounce) tortillas.

 

Share
Posted in Blog, Cheese, Recipes, Recipes to Make with Children | Tagged , , , , , , , | Leave a comment

Service Hades – have you ever been messed around by service providers? Especially a company called Sureway Inc for Sears? Avoid them like the plague!

Share

I like to keep my blog happy and full of fun things to do. As someone who loves to cook and makes multiple dinner and lunch parties for family and friends, I depend on my double oven to work reliably. Not so this week.

My oven – Kitchen Aid double fancy self cleaning oven – blew. And I hear from others that the self cleaning element does that – in fact one friend had her oven BLOW OUT into the kitchen during the cleaning cycle – good thing it happened in the middle of the night! And that her house didn’t catch on fire.

So I have an extended service warranty with Sureway of Louisville Kentucky – cost me some bucks I can tell you! I duly called them – they gave me two service providers – and then transferred me to one. I held on for 45 minutes. I kid you not. 45 minutes. Good thing I sold my business 6 years ago and can be fairly flexible with my time. Then the call center rep could barely speak English – he told me he didn’t have an account for me ( I had just been transferred by Kitchen Aid to him as an approved vendor). And on and on it went. Finally I tried to cancel my contract with Sureway Inc. of Louisville Kentucky but the cancellation process is so onerous that after struggling to do so – I just gave up and will not renew. One thing is for sure I will never again use them or their provider A&E Factory Service  of Ontario California, who lied and lied and lied – said they were calling back – never did, said they were coming on Saturday – I stayed home all day – they never called and never showed up; and when I finally ( after staying on hold for 45 minutes, spoke to another call center rep at their company – another one who could not speak English – so that finally in desperation after trying to be understood – I had to speak to him in Spanish) – I discovered that their tech manager Mark didn’t even put in the order for Saturday  – he just told me he did, to get me off the phone –  and  I am using my blog to let you know to never deal with any of these companies- they and their providers are shockingly inefficient and rude – and unable to provide even basic service. And did I mention that this service provider adds a 30% override to the cost of the part so that they can puff the bill to the warranty company? Oh yes – this is a con game – no wonder our insurance costs are going up. A&E Factory service wanted to charge me $504 for the cost of a part that Kitchen Aid sells direct for $273. What a rip off.

I finally found a service provider who provided the service at normal labor costs, and the part at actual cost – they are called LA Fixit,  I am hoping that my oven will be fixed in two days on Wednesday. The reason for the panic? I have 60 people coming on Friday for dinner – cooking in the oven started last week and then stopped in a hurry. And you know how difficult it is to convert recipes from oven ready to microwave ready. The result? I am compromising and making and buying stuff. Here is a recipe that was going to be all home baked- and is now made on the stove not in the oven. Not my preference but what can one do?

Chicken with Peppers and Tomatoes

  • Chicken Breasts and Thighs, skinless and boneless cut into bite sized pieces
  • Peppers – all colors – seeds removed, cored and sliced thin
  • Tomatoes – all colors – soak in hot hot hot water then skin them and chop keeping the seeds and that lovely juice
  • Olive Oil to taste
  • Onions ( two sliced thin)
  • Two large cloves of garlic chopped
  • 1 Tbsp of corn flour to thicken sauce
  • Salt and pepper to taste
  • Whatever herbs you love – I add basil, chopped oregano about 1 tsp of each always fresh – and I would add paprika too; or you could add curry, or if you want it spicy , chili’s or chili powder -this is all personal taste.

Directions:

  1. Heat the olive oil in a pan which is deep and could also be used as a casserole (All Clad makes a lovely one).
  2. Saute and brown slightly the chicken pieces – do not overcook. Remove from pan and reserve on the side.
  3. Fry the garlic in the olive oil lightly, then add the onions and fry until soft but not browned.
  4. Add the peppers and sauté until soft
  5. Add the chopped tomatoes and sauté the mixture until it is well combined.
  6. Add back the chicken pieces that you browned.
  7. Take out some of the liquid  and mix with the corn flour until the liquid is thickened. Then add slowly mixing all the time until the sauce around the vegetables and chicken is thicker – not too thick as it will reduce while cooking.
  8. Now here is the part that is different. I would have baked this in the oven for that lovely roasted combination of flavors – and left the top to brown slightly at the end. But that is not an option now- no oven. So keep all of the mixture in the deep pan, and turn onto low, and simmer until all the delicious ingredients have combined – as well as possible without baking.
  9. It will still taste yummy especially when served with fluffy white basmati rice ( use a rice cooker its the easiest way) or even brown rice – more of a nutty flavor – or with couscous for a middle eastern twist.

Enjoy! Here is a picture of our peppers – we have so many wonderful ones this season!All kinds of peppers growing

So, as I ask others who are stressing about silly stuff – did someone die? And the answer here of course is – nope – so then none of this really matters. And today I am back to my happy self.

I am sure you have experienced something similar – it sure is annoying when service people are not service oriented isn’t it?


Share
Posted in Blog, Poultry, Recipes, Rice | Tagged , , , , , , | Leave a comment