This is an amazing video – three minutes – and features Elon Musk – formerly a South African btw – talking about the technology. A new way of thinking to be sure! ENJOY!

This is an amazing video – three minutes – and features Elon Musk – formerly a South African btw – talking about the technology. A new way of thinking to be sure! ENJOY!
We grow our own Macadamia nuts. Seriously. They are unadorned, glorious in their simplicity and taste, and all natural and organic. The only challenge is cracking them! We bought an intense nutcracker thingimy from Hawaii and it works. Of course the squirrels in our back yard ( we have too darn many of them – they are true pests and gorge on our fruit and decimate the macadamia nut trees as well as our pecan and almond trees) don’t need any such thingimy – just their teeth – and they crack through two incredibly hard layers to get to the nut. For multiple years they have devoured probably 200 nuts on one single tree in one single night. My husband is NOT happy about this – and nor am I. I guess that for the squirrels this is Camp Grandma of Squirrels…..
Here is a picture of a basket of our macadamia crop from this year….
 I had such an exciting invitation! To present my artisanal cheeses and jams and breads ( pumpkin, banana, persimmon and zucchini) at Williams Sonoma and sell them there! What a thrill!
So I prepared for months – literally – preparing all the delicious goodies for the good people who visit that store in Santa Monica CA.
I arrived with 40 dozen jams – yep – 40 dozen. What was I thinking! Well they did tell me that they had a huge crowd and that they marketed and sent out flyers to their local customers – and they were not wrong! It was SUCH fun! And the folks loved the jujube jam, Kei Apple jam ( a South African fruit), Peach jam, marmalades of many kinds – tangerine, orange, navel, grapefruit, citroen, guava jam, apricot jam, caramel apple butter, Saba which is like a cabernet reduction great over ice-cream and more. And ricotta, chevre, feta, camembert are some of the cheeses that come from our little farm too.
I hope they invite me again! And in the middle of the month in time for the holidays I am going to do a Cheese and Jam day for all of our friends and their friends at the Little Farm along with a tasting of all! It should be terrific fun – and of course tours for the little ones who love to pat the goats, look at the fish, hold the quail and so on.
Busy times!
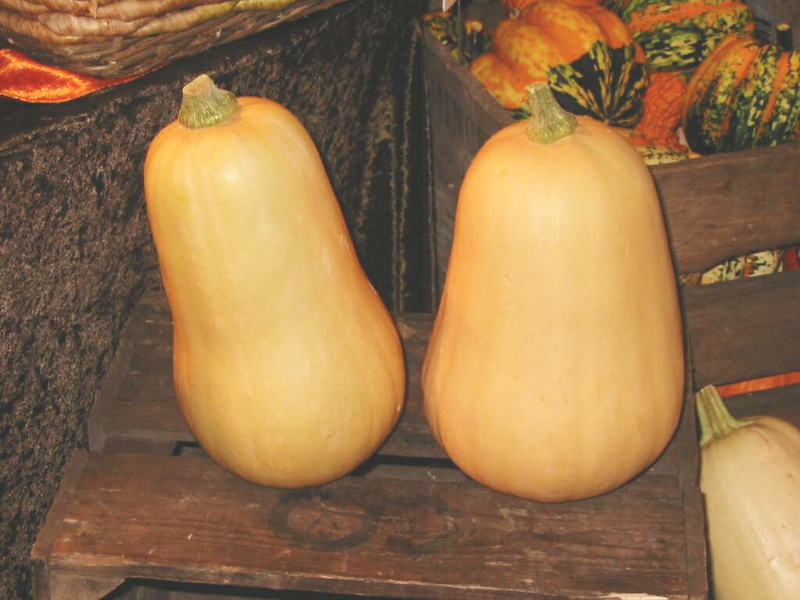
Here is the Pumpkin bread recipe. I tripled it! 6 cups of butternut squash came from 2 large butternuts – just in case you are growing your own!
Little Farm Pumpkin Bread Recipe
Ingredients
* To make pumpkin purée, cut a pumpkin in half, scoop out the seeds and stringy stuff, lie face down on a foil .. Bake at 350°F until soft, about 45 min to an hour. Cool, scoop out the flesh. Freeze whatever you don’t use for future use. Or, if you are working with pumpkin pieces, roast or boil them until tender, then remove and discard the skin.
Directions:
1 Preheat oven to 350°F (180°C). Sift together the flour, salt, sugar, and baking soda.
2 Mix the pumpkin, oil, eggs, 1/4 cup of water, and cinnamon together, then combine with the dry ingredients, but do not mix too thoroughly.
3 Pour into a well-buttered 9x5x3 inch loaf pan. Bake 50-60 minutes until a thin skewer poked in the very center of the loaf comes out clean. Turn out of the pan and let cool on a rack.
Makes one loaf. Can easily double the recipe. I actually triple it and make it for four consecutive days since we have a LOT OF butternut squash!
This is a favorite South African Recipe. It is not for everyone. But we love it!
It was my father’s favorite recipe. Here is a picture of my mom and dad, Norma and Jack Wolfowitz, about two months before he died of a heart attack.  Oh, how I miss him….he died when I was 18 and he was 56 – too young. He was a renowned general surgeon in South Africa, did the world’s first separation of female Siamese twins who were joined at the head ( cranio-pagus) and those two young girls survived into adulthood – but alas, my father died just a few months after doing the surgery.
He was also a musician, played the piano, drums, trumpet and had two night club bands during his school days. My love of music and that of our grandsons comes from him. He was a connoisseur of fine wines and food, loved to cook – and was a great chef of ethnic food – especially curries and Chinese cuisine. My sister, Pamela and I were his assistants on Sunday nights when he would go into the kitchen to whip something up.
Family and friends would gather on Saturdays and Sundays around our piano to sing and dance while my dad played for hours – such happy times.
My dad was an amazing speaker – eloquent and funny- I like to think that my son James takes after him there. Sigh.
So many memories – and so many decades past – another world, another lifetime – how blessed I was to have had what I did for as long as we did. And how blessed I am now to have the family and love around me that I do.
Here are our grandsons playing the piano – twins, Noah and Gabriel, and below them, Jonah and Jack. How proud my father would have been!
Jack playing the piano ( he is actually playing, whereas Noah and Gabriel are messing about!)
And finally Jonah giving the piano a whirl! Hooray for my daughter in law Donne who has them all taking piano lessons – bless you my dear.
Oxtail Stew – in the Slow Cooker!
Ingredients
Directions:

| Here are our gorgeous grandson identical twins Noah and Gabriel giving us a Thanksgiving tune on the piano while we are cooking up a wonderful Turkey Chili in the kitchen with their big brothers ( Jack and Jonah who are 6 and 4).
Turkey Chili Ingredients:
Directions:
|
Sesame and Ginger Chicken in the Slow Cooker This slow cooker recipe has minimal effort ( a bit more than usual due to the browning of the chicken and thickening of the sauce – but I must admit on my really rushed days, I just throw it all into the cooker and do no browning or sauce making and it still tastes great!) Just sprinkle the chopped chives over the chicken in the cooker and let everyone help themselves! Serve with basmati rice.
Below is a picture of our ginger growing….
Ingredients:
Directions: 1. Heat a large nonstick skillet over medium-high heat. Add oil to pan; swirl to coat. Add chicken; cook 4 minutes on each side or until golden. Transfer chicken to a 4-quart electric slow cooker coated with cooking spray. 2. Combine soy sauce and next 5 ingredients (through garlic); pour over chicken. Cover and cook on LOW for 2 1/2 hours or until chicken is tender. Transfer chicken to a platter; keep warm. 3. Pour cooking liquid through a sieve into a small saucepan to measure 1 1/4 cups. Discard solids. Bring cooking liquid to a boil over medium-high heat. Combine cornstarch and 1 tablespoon cold water in a small bowl. Add cornstarch mixture to sauce, stirring with a whisk until blended. Return to a boil. Cook 1 minute or until sauce thickens, stirring constantly. Serve sauce over chicken. Sprinkle with sesame seeds and chopped chives.
SOUR CREAM COFFEE CAKE
Ingredients:
Directions:
Preheat the oven to 350 degrees. Spray a bundt pan with cooking spray.
Sift the flour, baking powder, baking soda and salt together. THIS IS IMPORTANT – and I know many of you either don’t have a sifter or skip this step. Why? Because sifting adds air to the batter, making the coffee cake light. SO AVOID HEAVY CAKES!!! SIFT SIFT SIFT!
Put the butter in a large mixing bowl. Add the sugar, and cream them together with an electric mixer. This is also an important step – if the butter is too hard put it in the microwave if you are in a hurry just for 10 seconds or it will liquefy – if you have forgotten to take it out earlier in the day.
Now add the eggs and the vanilla, and beat them in. ( Below eggs from our chickens on the Little Farm)
Add about one-third of the flour mixture, beating it into the dough on low speed. Then add about half of the sour cream, and beat that.
Continue adding the flour mixture and sour cream alternately, beating after each addition, until you have a smooth dough.
Don’t overbeat the cake – or it will come out tough. So – sift and don’t overbeat! GOOD TIPS!
The Streusel Topping ( This is SOO good that it is tempting to eat it on its own!)
Ingredients:
Add all of the streusel ingredients to a small mixing bowl, and stir them together.
Bake the Sour Cream Coffee Cake
Sprinkle about 1/4 of the streusel mixture into the bottom of the prepared bundt pan. Spread half of the coffee cake batter over top.
Smooth it down, then sprinkle on half of the remaining streusel topping, then the remaining cake batter, and finally, finish with the remaining streusel topping.
Bake for 45 minutes. You will have to hold yourself back from eating more than one piece it is that good! ENJOY!
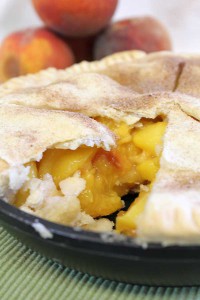
Recipes for Peach Pies in Skillets
These pies were made with Clearjel instead of cornstarch. You can use either but Clearjel forms a clear slurry instead of a milky one and makes a more attractive pie.
We used the Professional Pie Crust Mix that you can buy from Prepared Pantry, my affilate. All you add is water and it makes a great crust.
Baking times are going to vary by pan. Consider the baking times given as approximations for your pans. We recommend using pie shield ( or tailored pieces of foil) to protect the edges of the crust from over-baking.
A properly designed fruit pie can sit on the counter without refrigeration. You see it all the time in diners and bakeries. It’s the acid that makes them safe—a combination of sugar, lemon juice, and the natural tartness of the fruit.
In home baking, I always refrigerate fruit pies. What do I know from acids? Nothing!
So – refrigerate them!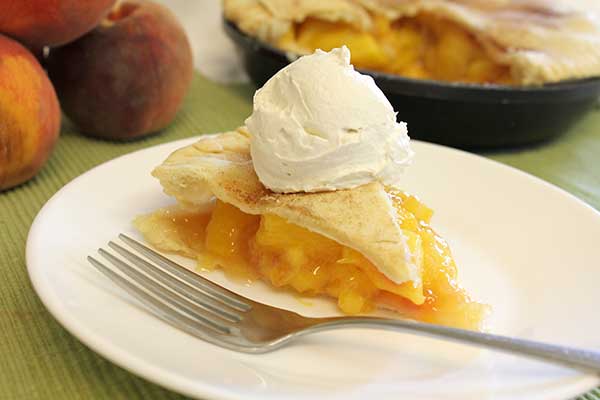
This is my favorite size skillet for a pie. Most skillets are deeper and have steeper sides than a pie pan and so the volume is about that of a 9-inch pie pan, maybe even a 9-inch deep dish pie pan.
Ingredients:
6 cups peeled and sliced peaches (since this may not be peach season, you can use canned peaches but drain them well and cut the sugar in half; alternatively, use my home frozen peach tip above!)
2 tablespoons lemon juice
4 tablespoons granulated sugar
3 tablespoons Clearjel
Pie crust for a double crust pie
One egg white plus one tablespoon water
Cinnamon sugar mixture for dusting the pie crust
Preheat the oven to 350 degrees. If your skillet is not nonstick, grease it well.
This pan has 40% more area but because the pan is deeper, the volume is more than that.
8 cups peeled and sliced peaches
4 tablespoons lemon juice
6 tablespoons granulated sugar
5 tablespoons Clearjel
Enough pie crust for a double crust and a single crust pie
One egg white plus one tablespoon water
Cinnamon sugar mixture for dusting the pie crust
Preheat the oven to 350 degrees. If your skillet is not nonstick, grease it well.
This has two and one-half times the peaches. So it is probably close to three times the size of most pies. Invite lots of friends. Or plan to gain at least three pounds that week as the pie is irresistible!
15 cups peeled and sliced peaches
6 tablespoons lemon juice
3/4 cup granulated sugar
1 cup Clearjel
Pie crust for two double crust pies
One egg white plus one tablespoon water
Cinnamon sugar mixture for dusting the pie crust
Preheat the oven to 350 degrees. If your skillet is not nonstick, grease it well.
I love this dish – because it keeps for days – although you won’t have much left since it is particularly yummy!
You can use exactly the same amount of each vegetable if that is easier for you – I add whatever we get from the farm and it seems to work out even if there is a bit more of one than the other.
Ingredients
Directions:
Love this dish with rice! You have my favorite rice dish but I will repeat it here for your convenience.
Fried Tomato Rice:
Ingredients:
Directions:
Simple Fast Recipe for Tomato Soup
Ingredients:
Directions:
This is comfort food at its best!
Serves 8 people
We grow Jujubes. It is not a candy but a fruit. And the most delicious fruit – sort of between an apple and a date. And when we pit and cook it with a minimal amount of sugar it makes a jam that tastes like pureed dates. YUM!
If you can find jujubes in your market – you will need about 5 lbs of them to make jam. Pitting them is a pain – but sit and do it while listening to some great music ( how about Vivaldi’s Four Seasons as you look out of the window at the fall colors?) and the time will pass fast.
Then add 1/2 cup of sugar to the pitted mixture and the juice of one lemon – and cook it slowly until soft. Then press the mixture through a strainer and the result is the most yummy puree that can be returned to the stove and cooked once again. When very hot – put into ball jars that have been sterilized in the dishwasher, and store in the fridge. You should get about 5-6 one pint jars of Jujube Spread.
Enjoy! Below is a basket of some of our Jujube crop – eating them raw by the way is divine – they have an apple crunch!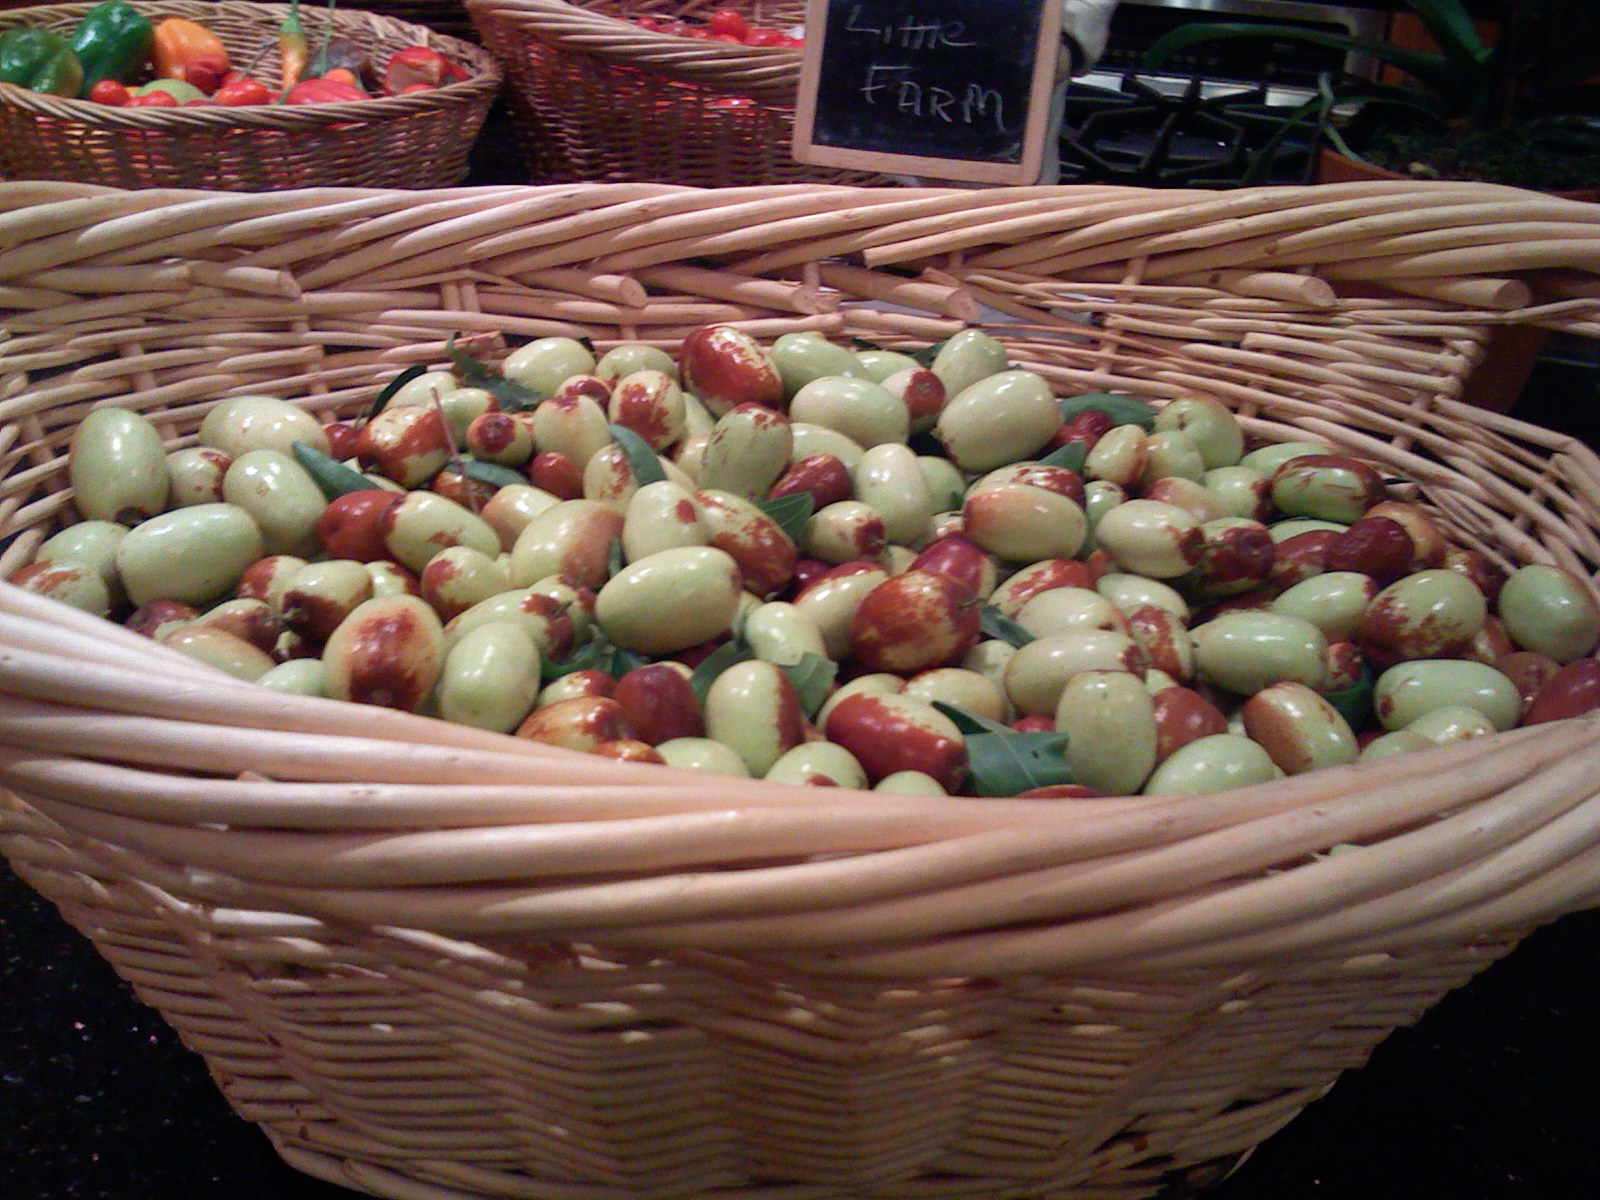
 I bought some Tagine’s from World Market ( Cost Plus) recently to decorate an outdoor table -since I needed something that could take extreme heat, cold, water and sunshine – and Tagines which are middle eastern Dutch ovens do exactly that. So of course I was then on the hunt for recipes to make in them – and this one can be adapted from using a regular western Dutch Oven and works great! Give it a try – the Tagine itself only cost about $25 – and although you have to be careful when washing it in that it is ceramic and can chip easily, its a great kitchen tool.
Tagine Chicken and Dried Fruit
Ingredients
Directions
Last night I was trying to find a way to cook salmon that was interesting. I made this recipe up and it was really yummy. Give it a try and let me know how it went for you and your family.
Moroccan Salmon with Cinnamon and Figs
Ingredients:
Directions:


YUM!
Leftovers can make the most creative ( and easiest) meals. We always seem to have some chicken left over from whatever we make for dinner. And I have goat cheese galore in my home – you probably keep some in your cheese drawer too. And being in California, I always have flour tortillas in my fridge ( and corn ones for the family members who are gluten intolerant- I personally prefer the flour ones).
And if you have pickles somewhere in your pantry, or sun dried tomatoes (we make our own) – along with low fat mayo, you are ready to make a quick wrap dinner.
You can use whatever you have left over in the fridge that is protein or vegetable – along with some sort of creamy dressing – mayo or hummus, tahini or dips such as eggplant or edamame dip will work too. This is what I used today for dinner.
Leftover Dinner that is Yummy
Directions:
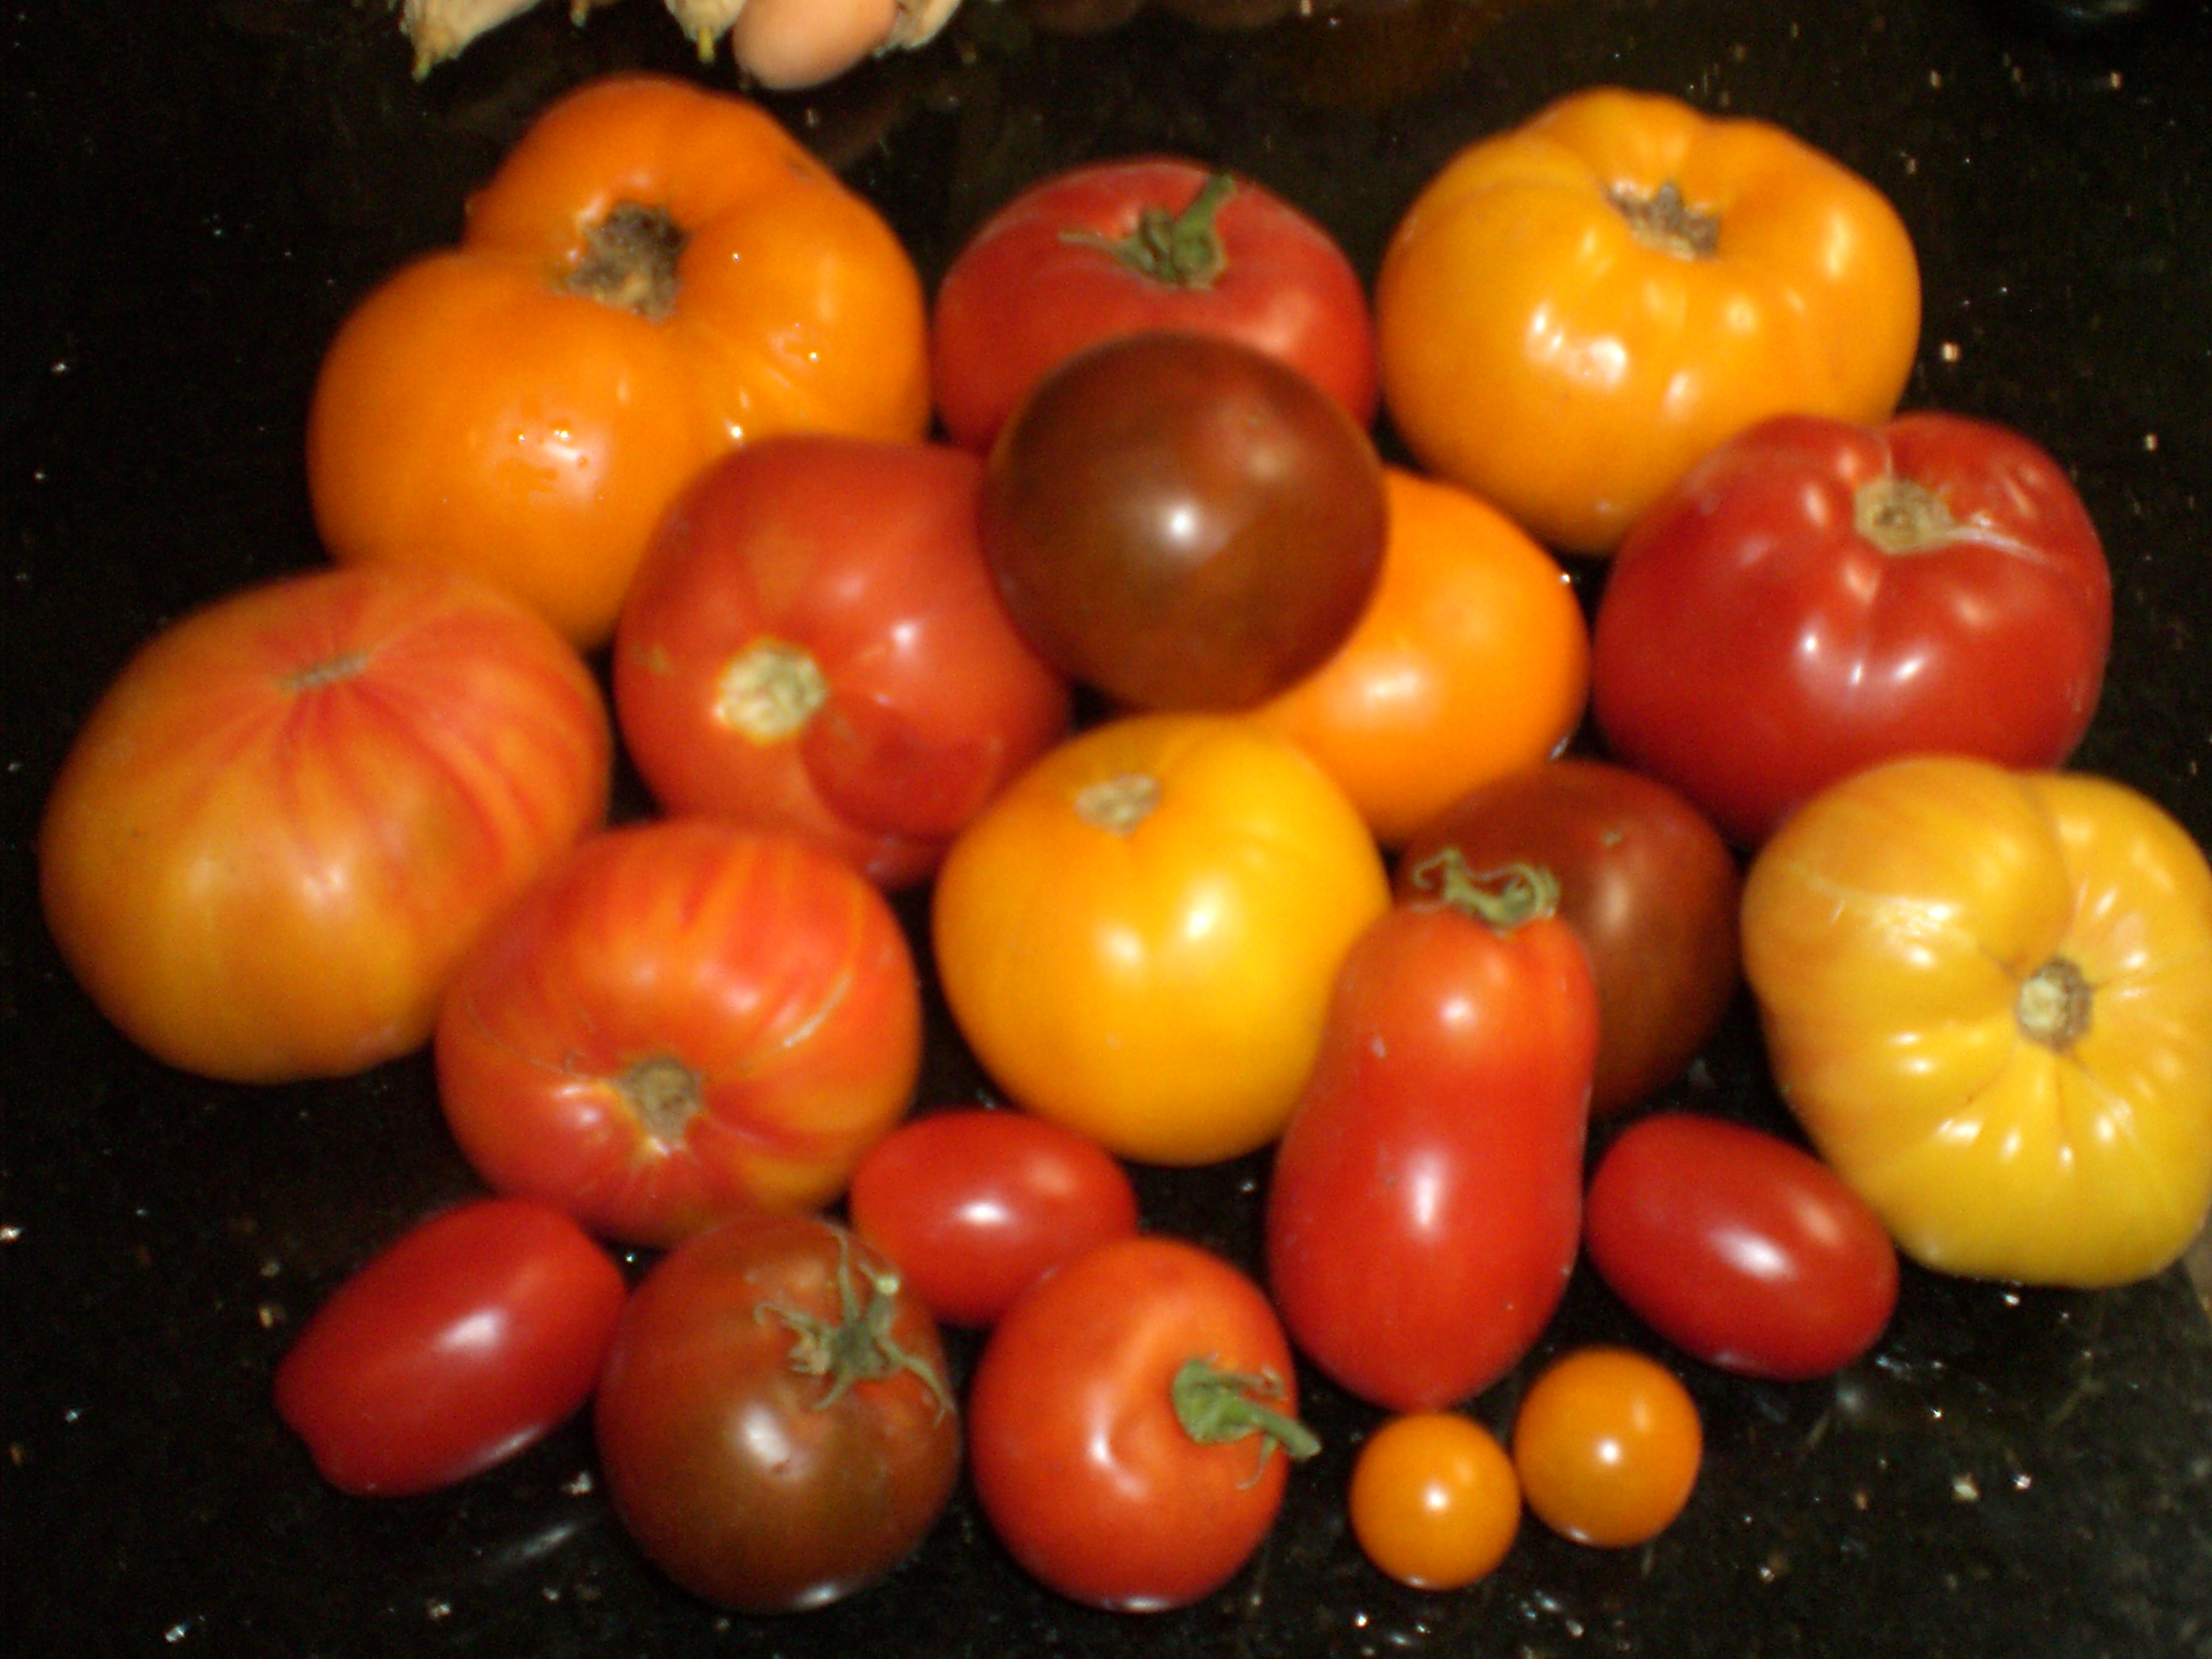
 Above is one of my favorite places to eat at our Little Farm – it’s just outside the main house kitchn – and under the shade of an amazing Chinese Oak tree. We eat here summer and winter ( its California so we can) and tonight we had this fabulous fast meal below, that I made in a jiffy.
I know YOU know that I love my slow cooker. By the way, did I tell you I never put it away? It’s on my kitchen counter all year round since I believe it’s the most useful tool I have!
So I was rushing today – and had literally 10 minutes to make dinner before I left – I knew I would be so tired on my return home and not in the mood to cook – so I threw this all into the slow cooker on my way out of the door, and when I came home 8 hours later – it was divine and ready!
FAST Chicken Dinner
Ingredients
Kids LOVE my breaded chicken. I made some the other day and they ate and ate and ate! And my husband loved it too. It was fast and easy and so good that you could serve it for a dinner party! Here is the recipe .
Breaded Chicken Cutlets ( Serves 6-8)
 Chicken Breasts before Pounding
Ingredients:
Directions:
Enjoy!
We try to make our Little Farm the most wonderful place for kids – especially our grandkids and their friends. Certainly there are lots of jobs to do here – picking up the eggs from the quails ( 30 of them ) and the chickens ( about 35 of them) every day. And then feeding the Tilapia ( which we raise in our hatchery, catch and eat) and the Koi (who live in our pond and bask in the sun and waterfall which oxygenates their abode). And of course Sunny the Rottweiler who will happily eat every hour – but only is supposed to get fed twice a day- he is always hungry and tends to help himself to the fruit off the trees when we are not looking. He has a serious gas problem and can clear a room faster than any dog we have every had. But we love him still and he is the sweetest most tolerant patient pet and puts up with lots of little hands stroking him, riding him and kissing him on his nose as well as looking under his floppy ears. He ADORES the children.
Then there are the goats – all female – and lots of them -for a little farm that is – 6 who need to be fed, and their pens cleaned out – they LOVE grape leaves so our grapevines are enjoyed as a special treat, as are the roses when we dead-head them – roses are like candy for goats – and they eat the stalks thorns and all. The grandkids love to feed them and see those floppy lips and hear the crunchy noises. Then of course the bees – dressing up in a beesuit is something we are saving for when they are a little older – but they sure do enjoy our honey which has a slight citrus or eucalyptus taste to it. Finally – the fruit and vegetables. So much all the time – tomatoes, peppers, squash of many kinds including white, butternut and zucchini, eggplant, lettuce, onions, garlic, Brussels sprouts, red cabbage, white cabbage and of course every kind of herb imaginable. Then the fruit – quinces to make membrillo ( quince paste delicious with goat cheese), Ceylon Gooseberries, Cape Gooseberries, and Surinam Cherries, Cherries of the Rio grande – the list goes on and on. And the kids pick and taste it all – then help me make jams and relishes and ratatouille and so on. Its a wonderful life in the middle of a very big city. How blessed are we!
Then it’s time to jump into the swimming pool to cool off from the heat of working so hard – Jonah likes to have ‘breaks’ – Jack will just keep going – he is a ball of energy. Then dry off in the sun – and if you are a little boy – run naked around the grass while your swim suit is drying off – then its snack time – generally fresh corn from the small corn field with fresh cherry tomatoes and broccoli florets and kale chopped roughly broiled at 350 degrees sprinkled with olive oil and salt – along with hard boiled quail eggs and fresh Challah Bread which I make weekly. A very very good life!
Here I am with Jack, Gabriel and Noah ( while Jonah was off somewhere with my husband). Such joy….as you can see from my face….
And here is Farmer Clive with a baby goat – aren’t they cute?
My husband has always wanted to have an Austin Chummy – a 1927 car – and recently we were in New Zealand and he saw one on the road! Well – long story short – we now have imported a Chummy – bright yellow, 1927 was the year of its birth in the UK and adorable it is – if a car can be adorable that is? Here our older grandsons Jack and Jonah are enjoying Chummy with their grandfather Clive. It’s a convertible too!
Whenever we get into the car with our 6 and 4 year old grandsons in the back, if we are not playing games of “I spy” or telling stories, we are listening to Sirius Radio – Symphony Hall. Our Jack is a huge fan of classical music and Jonah is getting there too. So since Jack ( 6) can read, he reads the LED display from the back seat, and announces the new composer or piece as it comes on. Over the past two years ( he taught himself to read at 4) he has learned to recognize many composers – of course Mozart and Beethoven, Bach and Brahms, but also Telemann and Rachmaninoff along with Gershwin and even Grateful Dead. He is a music agnostic and likes all music for which I am grateful – even my Sam, The Broken Robot Songs ( of course I wrote them for our grandkids to start with!).
Here my husband Clive and I are, with the two older grandsons watching family movies before bed at the grandkid’s home. Such happy times…
Here are some cute pictures from the Internet – whomever took them – I don’t know who that is – congrats – they are amazing! Enjoy!